
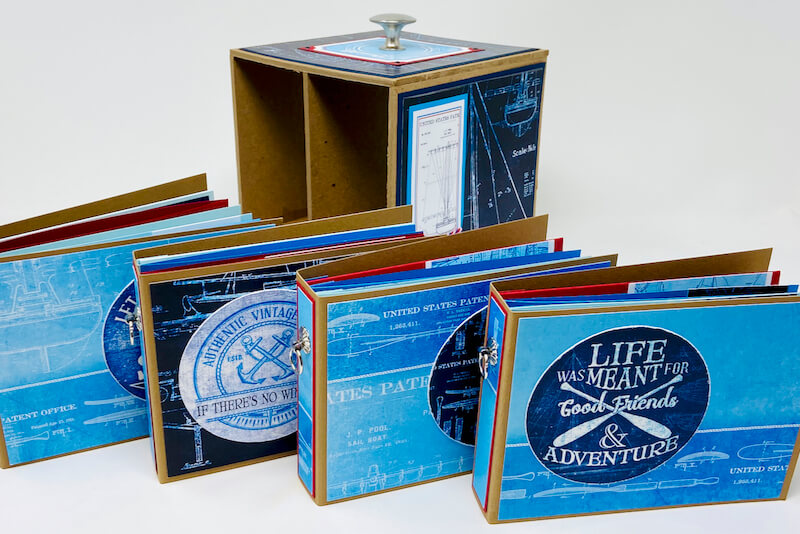
Create a Regatta Twistabout project that's perfect for gift giving!
I remember the first time I saw the original Photo Twistabout back in 2010.

It's such a unique project. And based on the number of times it's been pinned on Pinterest, it's no wonder Tricia wanted to re-design the project. Now you can make one from literally any Club Scrap Page Kit, how cool is that??!
Regatta Twistabout
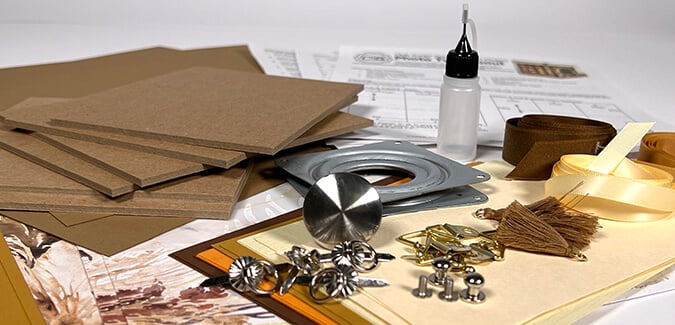
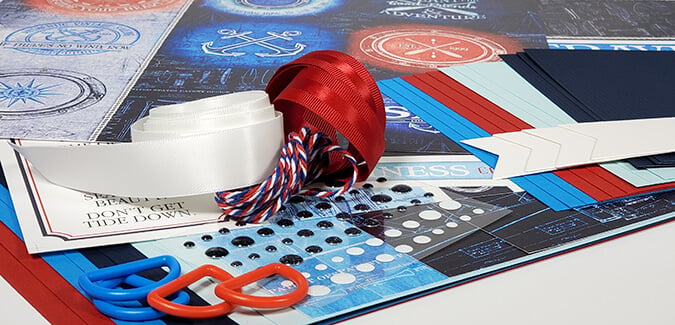
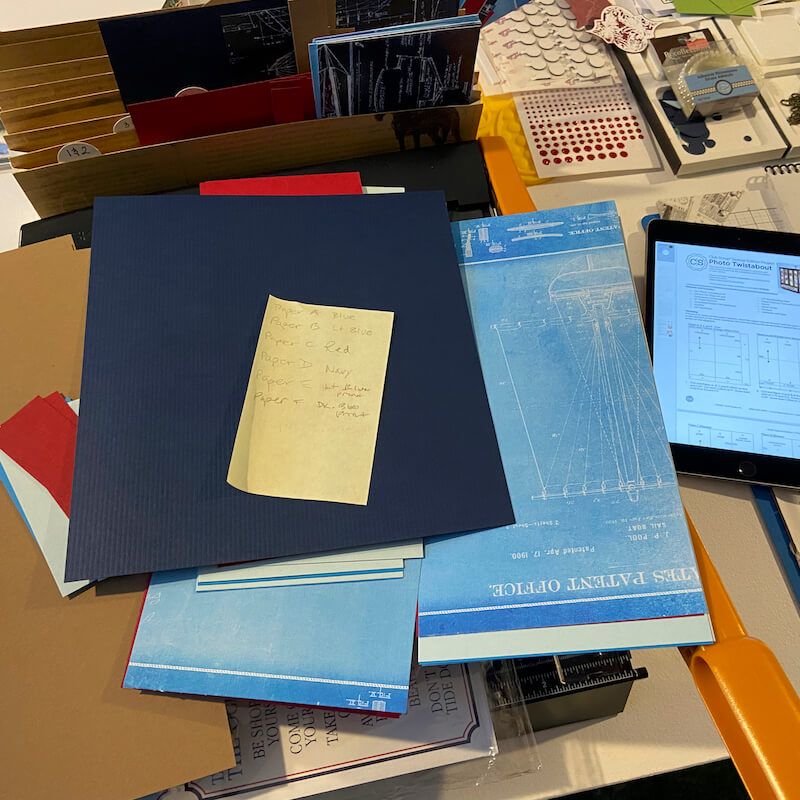
To replicate my project, gather a Regatta Page Kit and a Photo Twistabout Components kit in Kraft. Construct the project using the following paper assignments:
Paper A = Blue
Paper B = Lt. Blue
Paper C = Red
Paper D = Navy
Paper E = Lt. Blue Print
Paper F = Dk. Blue Print
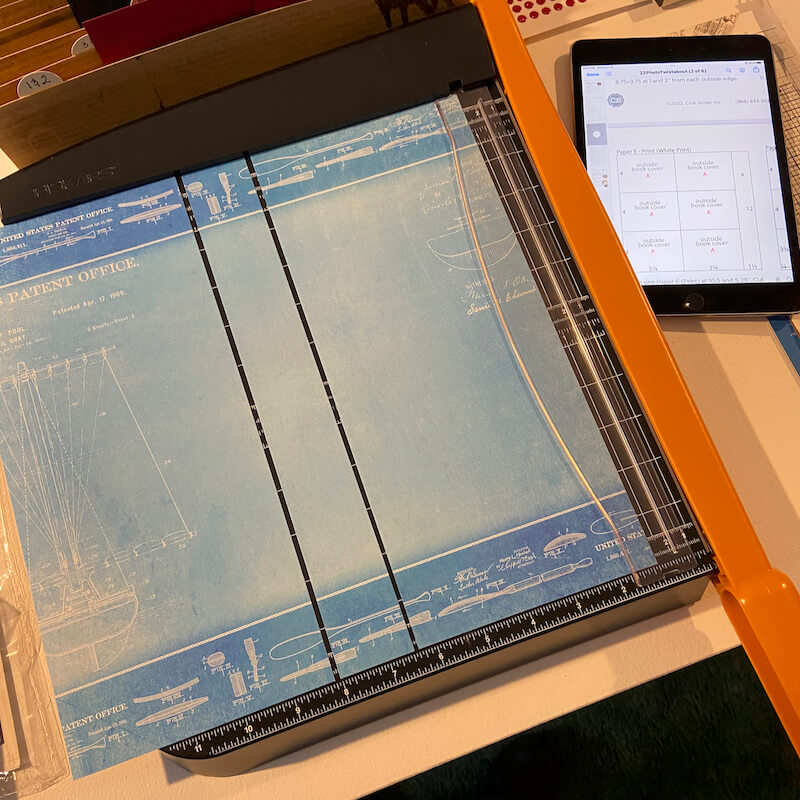
Trimming Tips
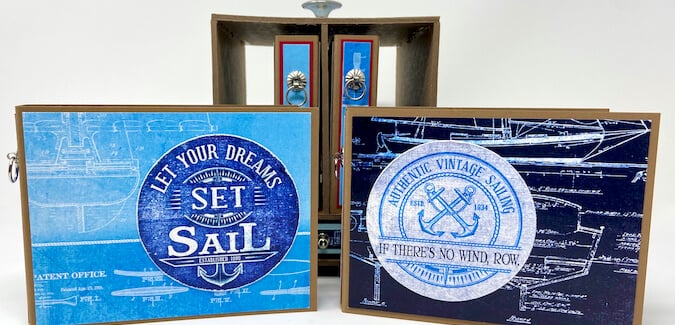
Inspect the printed paper prior to making any cuts. Trim the Lt. Blue Print so that the areas with the detailed artwork is featured on the book covers. (It might require you to make adjustments to the measurements.)
Decorating Tips
Trim all of the cutaparts and separate the Nautical Die Cut circles from the carrier sheet.
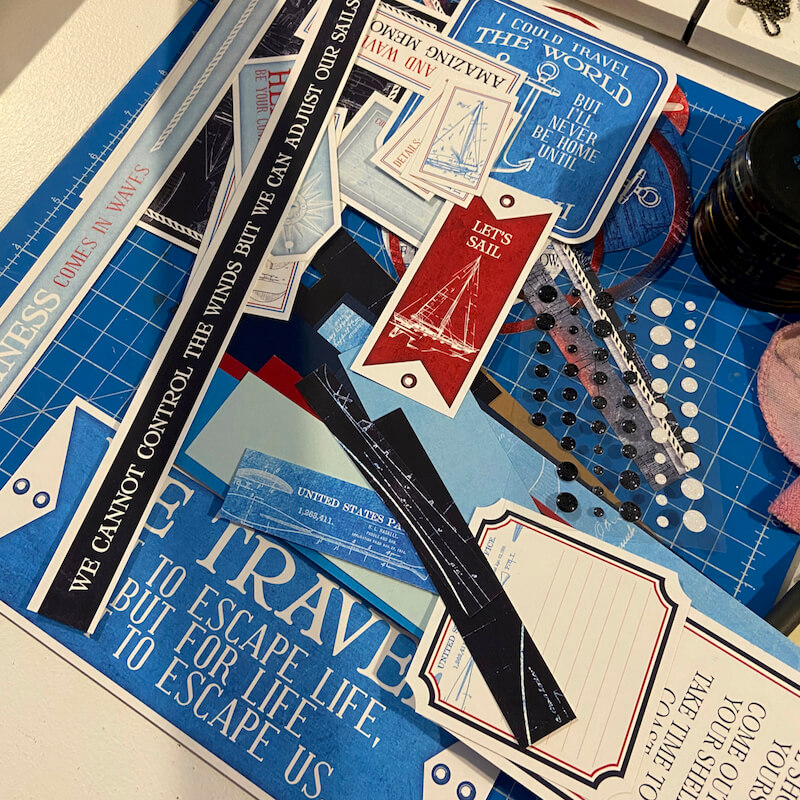
Distress the edges of all of the circle die cuts with a paper distressing tool to expose the white paper core.
Trim the left over carrier sheet from the Nautical Die Cuts into border strips.
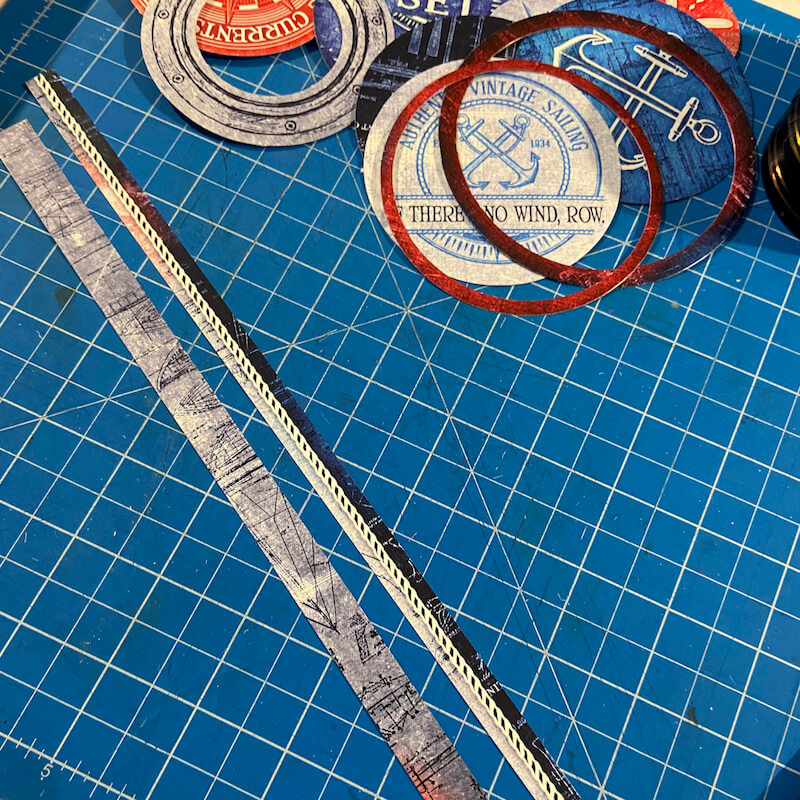
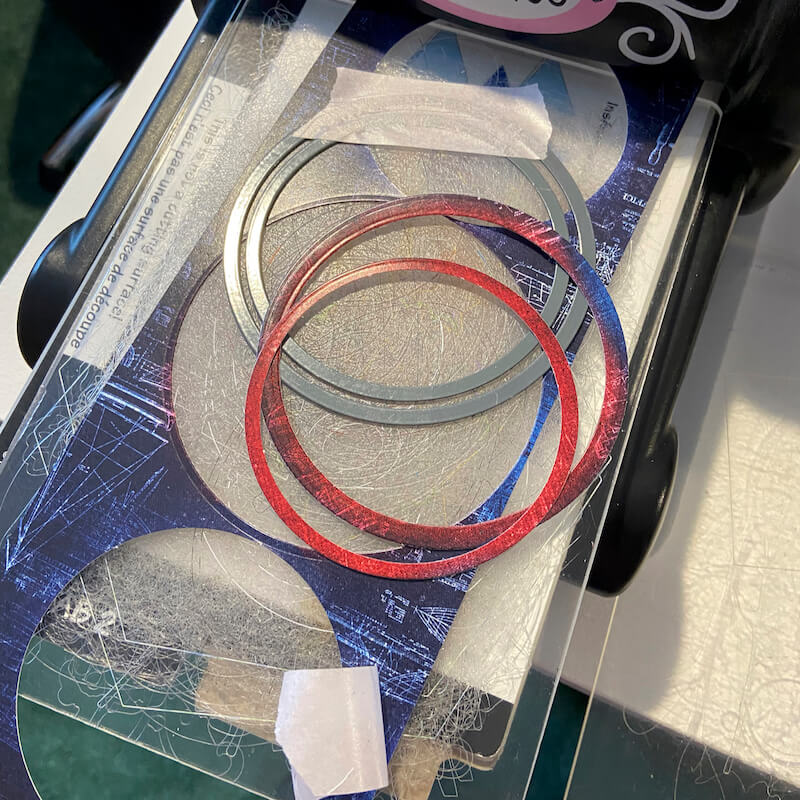
Create circle "frames" from the negatives of the carrier sheet with thin dies.
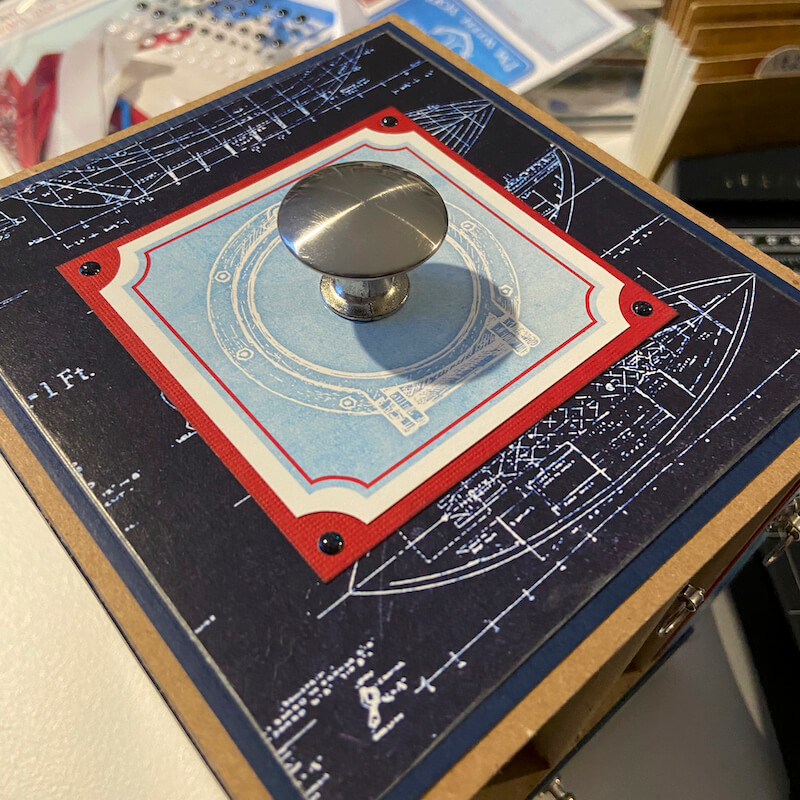
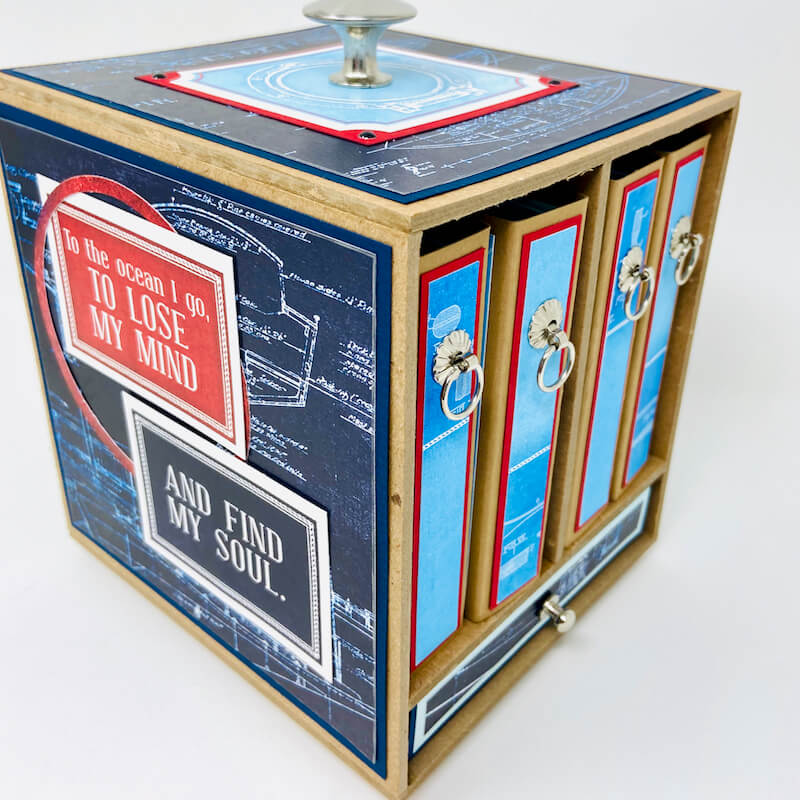
Add layered cutaparts to the top of the "box" and embellish with Enamel Dots.
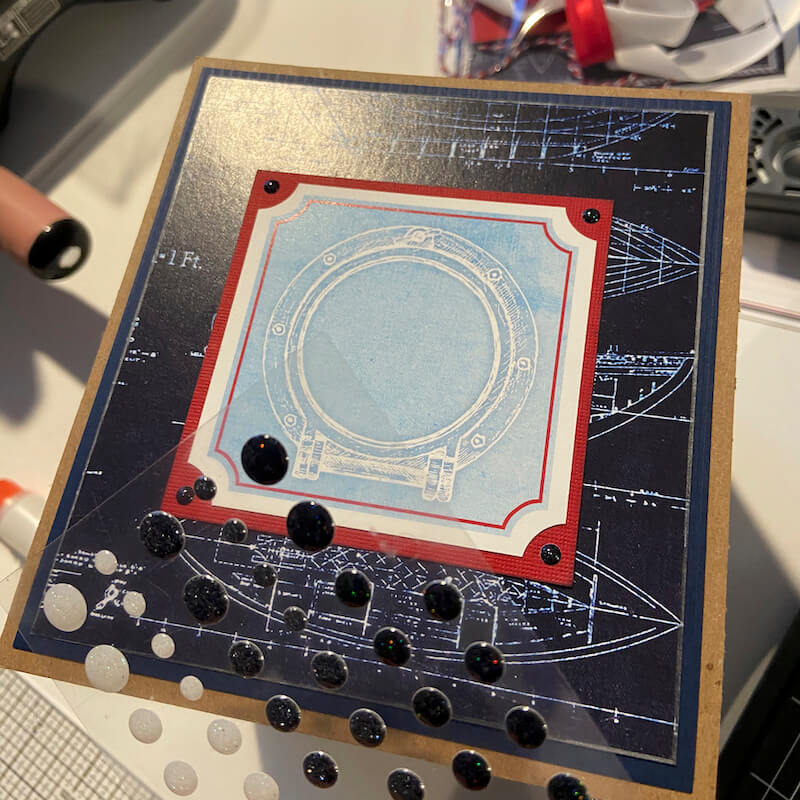
Center the knob inside the port hole and adhere with Bookbinding Glue dispensed from a Needle-tipped Applicator.
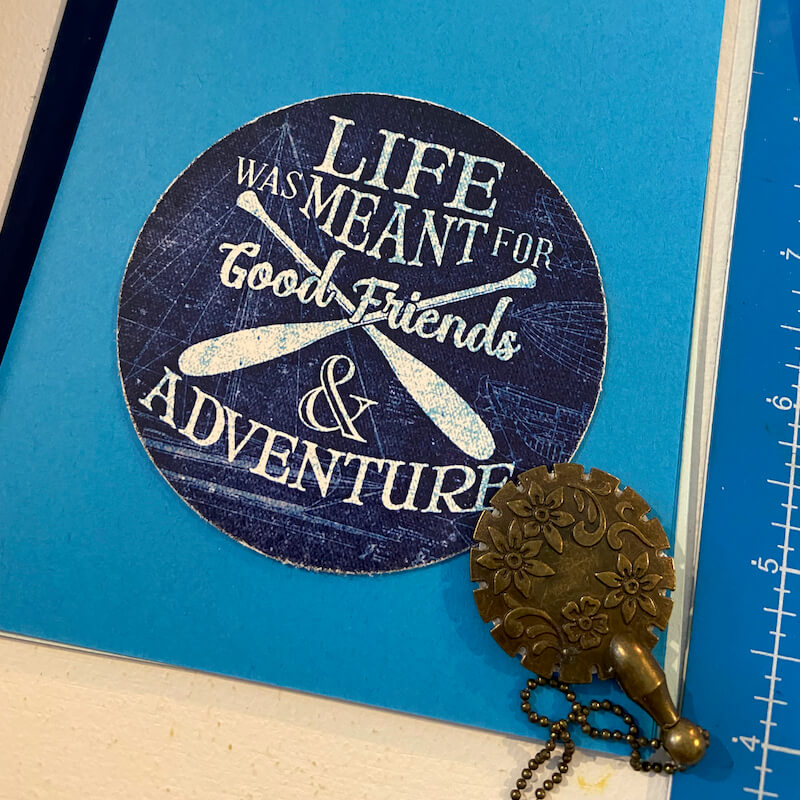
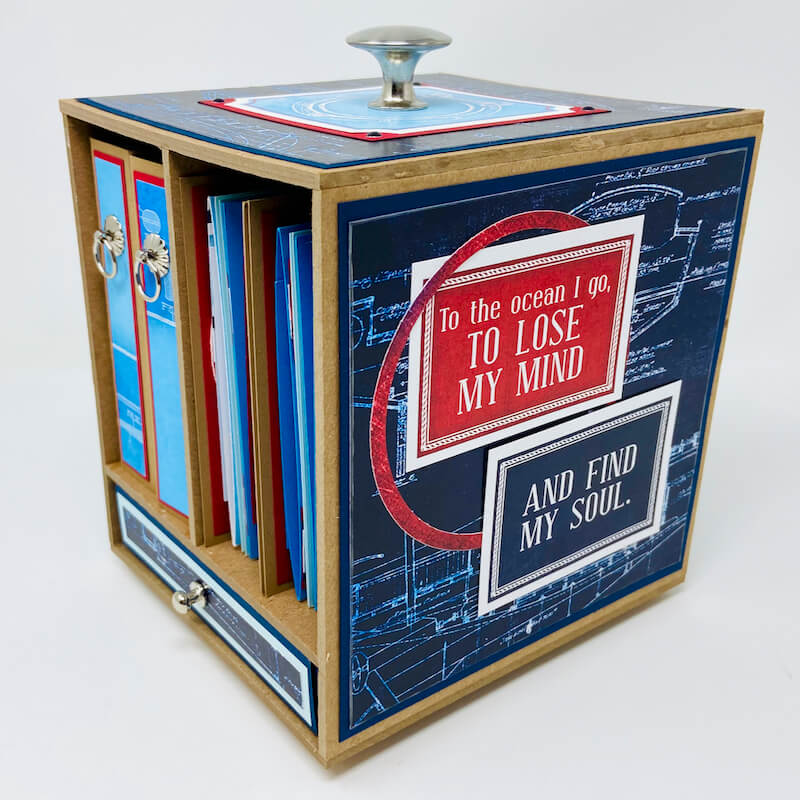
Decorate the outside walls with the circle die cut frames and sentiments.
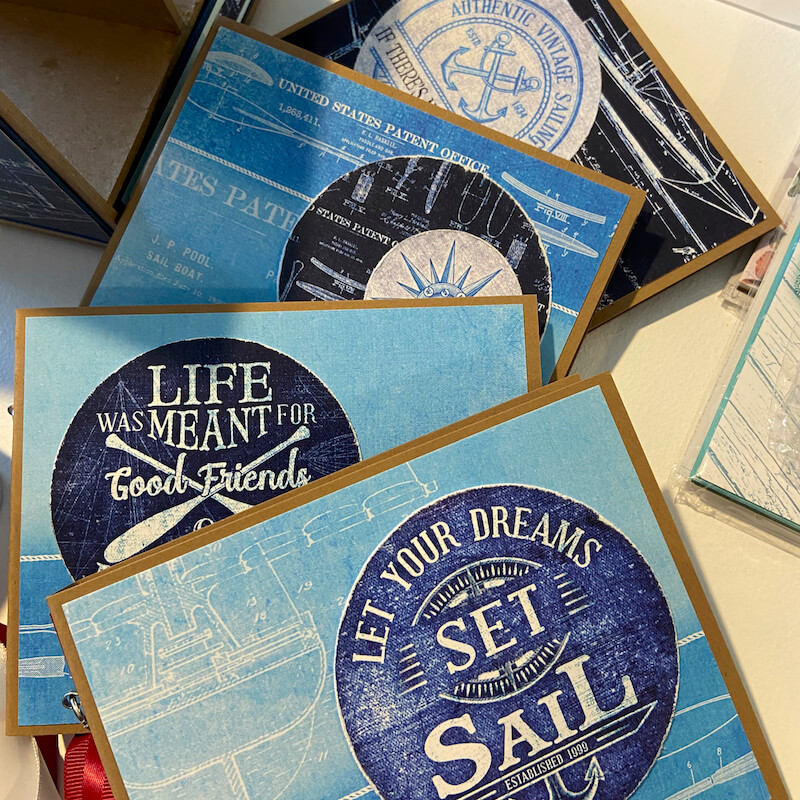
Decorate the cover of each booklet with a Nautical Die Cut circle.
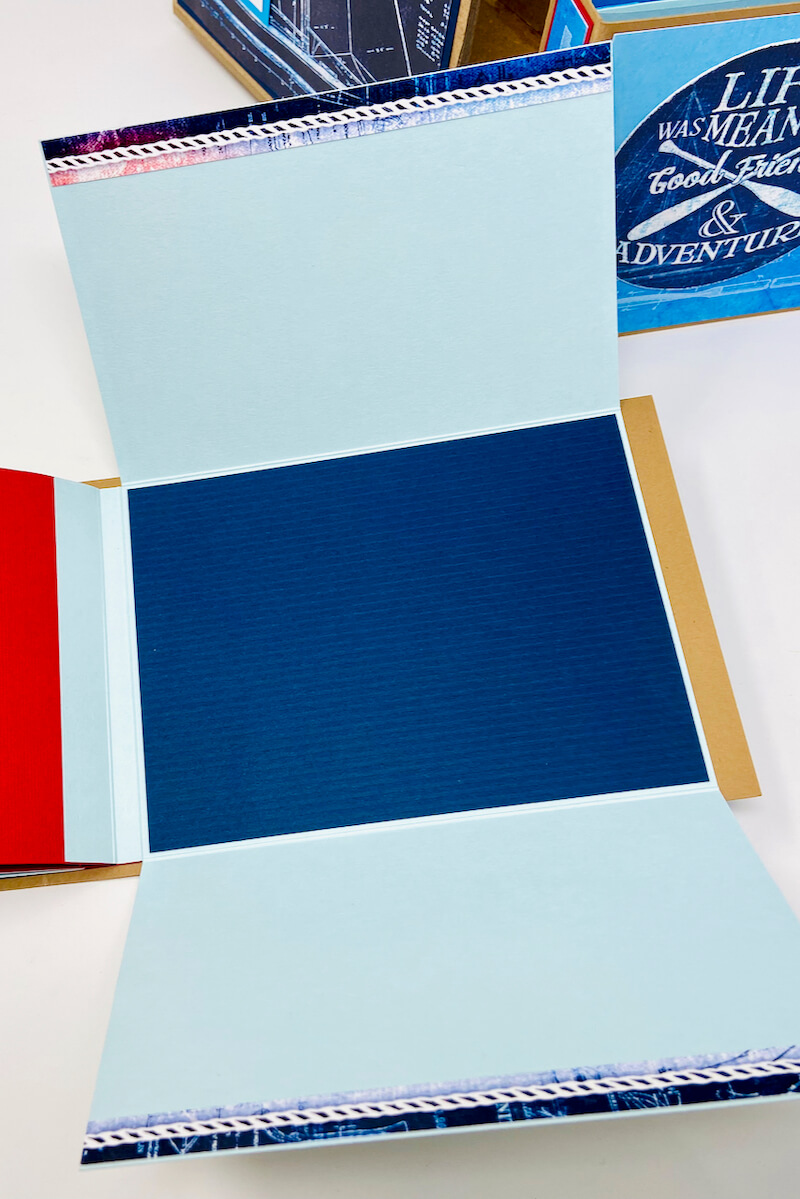
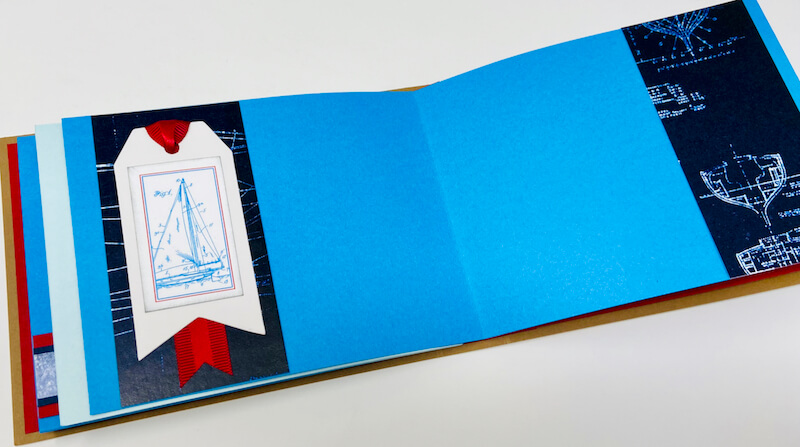
Add interest to the inside trifold pages with photo mats, cutaparts, and border strips.
Create layered borders from left over plain paper strips to anchor the trimmed circle cutaparts.
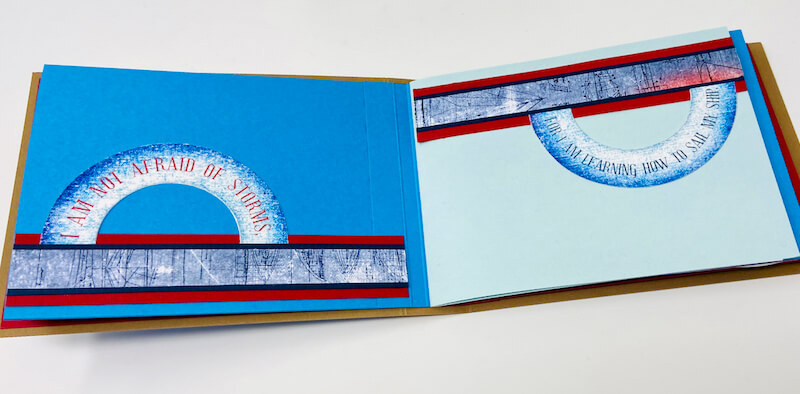
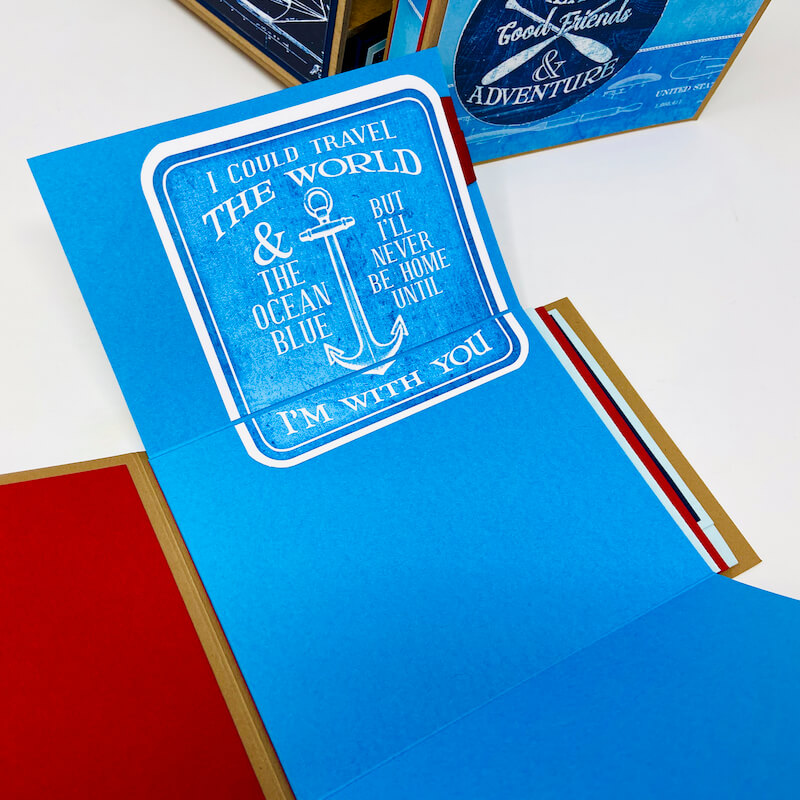
Trim a large cutapart in two pieces. Adhere to either side of a scored trifold page to prevent the cutapart from buckling when folded.
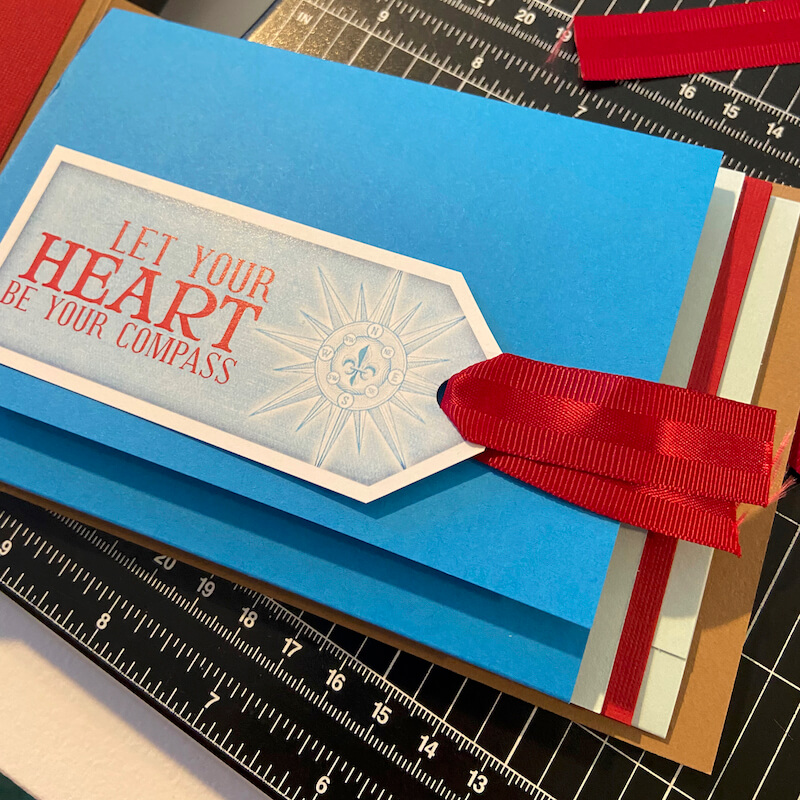
Punch a hole in a tag and thread with red ribbon.
Wrap the loose ends of the ribbon around the inside of the trifold page; secure with tape.
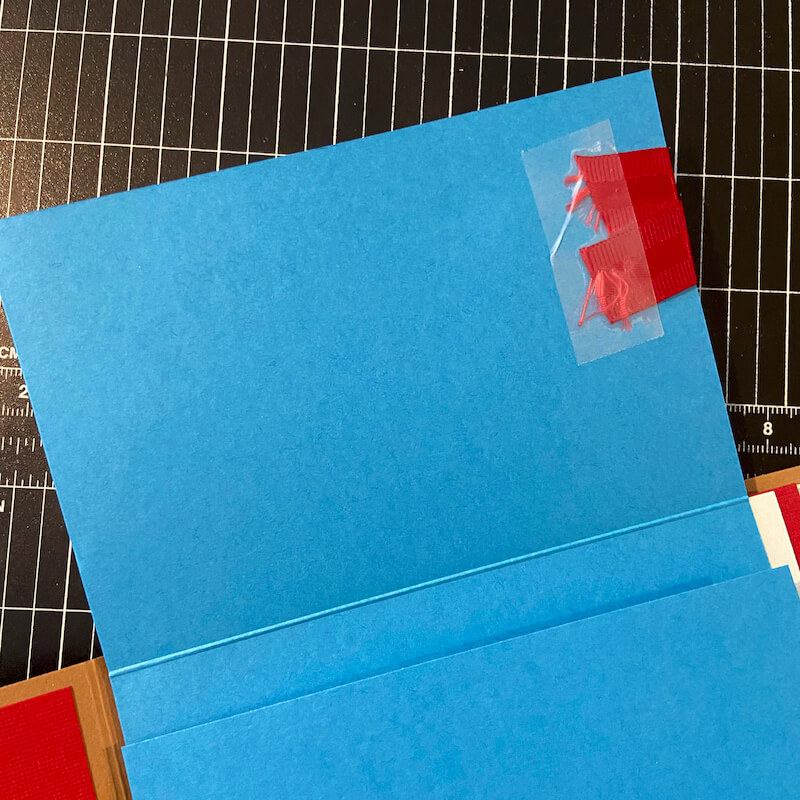
Camouflage the ribbon ends underneath a trimmed cutapart.
Recreate the decorative tag from the Page kit instructions - Tricia has the best embellishment ideas!
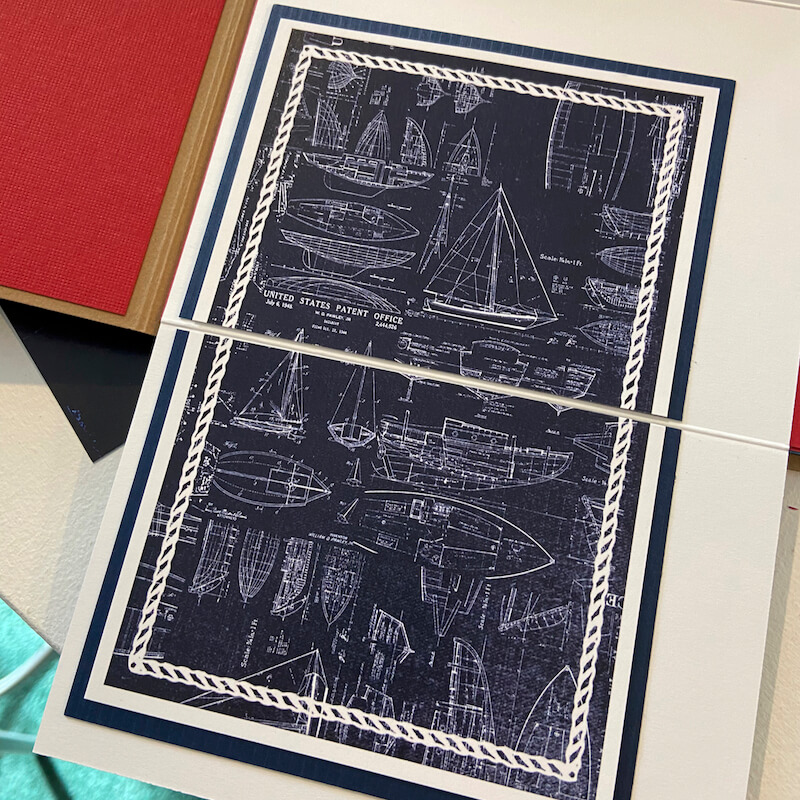
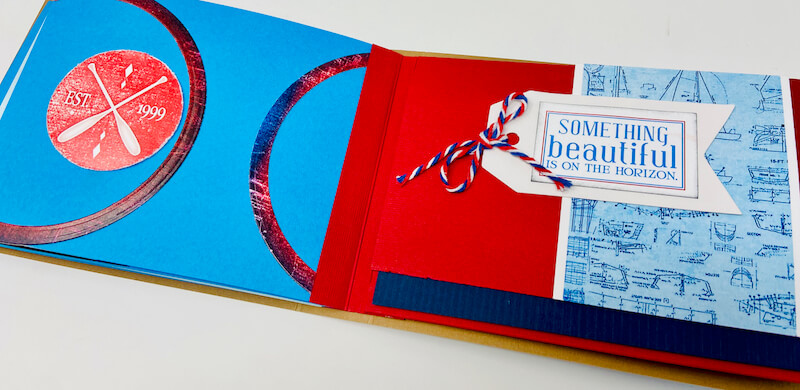
Cut select circle frames in half and adhere to each side of a page. Tie baker's twine onto a tag.
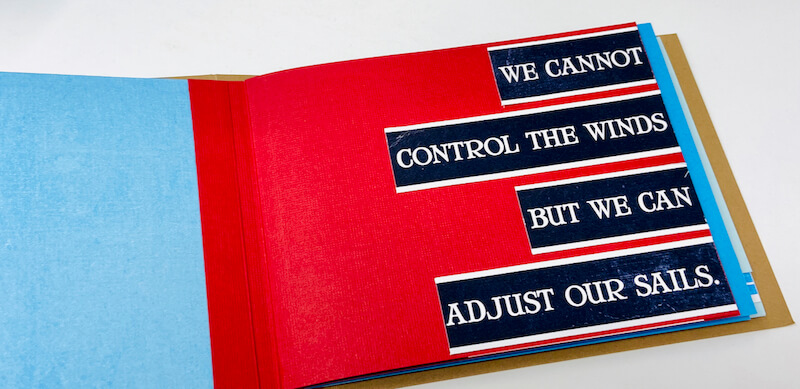
Trim a long border strip into segments and adhere to the side of a page.
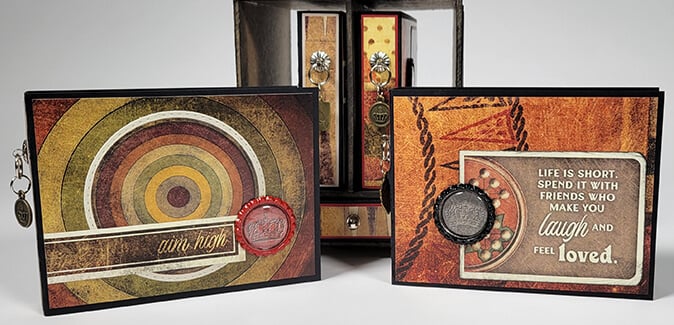
Let's take another look at the finished project:
I can't wait to add photos from around Cape Cod, Massachusetts, where I am lucky enough to live.
Looking for more unique gift ideas? Check out these awesome page kit projects.
Creative License Easy Eight Album
Happy project making!
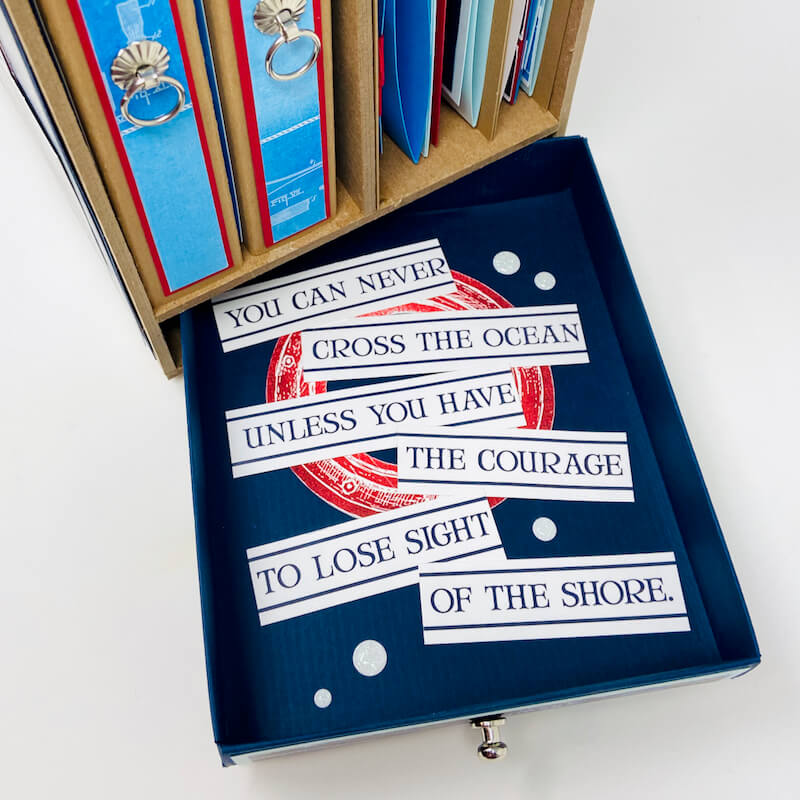
Photo Twistabout Components Kit

$22.17
Pair these components with any Club Scrap Page Kit to make a beautiful Photo Twistabout! You'll build a 5.25x6" spinning storage box with a handy drawer. The box serves as clever storage for four 4.25x5.5" mini albums. (A few additional… Read More