Turn a Creative License Remix Page kit into a fun Easy Eight Album perfect for documenting memories from events like a car show, celebrating a new driver, or even a Father's Day celebration. I haven't made my decision, but when I do, I promise to share my finished project filled with photos!

To replicate my project you'll need to gather a Creative License Remix Page Kit and the Easy Eight Album Components.
Creative License Remix Easy Eight Album

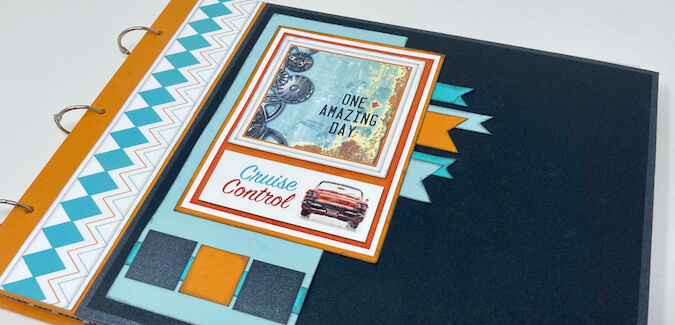
I repurposed many of the scrappy leftovers and cleverly transformed them into embellishments for the cover of my album. Don't you love those little swallowtail banners?!
Trimming and Assembly
Since the project instructions feature the Under the Sea Page kit, begin by assigning paper substitutions as noted in the cutting diagrams. (The paper substitutions are listed at the end of this post.)

Next, follow the instructions to trim and sort the papers. Once all the trimming is complete, use Tricia's completed page samples as a guide for assembling your pages.
Let's take a look at how my project came together.

The inside front and back covers are lined with each of the stylish prints from the page kit.
Bonus Page A

I chose to place my elements on the back side of layout 1 which was white. The cutapart was also white, so I layered it with a left over orange panel to make it pop!
Layouts 1 & 2

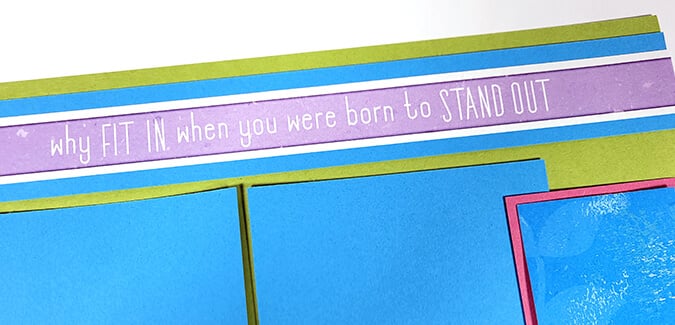
Trim the title strips at each end being careful not to cut away any of the artwork. A small orange scrap adds extra space for journalling.
Layouts 3 & 4

A few clever cuts with the craft knife lets portions of the background print peek out over the orange photo mat.

Layouts 5 & 6

Mimic the ribbon treatment from Tricia's original sketch with the teal shimmer and black checked fibers. The black checked ribbon is also used on the opposite page to embellish the tag.

Repeating the bottle cap embellishments on each layout adds balance to the double-page spread.
Bonus Page B

It never hurts to borrow ideas from the page kit instructions for embellishment ideas!

Tricia and Jac carefully planned the arrow artwork on the border strip to coordinate with the wooden arrows from the kit. CLEVER!
I hope this version of the Easy Eight Album inspires you to pick up a page kit and give this project a try.
If you love this album, but prefer to follow the directions exactly, the Easy Eight Album Class Along Kit (featuring the Under the Sea collection) is still available in limited quantities. However, if you're like me, and are open to customization, pair any CS® Page Kit with our downloadable Easy Eight Album Instructions to make an album of your own.
Paper Substitutions
(2) Aqua = (2) Black Metallic Plains
(2) Sea Green = (2) Orange Plains
Whale Print = Cars Print
Octopus Print = License Plates Print
Deep Blue = Dk. Aqua
Aqua Metallic = Lt. Aqua
The one remaining Orange, Black Metallic and (2) Black Plain papers were trimmed to create a batch of photo mats (Bonus Sketch #13).
Assembly Tips
- The Creative License Remix Cutaparts ARE different from Under the Sea. Regardless of which page kit you choose to make your album, be sure to use the printed artwork on the Cutaparts as your guide.
- In some cases, in lieu of the exact cutting instructions, you may wish to trim the leftover 3.5x12" pieces a bit differently to better accommodate your chosen kit's Cutapart artwork.


