The Paris Flea Market Lite kit ships today, and I know it can be helpful to take a closer look at the layout detail. I'll share a few assembly tips below.
LAYOUTS 1 & 2
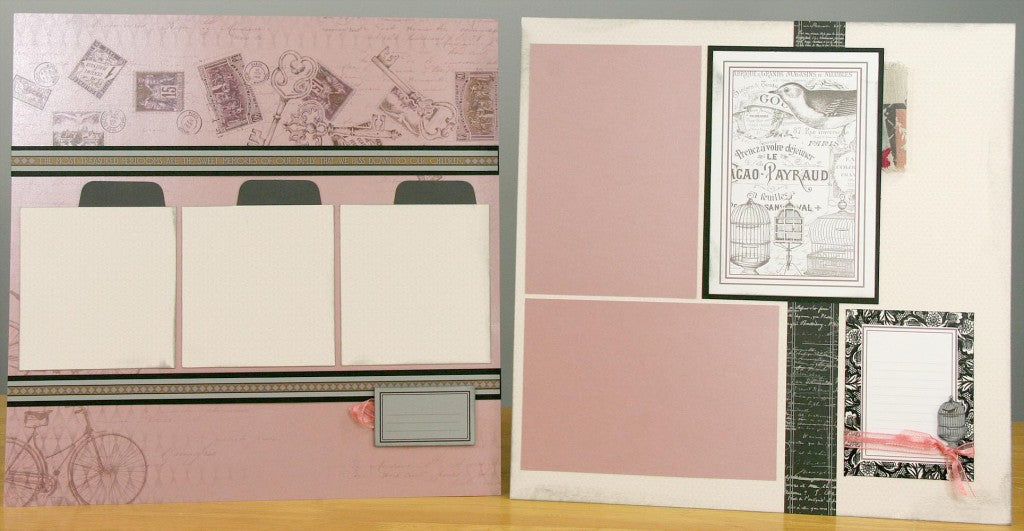
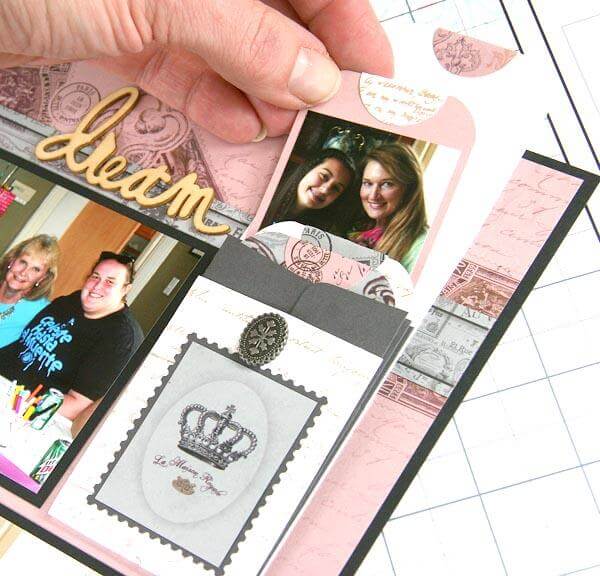
The collection includes three Dk. Gray coin envelopes. Trim the flaps from the envelopes and save them to make "faux tabs" for three photo mats. Simply adhere the bottom portion of the flap to the back of each mat.
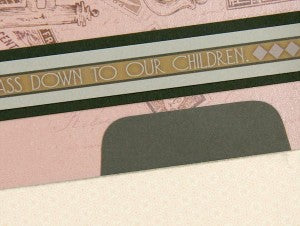
Trim the bird cage from the Lt. Gray cutapart with a detail scissors and attach with Foam Adhesive Circles. (This Fiskars Micro-Tip spring-loaded scissors is my favorite tool for the job.)

LAYOUTS 3 & 4

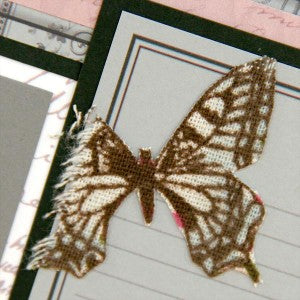
The Vintage Cotton Ribbon we selected for this collection features a sweet butterfly. Use that same Micro-Tip Scissors to remove it from the ribbon and attach to the left edge of a Lt. Gray cutapart with a Glue Pen.
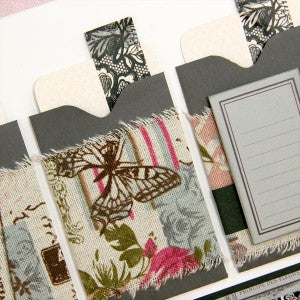
If you have an Envelope Punch Board, place the open end of each Gray Coin Envelope into the board at 1-1/8" and punch to create a cute thumb hole. Add a "tab" to the paper inserts with Vintage Lace Washi Tape. (The Pink Pattern inserts will be created during the paper trimming phase of page assembly.) Wrap the envelopes with printed ribbon and adhere to the layout.
Adorn the edges of several White cutaparts with washi tape.
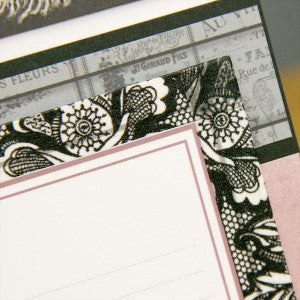
LAYOUTS 5 & 6
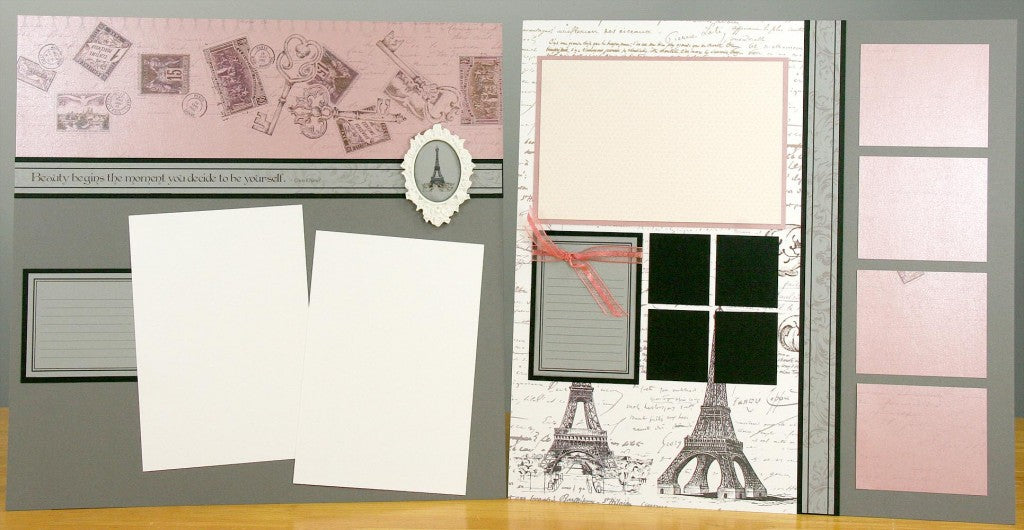
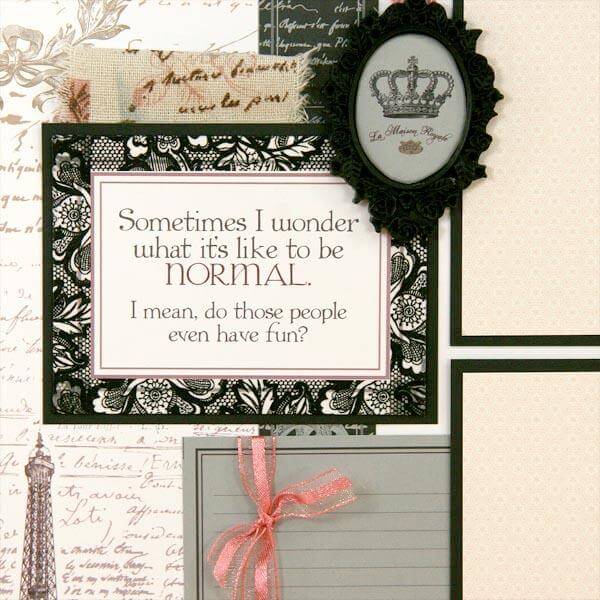
The Lt. Gray cutaparts feature four oval images than can be used in the two Mini Portrait Frames. Simply cut the preferred oval shape from the cutapart, ink edges to hide imperfections, and glue the cutapart to the interior ledge of the frame.
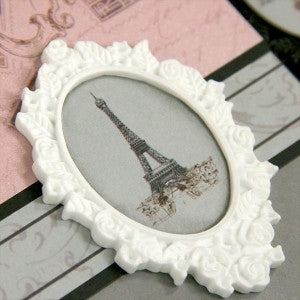
LAYOUTS 7 & 8
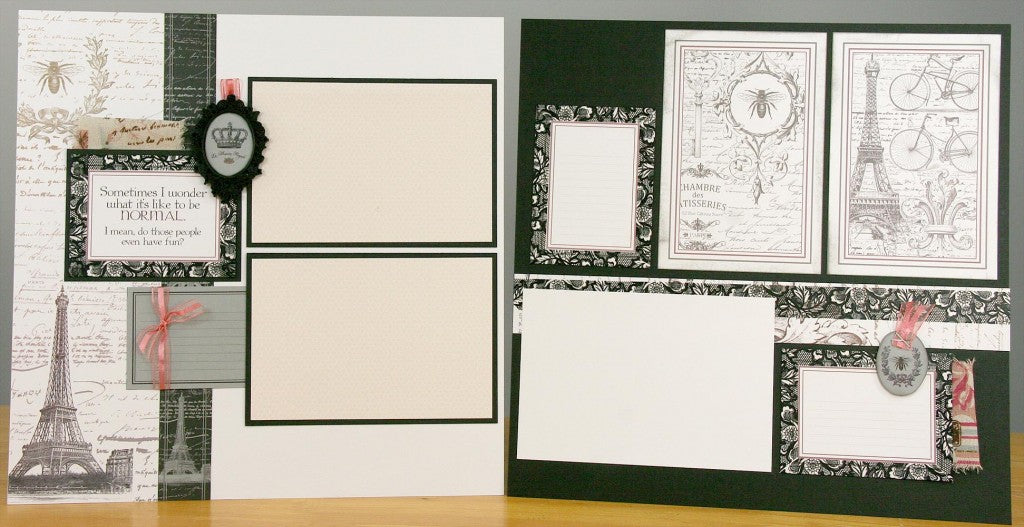
Create an eye-catching collage with a cutapart wrapped in washi tape, a loop of printed ribbon, and the black mini frame.
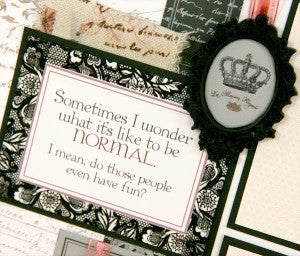
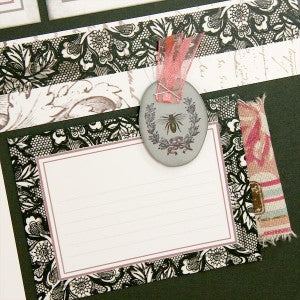
Select one of the remaining two ovals, ink the edges and staple with a pink folded ribbon. Add to the layout with foam adhesive.
If you're not a member but want to purchase the kit, click HERE to add it to your cart!
Tricia

