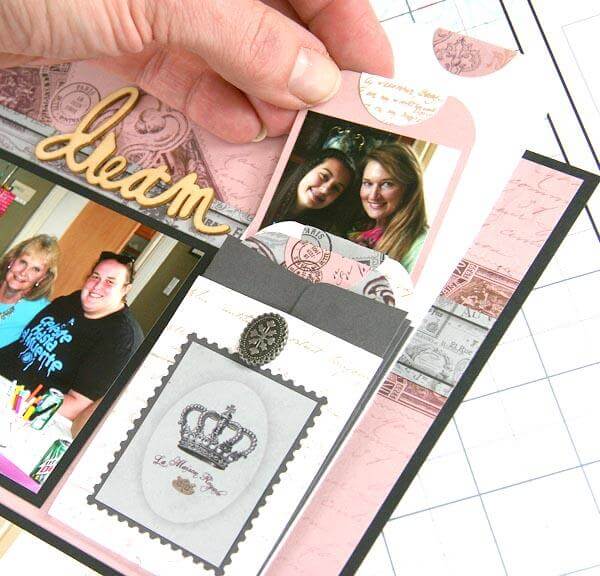
I adore the miniature Gray Coin Envelopes in the Paris Flea Market Lite collection. They inspired me to create a hidden expanding pocket element in the upper right corner of this layout . . .
Tah dah!
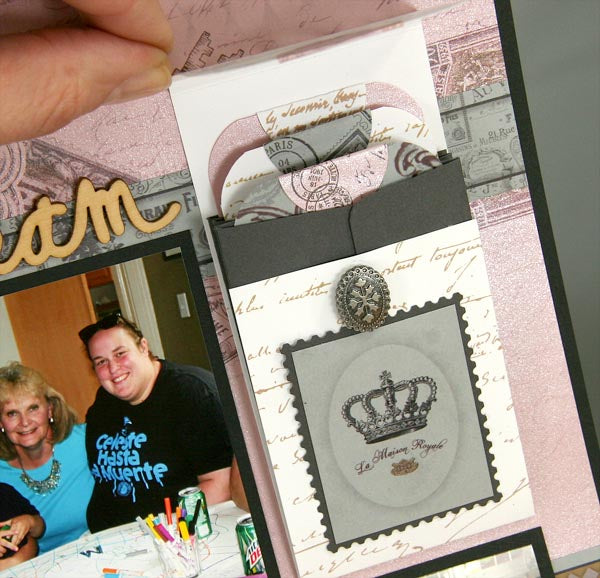
Let's take a closer look at how the pocket works in this quick video:
Follow these simple steps to make the interactive element:
1. Open each coin envelope and remove the flap with a paper trimmer. (Save the flap.)
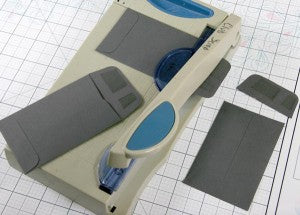
2. Apply a strip of adhesive to the center of two vertical envelopes, and adhere to make a stack of three. (Do not apply adhesive to the outside edges.)

The three envelopes will expand like an accordion.

3. Trim a 2.25x10" White Print (grain short) and score horizontally at 3, 3-1/8, 7-3/4 and 7-7/8" to create a folio for the envelopes.
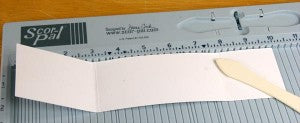
4. Fold along score lines and burnish with a bone folder.

5. Add a large brad (from the Moroccan Spice kit) to the bottom flap of the folio.
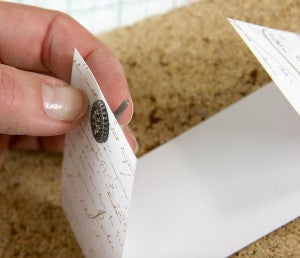
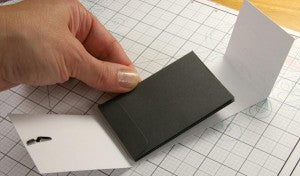
6. Cover the back of the envelope stack with adhesive.
7. Adhere the stack within the center area of the folio, close to the score line, as shown.
8. Apply adhesive to the folio flap and fold onto the envelope stack.

9. Tuck the top flap of the folio beneath the brad.

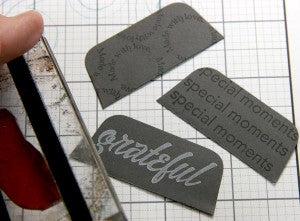
10. Create and decorate three progressively larger inserts for each pocket measuring 2x3.75", 2x4" and 2x4.25".
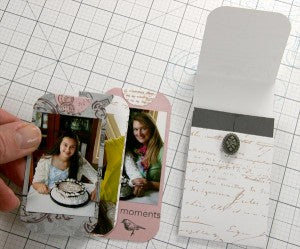
11. Slide the inserts into the pockets from smallest to largest. 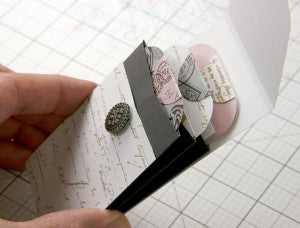
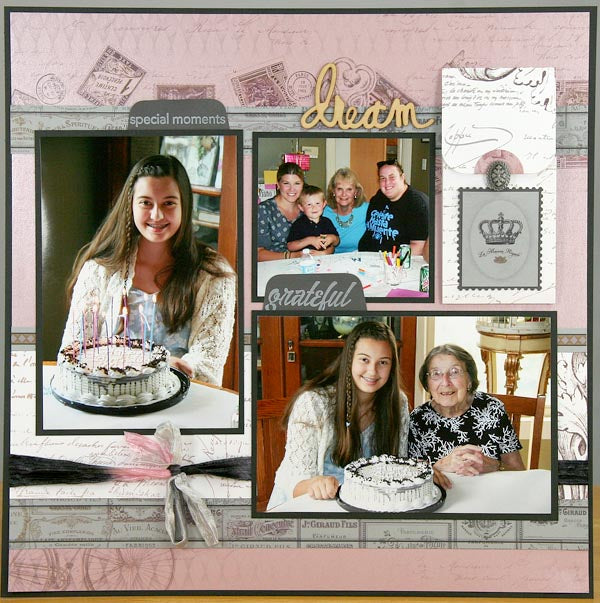
12. Adhere the folio to a 12x12 scrapbook page.
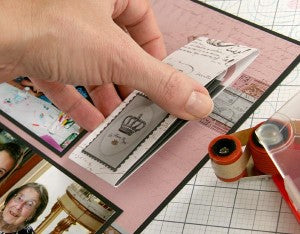
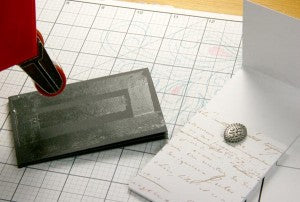
13. Stamp onto the envelope flaps.
14. Adhere the bottom of the flap to the back of a photo to create a "file tab" look.

And there you have it. Be sure to Pin the video so you remember to use this fun idea!
Click HERE to shop the beautiful Paris Flea Market collection, or better yet, JOIN the club!
Kay