
We're already getting wonderful feedback about the National Parks collection. Many of you have tons of photos and memories to showcase, and hopefully these page ideas will give you a jump start on completing the task!
National Parks Deluxe Kit
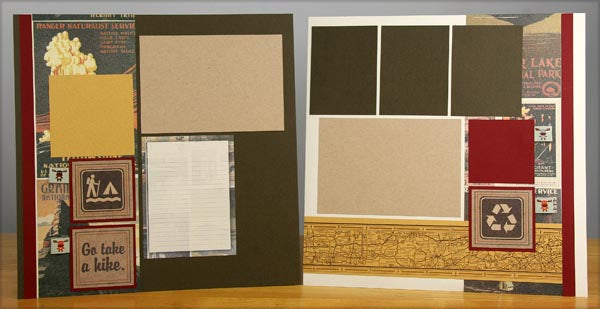
LAYOUTS 1 & 2
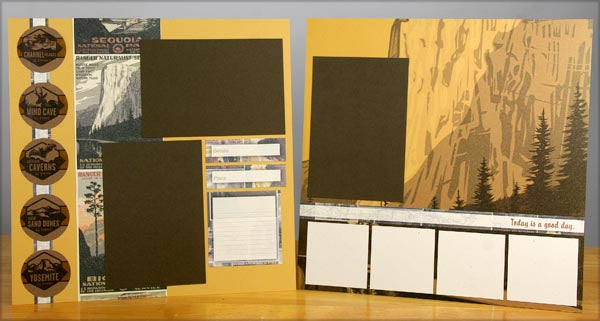
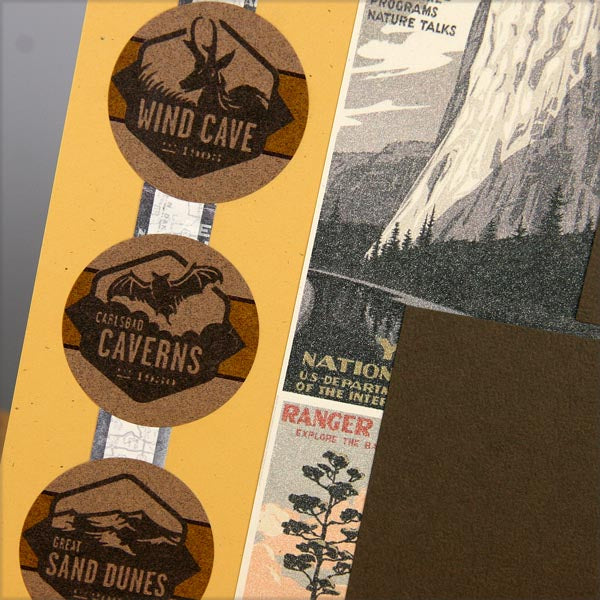
I enjoyed having a full sheet of Printed Kraft Stickers to incorporate into the pages. Use a grid ruler to keep the stickers aligned vertically with equal spacing. Start by placing the center sticker first, then the top and bottom, and place the last two stickers in between.
LAYOUTS 3 & 4
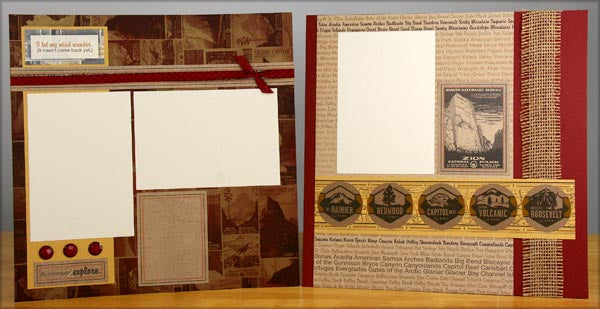
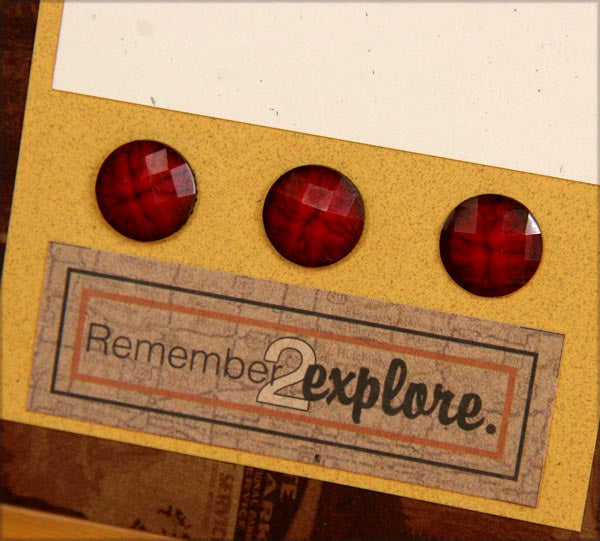
The Faceted Resin Gems are a gorgeous addition to this month's embellishment pack. We found four different colors that are a spot-on match with the paper collection. Adhere them easily with a little dab of CS Bookbinding Glue.
LAYOUTS 5 & 6

Loops of woven jute from the Fiber Pack add a rustic feel to the retro car/camper featured on the printed cutaparts.

LAYOUTS 7 & 8

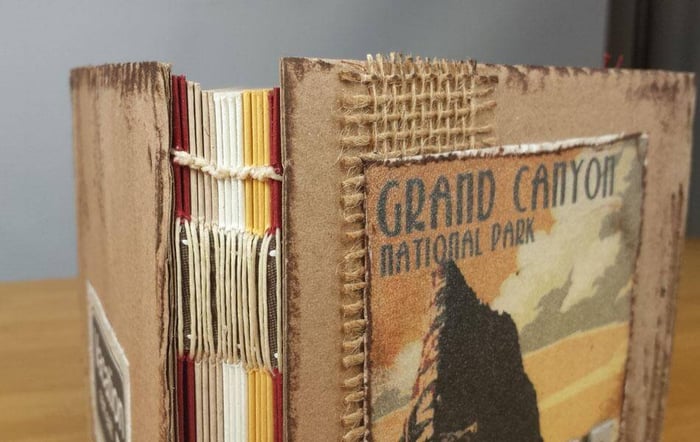
After trimming the Natural Canvas Fabric, simply pull away a few threads from each outside edge until there is a 1/4" fray.

LAYOUTS 9 & 10
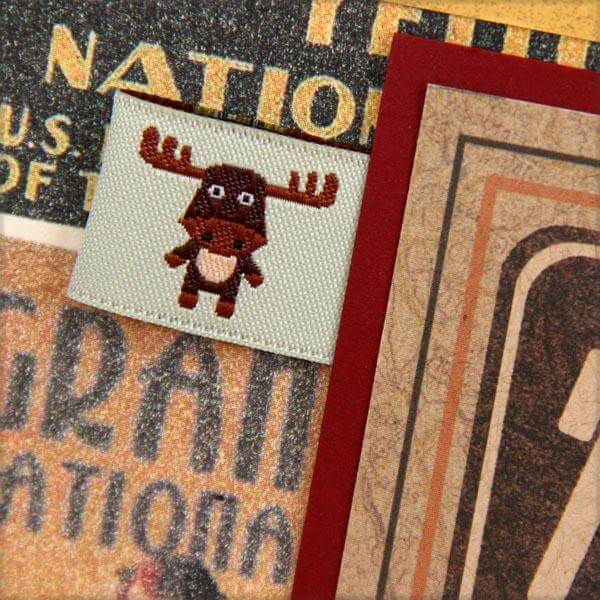
There will probably never be another opportunity for us to include this adorable moose ribbon. Make a loop with one full moose visible, and tape the ribbon ends to the back of a matted cutapart. (BONUS GRAMMAR TIP: The plural of moose is moose. Not mooses or meese. We looked it up because we were curious.)

LAYOUTS 11 & 12

The piece of natural canvas fabric included in the kit has one finished edge. This edge was a great spot to feature a row of alternating colors of faceted gems.

LAYOUTS 13 & 14

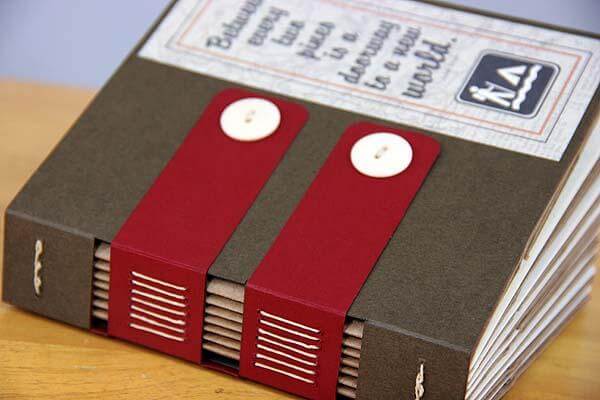
After attaching a 14" length of grosgrain ribbon across the right page, secure ends at the back with tape. Then, tie a small length of maize grosgrain and wine satin around the stretched ribbon and cut a "v" into each ribbon end.

National Parks Greetings to Go
I always challenge myself to do a little something extra with the Greetings to Go cards since they are assembled so easily, but remember--those additional steps are completely optional.
Set A

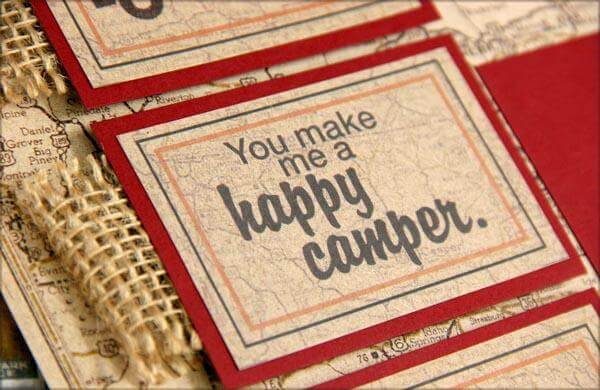
For three of the four cards, I adhered the Brown and Wine panels and trimmed them into four sections to create a more interesting background. Be sure to have adhesive in each quadrant before trimming. Ink edges of the White card base to add to the nostalgic look.

Set B

The White cutapart includes four nifty card panels with pre-printed greetings and squares that get your cards started in short order. Simply trim the art elements from the Maize cutaparts, round the corners, and attach to the White panels with foam adhesive for a great look.

Set C

I found a neat way to incorporate the Colored Skeleton Leaves into this set of cards. Place a leaf over the printed sentiment and mark the outside edges of the leaf with a pencil. Use a craft knife and ruler to cut slits along the top and bottom edges of the sentiment box within the marked pencil lines. Erase the marks and slide a leaf through the slots.

Tomorrow we'll be learning more about this month's Explorer's Journal project:

It's time to get your adventure on and have some fun with your creative muse. May your kit arrive quickly!
Tricia