
I adore the National Parks Explorer's Journal project, but wondered if a few of you might be a bit hesitant about the binding. There are so many different ways to make a paper bag book, so I set out to try a different assembly. Perhaps you'll want to pick up another project kit and try it both ways!

1. Fold each bag along the edge of the bottom flap. Working in pairs, place the smooth side of the flaps back to back.

2. Apply adhesive to the outside of one flap area. Stick the flaps together back to back. Repeat to make three pairs of paper bags. (The 7th bag in the kit can be cut into smaller pieces used to decorate the album.)

3. Open and flatten the three pairs of paper bags and insert horizontally into a paper trimmer. Remove the bottom seams of the bags to create additional pockets. Re-close the bags as before.

4. The long flaps of the paper bag are now 7.25" wide.

5. Score six White inside pages horizontally at 7.25".

6. Score the Brown and Wine outside covers horizontally at 7.25".

7. Insert one scored White page into the fold of one paper bag, matching up the short flap of the page with the bag flap. This will make the first signature. Insert a second white page on the other side, again matching the short flap of the page with the bag flap to make the second signature. Repeat for all page/bag combos.

8. Pierce stitching holes into the Wine and Brown outside covers and each White page/brown bag signature at the following measurements: .5, 1.75, 2.5, 3.5, 4.25, and 5.5". You will have a total of six signatures plus two pierced outside covers.

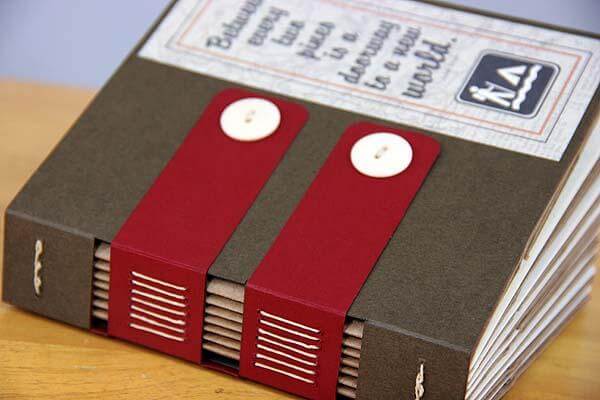
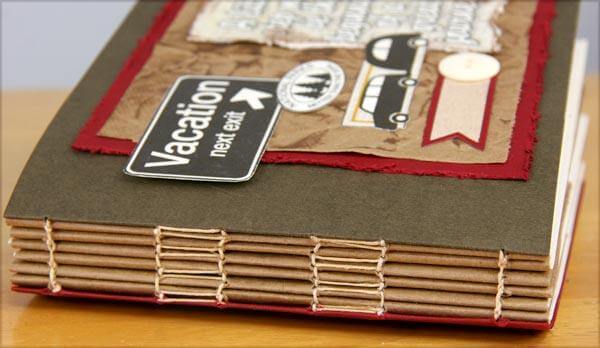
9. Thread a needle with waxed linen and enter the bottom hole of one cover from the outside to the inside. Stitch in and out of each hole to the top of the cover. At this point, follow the basic stitching instructions as found on the original Explorer's Journal blog or how-to video.

I added some connecting stitches in rows 2, 3, 4 and 5. You could also thread ribbon beneath the long stitches and secure onto the covers to make the album more sturdy.

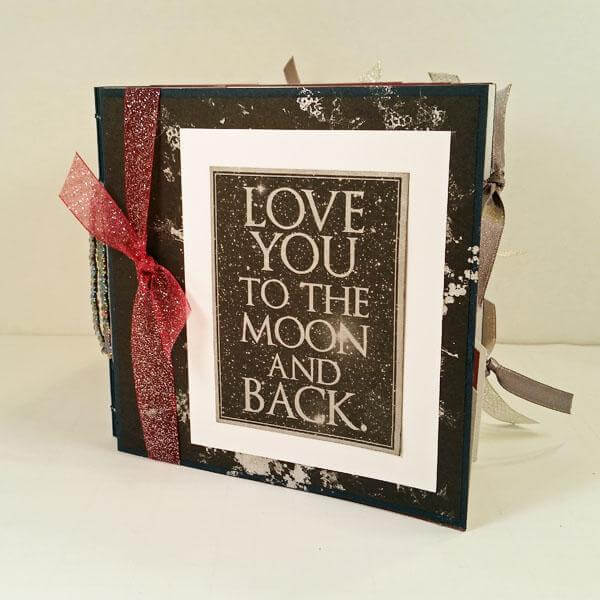
Once the stitching is complete, have some fun embellishing the album.

I'm challenging myself to use items from my ever-growing stash of embellishments as well as a few new die cuts I've picked up along the way. I didn't want to stop once I got rolling!


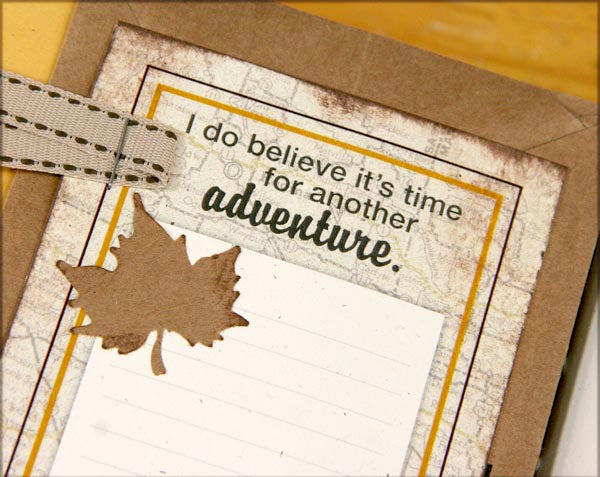
I found a maple leaf punch in my stash from 1993 and punched a few leaves from the extra paper bag. Everything old is new again!

Insert trimmed National Parks papers into each pocket. I allowed them to peek out past the edge of the pockets by about an inch and added tabs for easy removal.

Trim a cover panel from the extra paper bag, crumple, and rub directly with a CS Earth inkpad. Finish with cutaparts and other embellishments.

The 6x7" size of the book makes it perfect for 4x6" photos. I plan to use mine to catalog motorcycling adventures from the summer. I normally don't take enough photos to do a large format album, but something like this is perfect. Let's ride!
Tricia