
In June of 2013, I took my husband and children to the Grand Canyon. I had visited the landmark as a child, so it was fun for me to see the wonder in their eyes as they took in the view for the first time.
As a scrapper, I took just a few pictures (LOL), but sadly the photos had been in a photo box ever since. However, once I saw the June National Parks Deluxe kit, I knew I'd have the perfect ingredients for a mini album worthy of documenting the occasion.

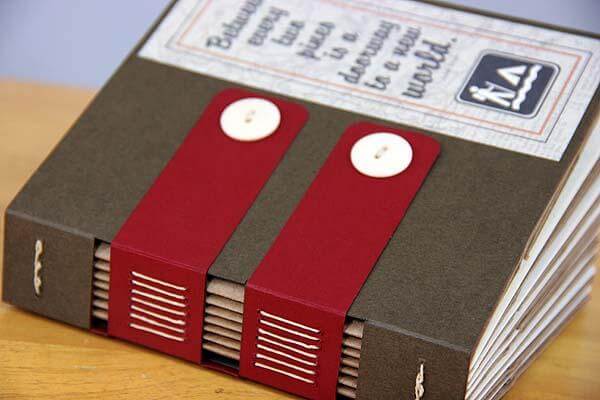
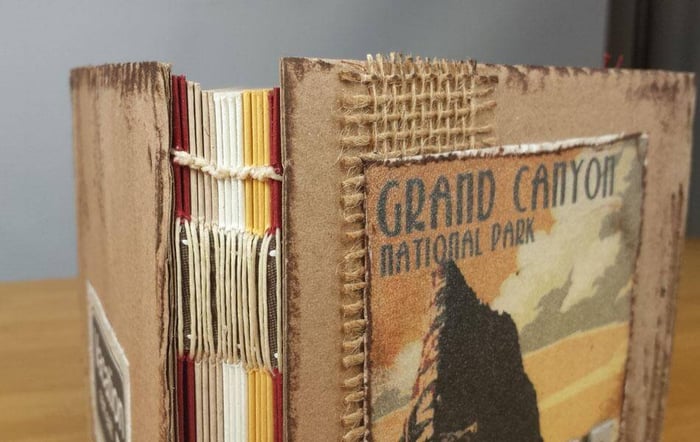
My mini measures just over 6x6" and is made using a kettle stitch binding. The covers are corrugated cardboard from a CS pizza box (a la Julie Heyer). The covers are distressed and inked with Earth Hybrid ink.

The "Grand Canyon" poster is trimmed from the 12x12 Deluxe White Print and adhered over a strip of the Woven Burlap Ribbon. Kraft Thickers spell out "AZ".

Brown grosgrain ribbon under the long stitches of the spine add a decorative touch.

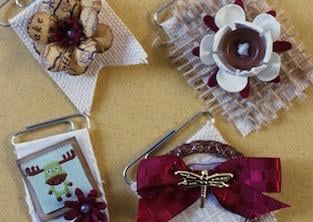
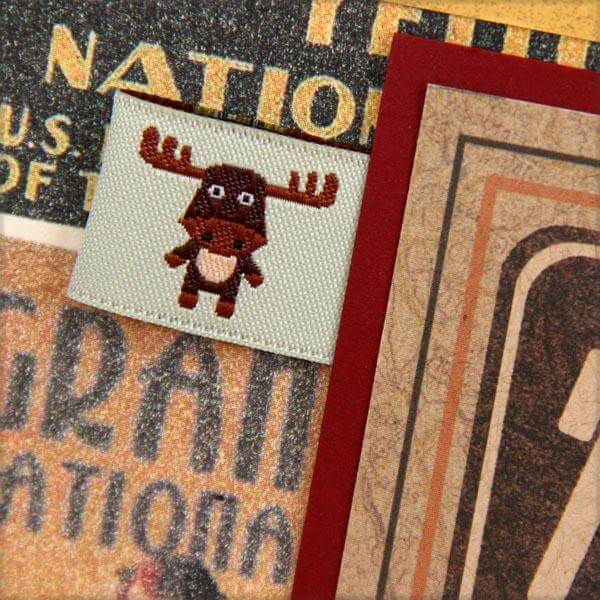
The inside pages are decorated using photos, National Parks Cutaparts, Greetings to Go Skeleton Leaves and UM stamps. Many pages feature borders created using the Navajo Stencil (01/2012). "Got Adventure?" is the Art Nouveau stamp from Great Outdoors (10/2007).

The back cover is decorated with a Cutapart and Art Nouveau UM sentiment.

Minis like this are a great way to preserve memories from a family vacation or other special occasion. They also make a great gift. Want to make one of your own? Brief instructions are below.

SUPPLIES:
(2) 12x12 Wine Plain(2) 12x12 Maize Plain
(2) 12x12 Kraft Plain
(2) 12x12 White Plain
National Parks Cutaparts
National Parks Unmounted Stamps
Earth Hybrid Ink
Waxed Linen Thread/Needle
Club Scrap Pizza Box
INSTRUCTIONS:
1. Check the grain direction of each 12x12 plain and place in the trimmer so the paper dips easily from top to bottom; cut at 6".
2. Fold each 6 x 12" in half horizontally, burnish with a bone folder.
3. Open one folded page. Using a Grid Ruler and paper piercing tool, pierce stitching holes along the fold at .5, 1, 2, 4, 5, 5.5". Use as a template to transfer stitching holes to remaining pages.
4. Using a needle and waxed linen thread, stitch book together using a kettle stitch.
5. To create the covers, cut two pieces of cardboard from a pizza box to 6-1/8 x 6-1/4". Carefully peel the top layer from sections of the covers to distress. Ink edges.
6. Glue covers to the first and last pages of the stitched book, using Bookbinding Glue.
7. Add photos, Cutaparts, stenciling, stamping, etc. to embellish the book.