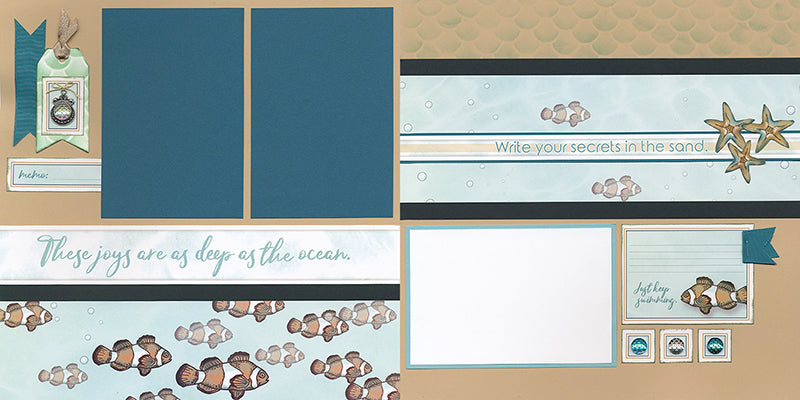
Assemble your Lagoon Lite layouts by downloading and following your instructions and checking out the information below . . .
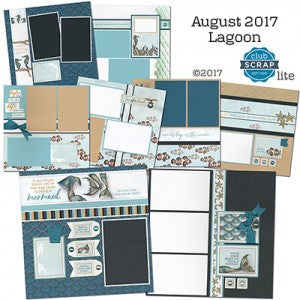
Lagoon Lite Layouts
LAYOUTS 1 & 2
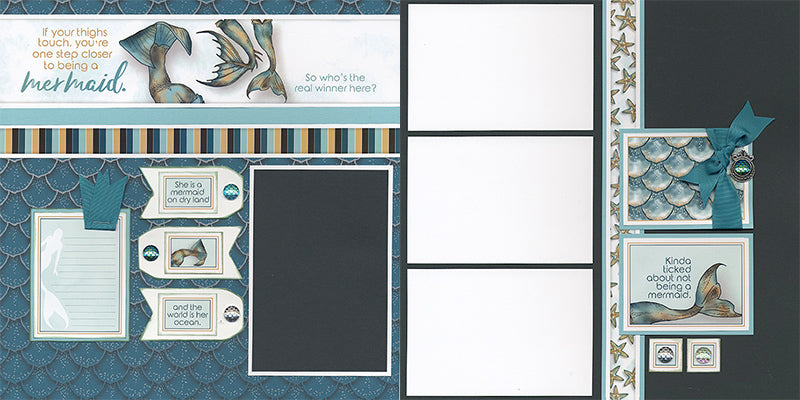
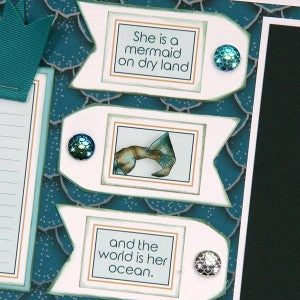
Ink the edges of three white tags and the corresponding cutapart with Spruce or Lagoon inks and a CS® Ink Applicator. Next, glue a fish scale gem to the top of each tag.
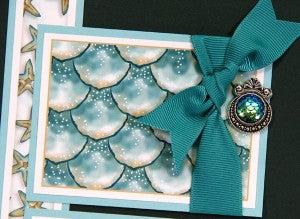
Glue a gem to the silver setting with CS® Bookbinding Glue in a Needle-tipped Applicator and adhere to the right of a teal grosgrain bow wrapped around the cutapart.
LAYOUTS 3 & 4
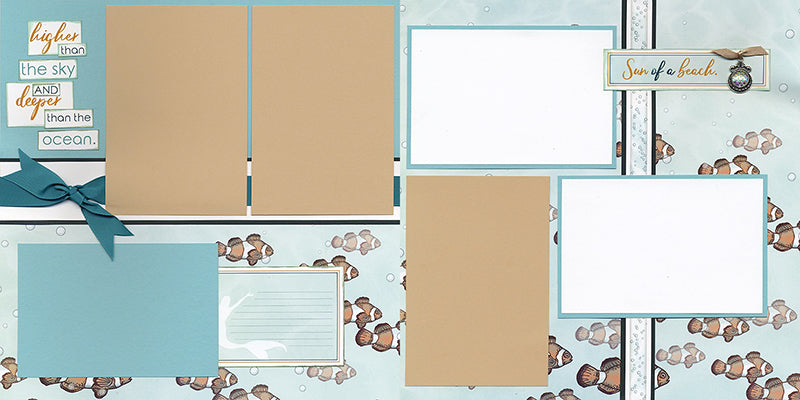
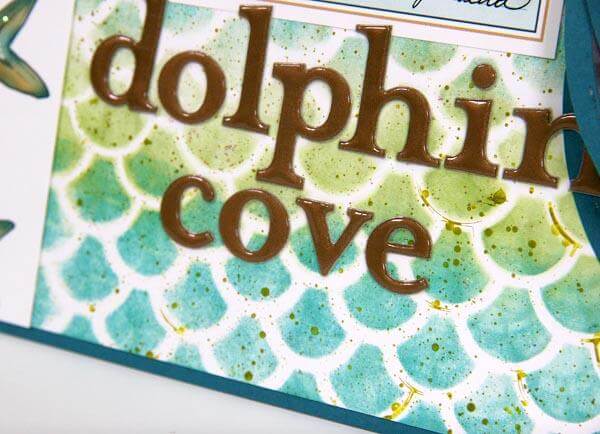
Trim the cutapart into individual words, ink edges and glue onto the upper left corner of the layout.

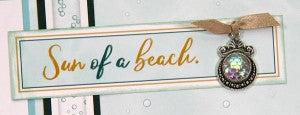
Glue the gem to the silver setting and tie a small piece of gold metallic ribbon to the top of the setting. Glue to the cutapart.
LAYOUTS 5 & 6
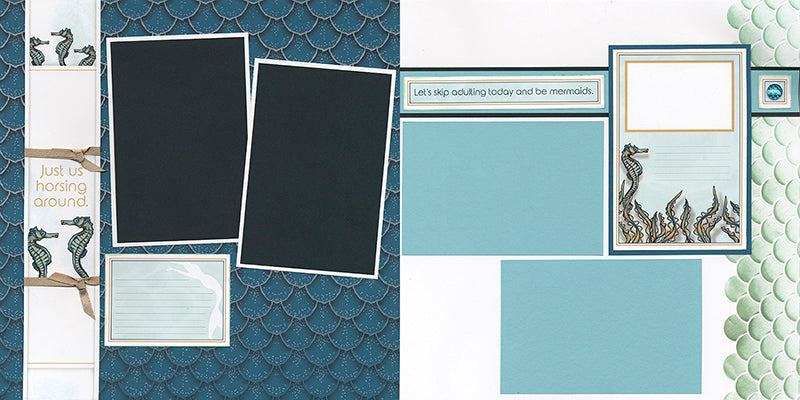
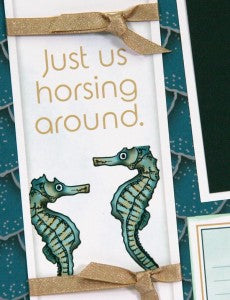
Tie gold metallic ribbon above and below the sentiment on the cutapart.
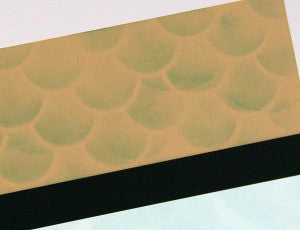
Gently swipe Lagoon ink onto the right edge of the layout with the fish scale stencil. You may find it helpful to test the level of pressure and ink needed on a piece of scrap paper prior to stenciling on the layout.
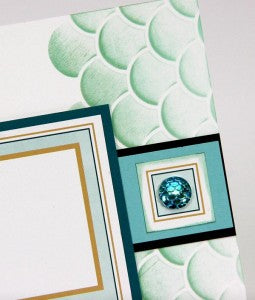
LAYOUTS 7 & 8
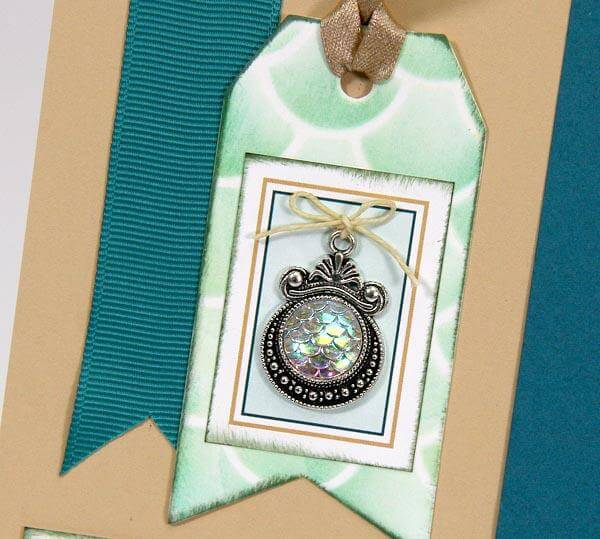
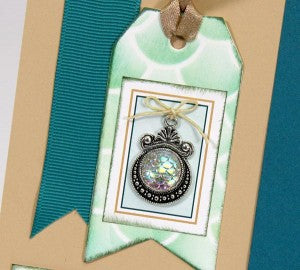
Stencil the fish scale pattern onto the White tag with Lagoon and Spruce inks. Top the tag with metallic gold ribbon and layer onto a piece of teal grosgrain ribbon. Next, glue the gem to the setting, tie a waxed linen bow onto the loop, and adhere to the cutapart. Finally, nest the cutapart onto the tag.
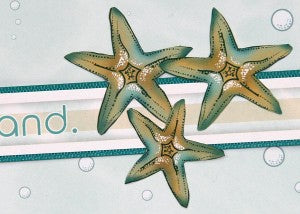
Adhere a piece of teal grosgrain ribbon across the layout and nest with the 12" cutapart. Remove the three starfish from the cutapart with detail scissors and glue to the page.
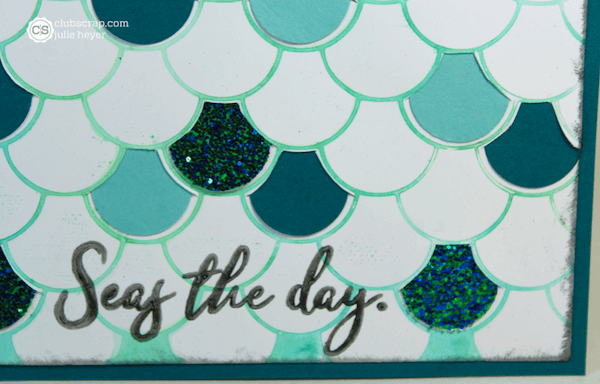
Apply a light shade of Lagoon ink onto the top edge of the Sand layout with the fish scale stencil.
This collection is going to disappear quickly. Be sure to join the club today and order your Lagoon Lite kit before they all swim away!
Tricia
