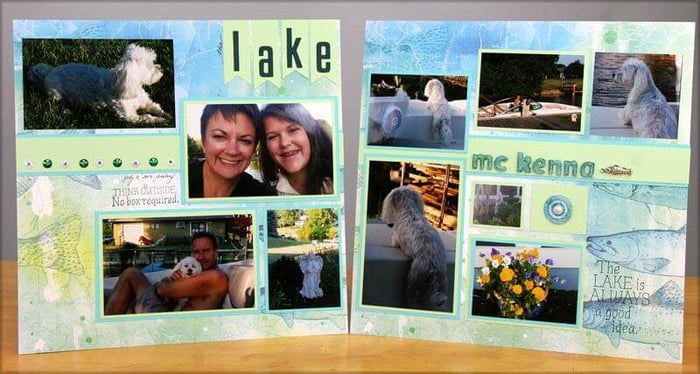

Never one to let things go to waste, I created a layout using leftover Lakes papers from my Fish Scale card.

Here is how the layout came together.
Gather the leftover papers from the fish scale card.
- 12x12 punched Lakes Light Teal Plain
- 12x12 punched Lakes Dark Teal Plain
- 3.5x12 punched Lakes Mint Plain
- Three 4.25x5.5" digital hybrid punched prints
- Variety of 1" punched circles from above.

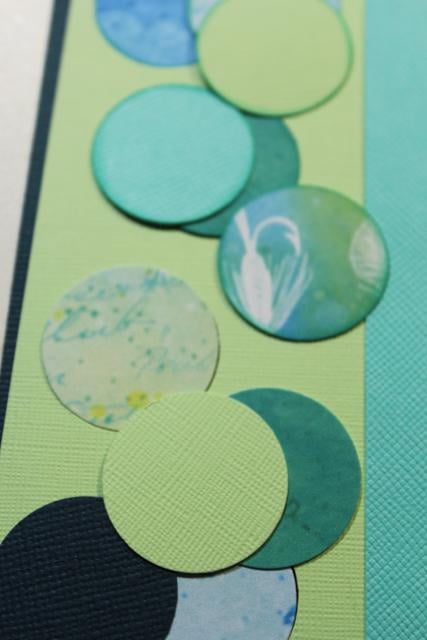
Arrange the 1" circles into previously punched spaces and on top of a 3.5x12" Mint strip. The strip is layered onto the 12x12 Dark Teal punched sheet and a 1/2" strip of Light Teal.

Highlight the edges of the circles with any of the suggested hybrid ink colors found HERE.

Recycle the punched digital prints for mats which will be hidden by the photos on the layout.

Page Assembly
Adhere the Mint strip to the dark teal background paper aligned along the left edge of the page.

Cover the holes on the back of the dark teal paper with a long strip of clear tape. Note: the sticky side of the clear tape will be on the front of the layout. Flip layout over and place punched circles into the empty holes of the mint green strip. Attach the rest of the punched circles to complete the border strip.


Add a title with alphabet Thickers. (I used a set that was included with the Art Journal project from Retreat 2014 called "Goodness".)

Add additional embellishments to the layout including Sparklets Dots and fiber from the Lakes collection.

It always makes me happy when I can use leftovers and scraps from previous crafting projects.
After all, isn't that what scrapbooking is all about?
 Julie
Julie