
We field quite a few calls from inquiring minds wanting to know how to use the unmounted (UM) stamps featured in our monthly collections. While a picture is worth a thousand words . . . a video is really the way to go! In a nutshell, these are the easy steps:
- Trim the sheet into individual images with a scissors. Consult the index sheet to determine how to trim text/images, if needed.
- Place the stamps face down in an empty pizza box treated with Mount It Adhesive.
- Brush a thin, even coat of Mount It Adhesive onto the back of each individual stamp. Allow the adhesive to dry until completely clear.
- Insert a heavy-weight sheet of paper into a standard page protector to add stability. Attach the stamps to the protector. Insert the index sheet into the facing page protector.
- To use, simply peel the image from the protector and place onto an acrylic block or other non-porous handle. Acrylic rulers work well for large or long images.
- When finished with the stamp, simply clean and replace in the protector; store the protectors in a standard 3-ring binder.
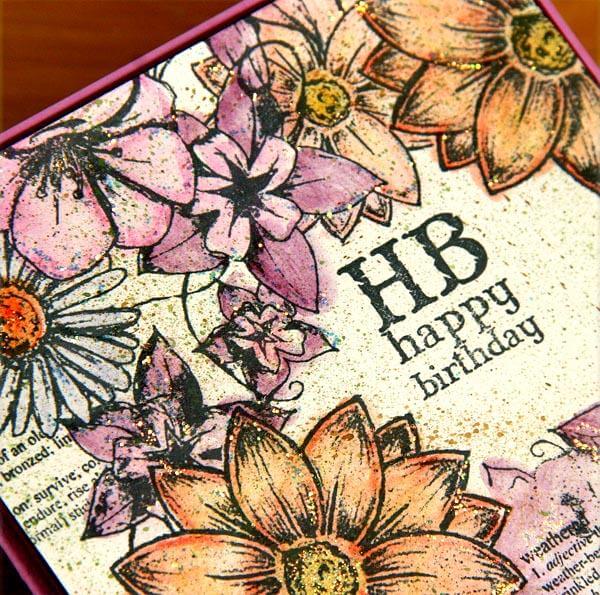
When creating the video, I featured the Weathered Florals Unmounted Rubber. Formerly available only as a gift when referring a friend to one of our Clubs, the sheet is now listed for online purchase! 

Weathered Florals Unmounted Rubber
Happy unmounted storing and stamping! Tricia