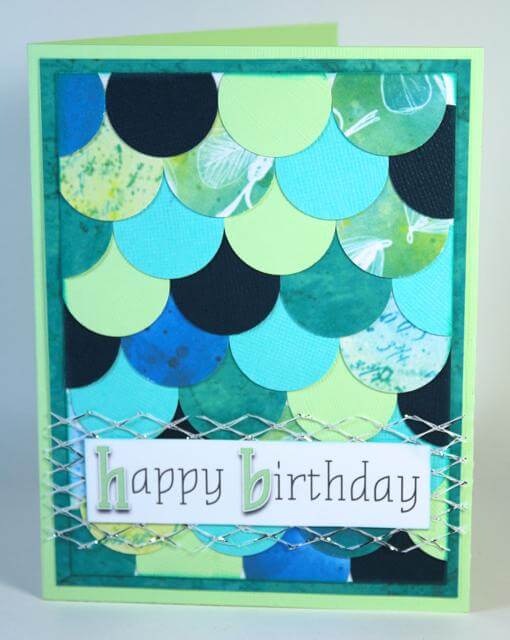

I spotted something fishy on Pinterest the other day. It was a clever DIY wall hanging made from punched circles. I knew that it would make a terrific card using papers from this month's Lakes Collection. Here is how it came together. 1. Punch 1" circles from Lakes Dark Teal, Light Teal and Mint papers.


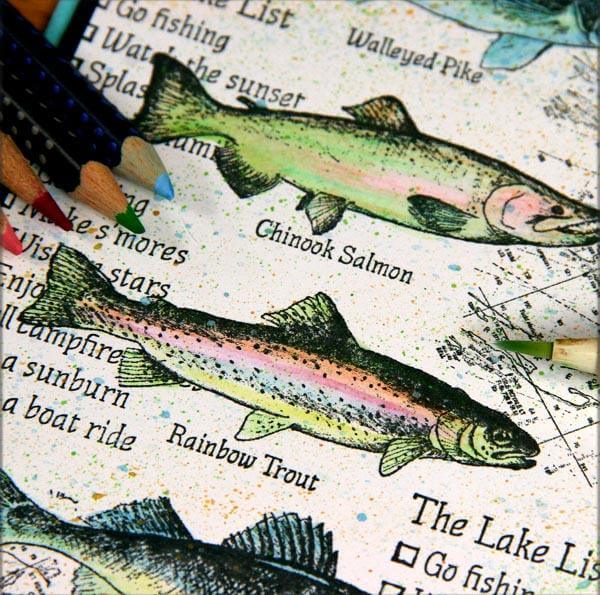
Create an 8.5x11 document with four different backgrounds from the Lakes digital collection.
 3.
3.
Print onto 8.5x11" white paper.

Punch 1" circles from the hybrid print, leaving the outside perimeter in tact.
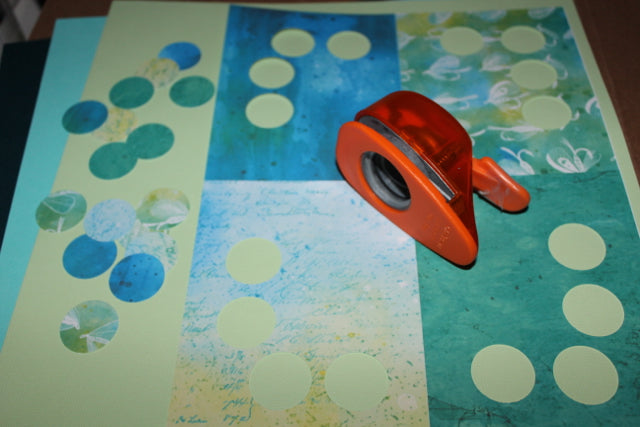
Arrange the 1" circles into a pleasing pattern.

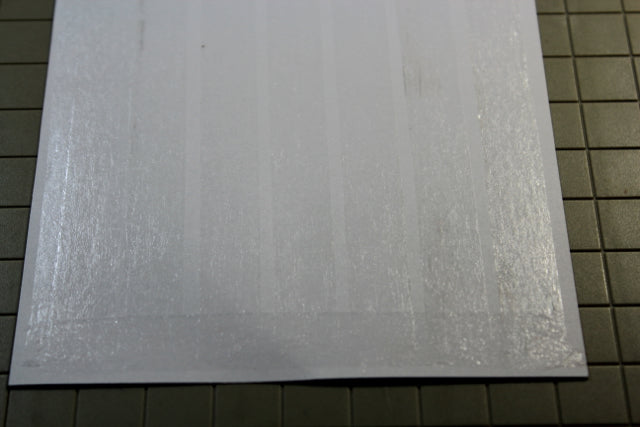
Cover a 4.25x5.5" piece of white paper with adhesive (ATG tape used below).
Keeping the circles in stacks according to the chosen pattern, attach to the white adhesive-covered paper.

Continue to layer circles in an overlapping "scale" formation until paper is covered.


Trim fish scale paper to 3.75x5".

Attach the panel to one of the punched prints trimmed to 4x5.25". (I just couldn't let those pieces go to waste!)

Create a unique sentiment using the Lakes Digital Collection quotes and alphas. Print onto white paper.

Trim sentiment and layer onto silver mesh or other material. (Special thanks to Lynn Borders who sent me a section of this unique mesh to use as a texture for my Gelli Plate. It makes a great embellishment, too!)

What do you think of this "upscale" card? Stay tuned for my next post when I will share a layout using some of the extra punched circles and papers. See you then!
 Julie
Julie