Audio generated by DropInBlog's Blog Voice AI™ may have slight pronunciation nuances. Learn more
I'm a bit excited about the Weathered Florals Unmounted Rubber now available for online purchase, so here I go with a scrapbook page and cards.
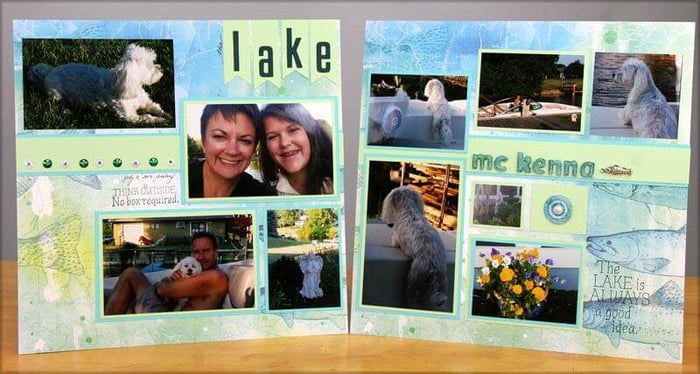
Let's begin with my "Friends 2014" page . . .
Background Rubber Stamped with Club Scrap's Weathered Florals Stamps
1. Start with a 12x12 White base. Stamp a background for a 5x7" photo.
Masking for collage stamping
2. Cut a stamping mask to cover the large floral image and the single flower. Mask the previously stamped images while adding the horizontal border to make it appear as if it's in the background.
3. Color the stamped images with watercolor pencils and blend with a water brush.
4. Embellish the page with additional layers of stamped and colored flowers attached with foam adhesive to add dimension.
I love how the page turned out and the memory of having lunch with great friends!
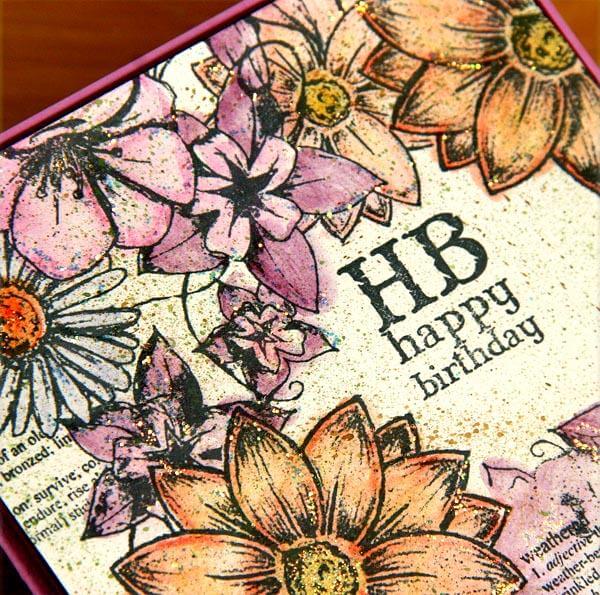
Now for the dimensional Happy Birthday Card . . .
Birthday Greeting Created With Club Scrap's Weathered Florals Collection
1. Stamp the single flower three times, once onto a White card base and twice onto an additional sheet of White. Color with watercolor pencils.
2. Cut out the two extra flowers.
3. Layer on top of the card base with self adhesive foam squares and finish with an accent of glitter glue.
I created a few additional cards featuring the same technique I used in the above layout. They've been a big hit with my floral-loving friends!
Enjoy stamping with the Weathered Floralsimages! This sheet has so much potential
Thanks for stopping by,
Kay at Club Scrap

 Background Rubber Stamped with Club Scrap's Weathered Florals Stamps
 Masking for collage stamping
 3. Color the stamped images with watercolor pencils and blend with a water brush.
 4. Embellish the page with additional layers of stamped and colored flowers attached with foam adhesive to add dimension.

 I love how the page turned out and the memory of having lunch with great friends!
Now for the dimensional Happy Birthday Card . . .
I love how the page turned out and the memory of having lunch with great friends!
Now for the dimensional Happy Birthday Card . . .
 Birthday Greeting Created With Club Scrap's Weathered Florals Collection
 2. Cut out the two extra flowers.
 3. Layer on top of the card base with self adhesive foam squares and finish with an accent of glitter glue.

 I created a few additional cards featuring the same technique I used in the above layout. They've been a big hit with my floral-loving friends!
 Enjoy stamping with the Weathered Florals images! This sheet has so much potential
Thanks for stopping by,
Kay at Club Scrap
Enjoy stamping with the Weathered Florals images! This sheet has so much potential
Thanks for stopping by,
Kay at Club Scrap