The You've Got Mail Pages are so much fun! The color scheme, goodies and neutral theme will be perfect for any occasion.

Read on for tips and insights into the eight pages you'll make when following our detailed assembly instructions.
You've Got Mail Pages
LAYOUTS 1 & 2

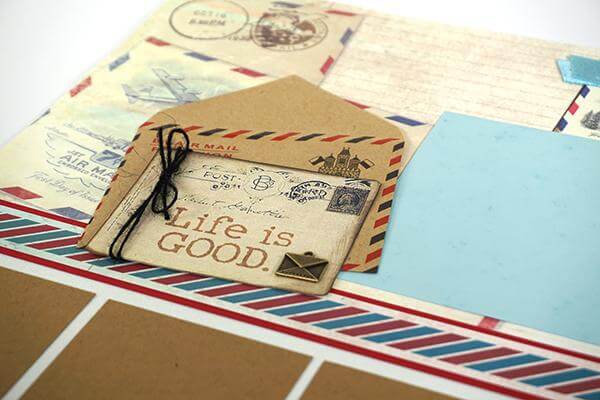
We've added three miniature kraft airmail envelopes to your kit, and Jaqueline thoughtfully designed plenty of art pieces to fit inside. Wrap the insert with jute fiber, tie in a bow and accent with a bronze envelope charm.

Make a small loop of metallic blue ribbon and tape to the back of the "snail mail" cutapart.

Add the jute fiber to a needle that will fit through the postage stamp button holes and sew the button to the Kraft panel with ease. Tie the jute into a small bow or simple double knot.

LAYOUTS 3 & 4

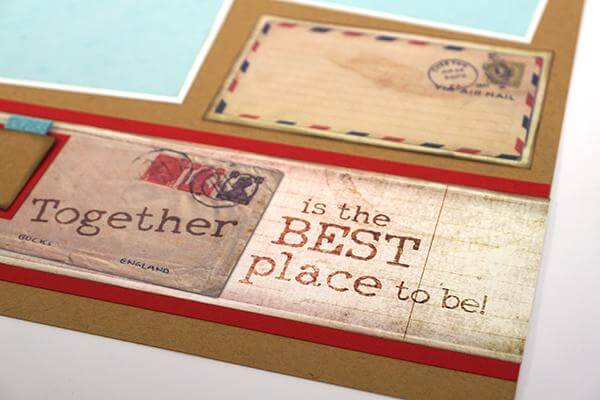
Tape a small loop of metallic blue ribbon to the back of each 1.5" Kraft square and nest onto a 1.75" Red panel. Adhere to the cutapart with the help of a CS® Grid Ruler.

Nest the journaling prompt onto a Red panel and layer onto the page with a second cutapart and mini airmail envelope.

LAYOUTS 5 & 6

If desired, sponge Earth ink onto the edges of the elements with a CS® Ink Applicator before adhering to the layout.

Add a sweet airmail border and "express" word beneath the trio of Red mats with the stencil. We used CS® Ruby, Sapphire and Earth inks.

LAYOUTS 7 & 8

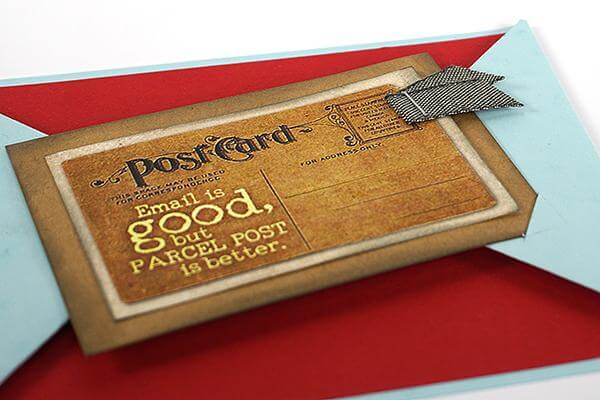
You'll have enough metallic blue ribbon to add a three-part bow to the lower right corner of the spread. Tuck the lower right corner of the cutapart beneath the bow.

Add a row of three postage stamp buttons sewn to Kraft panels with black jute.

Check out how the subtle pattern on the 12x12 paper is visible through the stenciled ink on the airmail border.

If the way to girl's heart is through her mailbox, we sincerely hope the arrival of the You've Got Mail Page Kit makes your heart very happy!
Tricia


