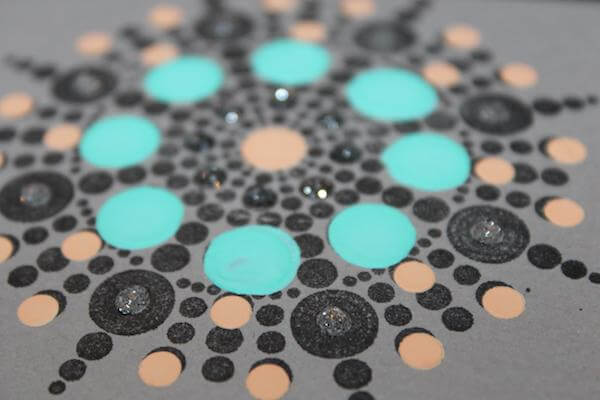

Create depth and pops of color with the Celebrate Circle Overlay Stencil and homemade texture paste tinted with Color Burst powders.

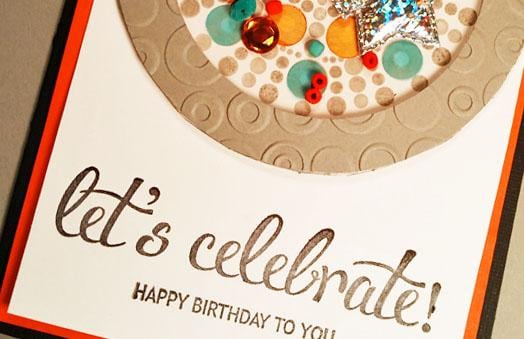
Stamp the Celebrate Jumbo UM medallion image onto Gray Plain paper with India ink.

Whip up a batch of homemade texture paste. I found a recipe HERE. Tint a small amount of paste with Color Burst powders. Mix with a craft stick until the desired color is reached.


Apply to stencil with a palette knife, "frosting" the paste onto the stencil to fill the holes. Allow each area to dry before proceeding to the next color. ** Clean off excess paste from the stencil between each color application and immediately after stencil use.


Create different looks with different Color Burst combinations.


Continue to embellish medallions with Silver Pearl Liquid Pearls and Silver Glitter Glue.


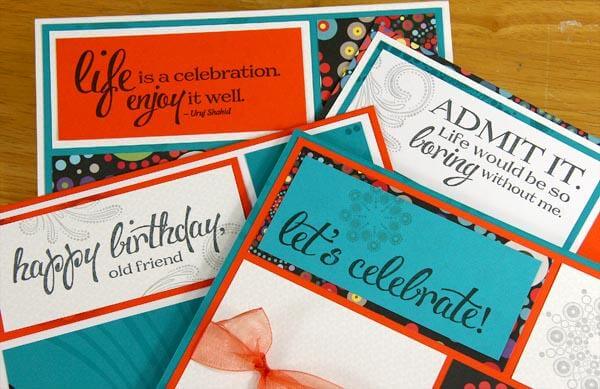
Create a layout with the Celebrate collection and photos from a special event, like the Club Scrap Retreat, for example!
Here's to good friends who never make life boring! I hope you are all having a Happy New Year!
 Julie
Julie