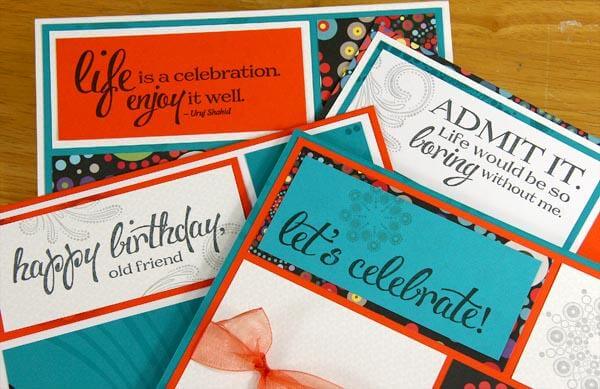

Did you see the Celebrate Greetings to Go cards? Four of the twelve cards feature a neat clear plastic front panel.
As luck would have it, you can purchase the Greetings to Go Plastic Film in 9x12 sheets in our online store. I picked up a couple to play with over the weekend.
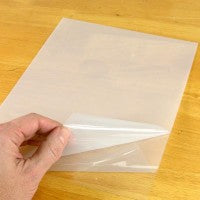
This clear plastic film comes with a protective coating on both sides to keep it in perfect condition until you're ready to use it. It's also much thicker than regular acetate. I decided to use it to create a festive shaker birthday card.

Here are the steps:
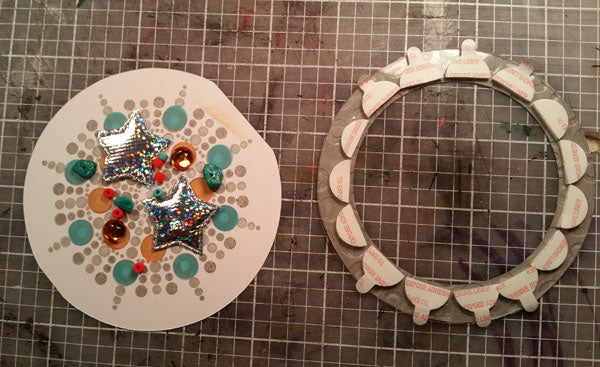
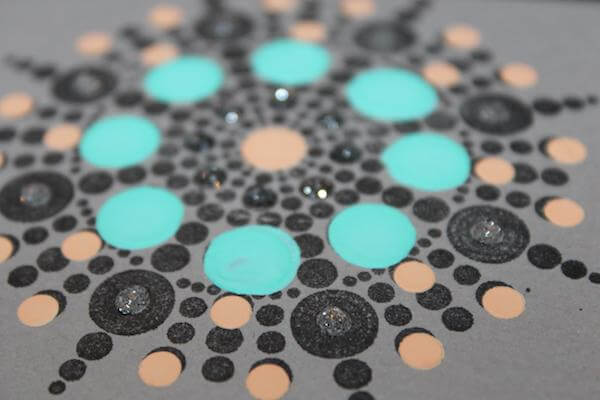
1. Stamp the circles image from the Jumbo UM sheet with Ash Ink.
2. Apply Lagoon and Tangerine Ink with Ink Applicator using the Circle Overlay Stencil.
3. Create a round frame from Gray Plain with circle cutting tool or nesting dies. An embossing folder adds texture to the frame.
4. Use larger die to trim both the stamped/stenciled panel and the plastic film. (You may need to make several passes with circle cutter to get through that nice thick film.)
5. Adhere Gray circle frame to clear film with ATG.
6. Trim Foam Adhesive Circles in half. Add a double thick layer to back side of plastic film/frame. (The tabs on the foam circles are SO NICE--they make it quick 'n easy to peel off the backing. Well, on half of them anyway, LOL.)
7. Top the stamped/stenciled circle with assorted beads, jewels and two small star-shaped Puffy Patches. Apply the foam adhesive/frame on top to seal the shaker.
8. Adhere to a white panel. Stamp Greeting UM sentiments in India Ink.
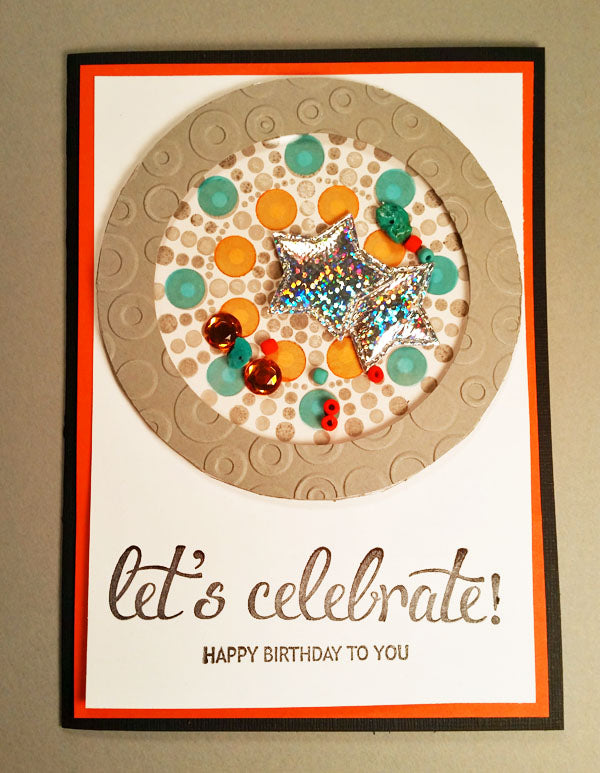
The result is a colorful, happy card that any birthday guy or girl would love. I think you'll really like this extra thick plastic film. Be sure to pick up a few sheets before they're all gone!
Happy crafting!
![]()