The elegant Tapestry Pages are not going to have to wait around for a perfect moment. Just take your next batch of printed photos and scrap away!

Tapestry Pages
LAYOUTS 1 & 2

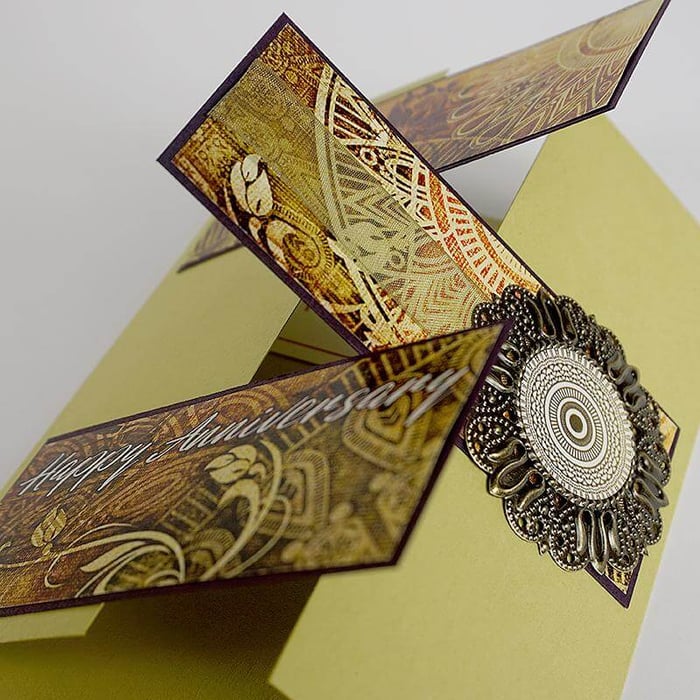
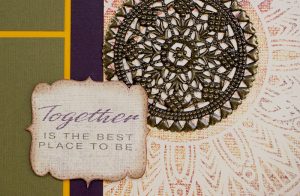
The bronze mandalas are perfection with this collection! Adhere them to your layouts with our awesome Bookbinding Glue. A few dabs will do 'ya.
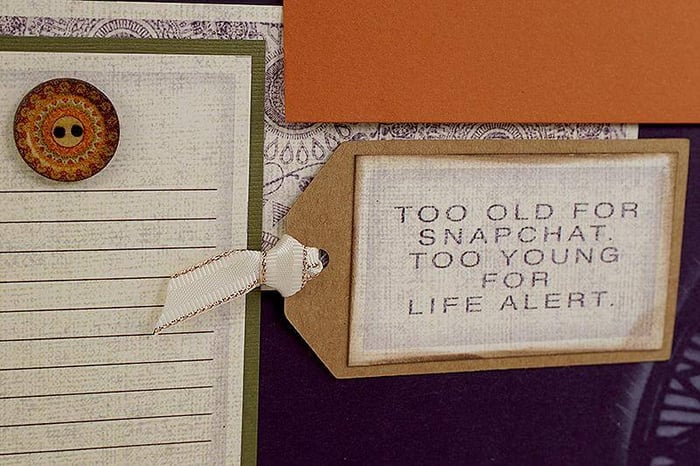
The kraft journaling tags have lines on one side and are blank on the other. We've designed a few cutaparts to fit right onto the tags. Stack two tags next to the photo mat, one for journaling and one with a caption. Top them with the pretty rose gold-edged ivory ribbon.

LAYOUTS 3 & 4

If you don't mind taking a few extra moments, trim along the edge of the printed frame with detail scissors and ink the edges of the cutapart for a sweet look.
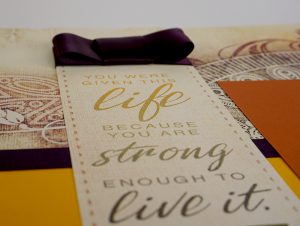
Top the vertical page title with a three-part bow made from purple satin ribbon. We include double-faced satin to make bow making easy!
LAYOUTS 5 & 6
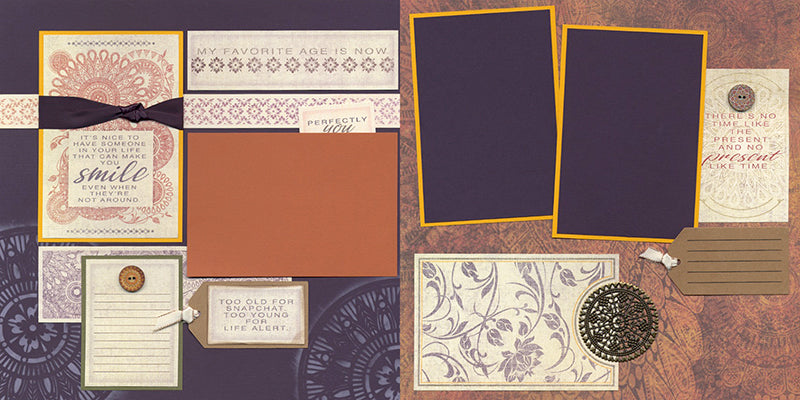
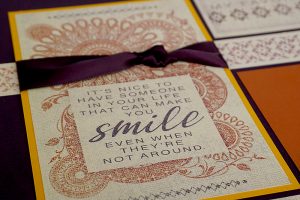
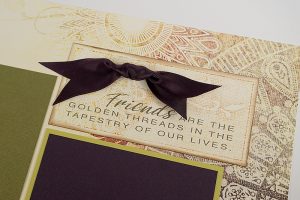
The wide satin is perfect for this simple embellishing technique. Simply tie a knot in the ribbon and tape the ends onto the back of the cutapart. No bow-making required!
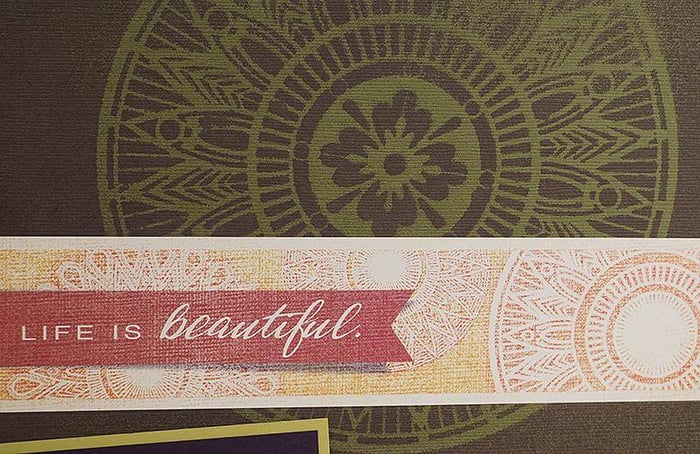
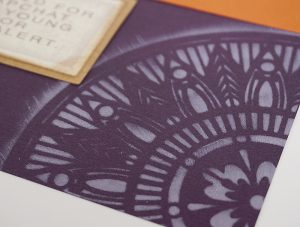
Add life to the 12x12 Purple Plain base page with the gorgeous Tapestry stencil. Simply hold it in place firmly and apply CS® Parchment or White Pigment Ink with an ink applicator. Allow a few minutes of drying time or zap the stenciled image with a heat tool prior to finishing the layout.
LAYOUTS 7 & 8
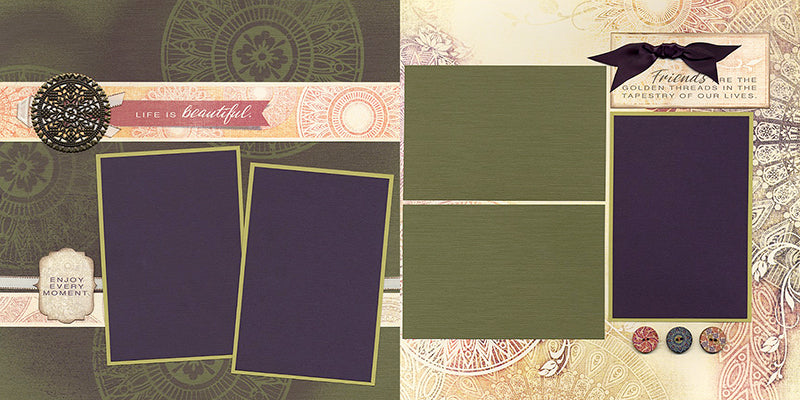
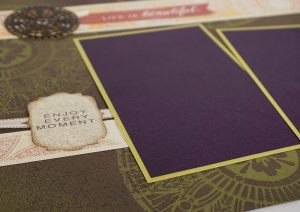
Place the 12x12 Dk. Green Plain into an empty pizza box (a.k.a. "spray tray") and layer with the stencil. Spray with your favorite colored mists.
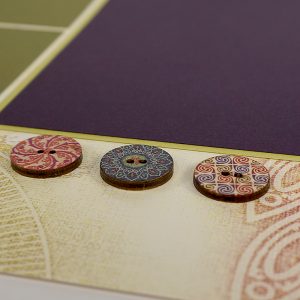
Adhere a row of three painted wood buttons beneath the nested photo mats with bookbinding glue.
There's the knot trick again! Simply tie the know and trim the tails in a "v" shape.
I'll review all of the page assembly tips in my full-length page assembly video tutorial included with your membership. Watch your email for the links to the video and instructions. Need the Tapestry Page Kit? Order yours today!
Creatively yours,
Tricia

