
Club Scrap's monthly bonus formula makes it easy to transform your paper stash into completed layouts. You'll be filling your scrapbooks in no time with this incredible tool - just add photos! So much more than a page sketch, each formula provides trimming and assembly instructions to create a two-page spread.
Members: Have you downloaded your February Page Formula yet? If you're not using this valuable monthly membership benefit, I encourage you to give it a try!
Not sure where to find it? Check your inbox for your member-exclusive email with important links to the page formula, instructions, video tutorials and more. It is sent to active members* on their scheduled shipping day and looks like this:

*An active member is defined as one who paid for and received the current monthly kit.
February Bonus Formula
Layout Sketch
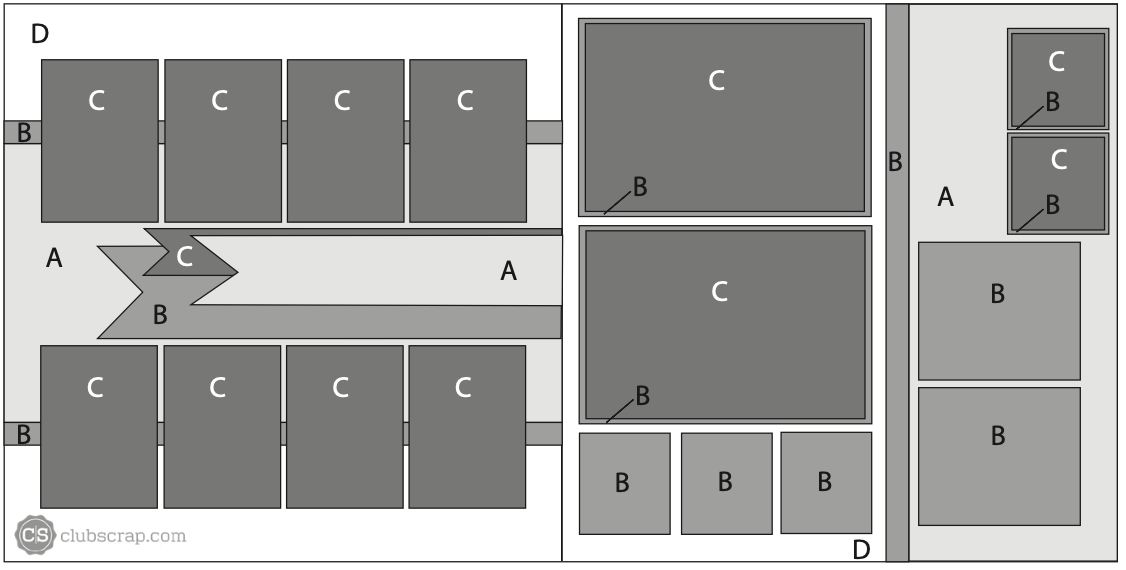
The February Bonus Formula creates a well-balanced two-page spread to showcase up to 17 photos. To make the layout, gather five coordinating 12x12 papers. Follow the trimming instructions on the printable document, then assemble the pages using the sketch as a reference.
Have you noticed the updates Tricia made to the document? It's never been easier to follow the step-by-step instructions!
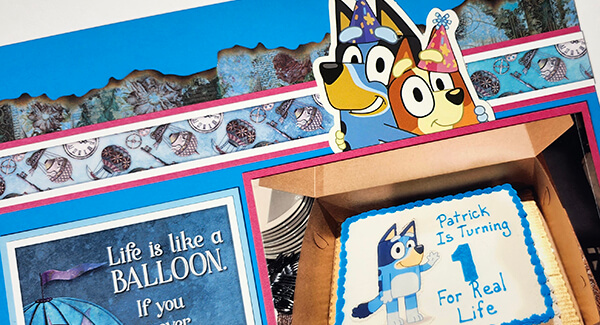
February Bonus Pages - Karen
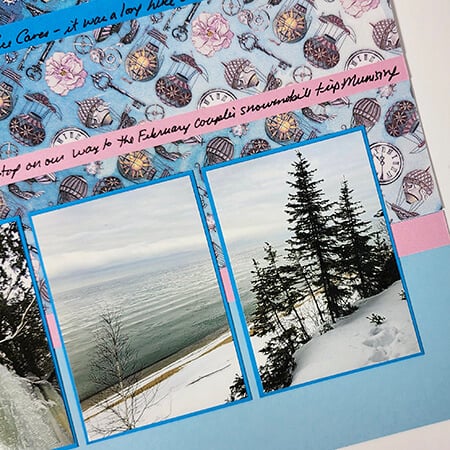
To replicate my layout, gather the following Take Flight papers: Card Print (Paper A), Dk. Blue (B), and two Lt. Blue (Paper D). I chose one Dk. Gray (Cartography 11.23) for Paper C.
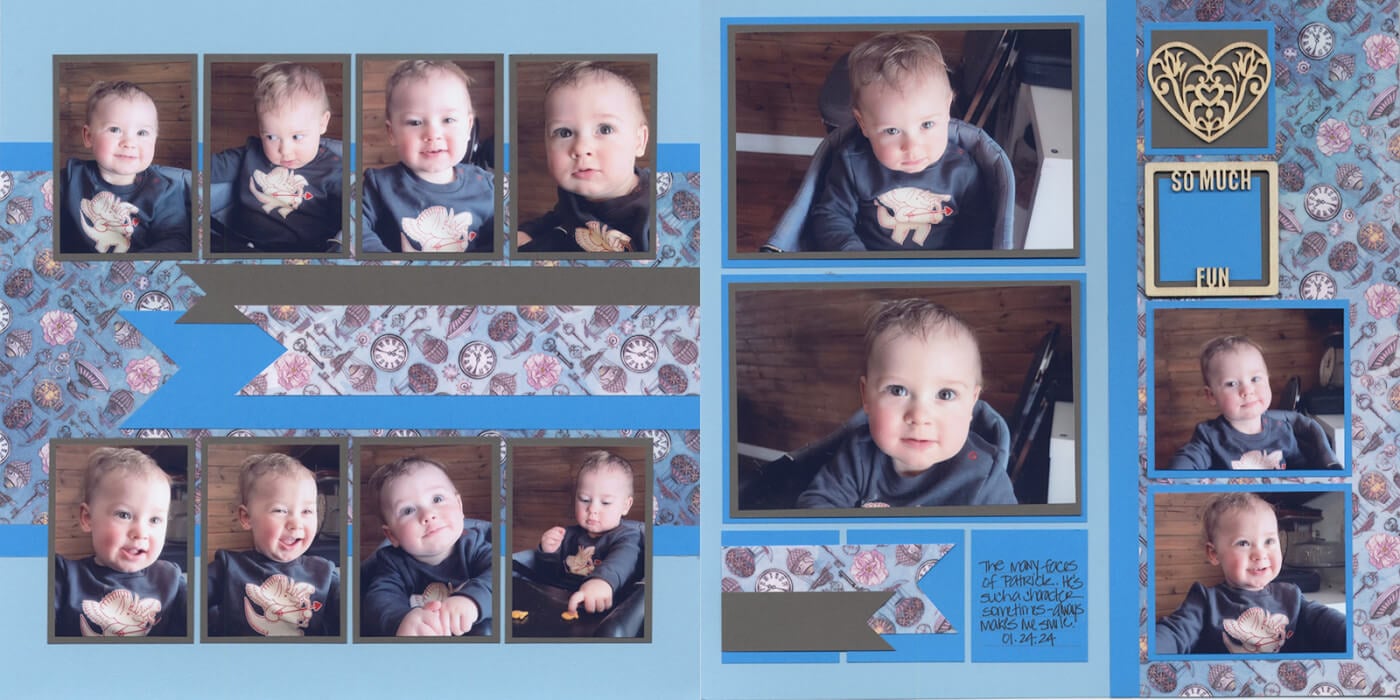
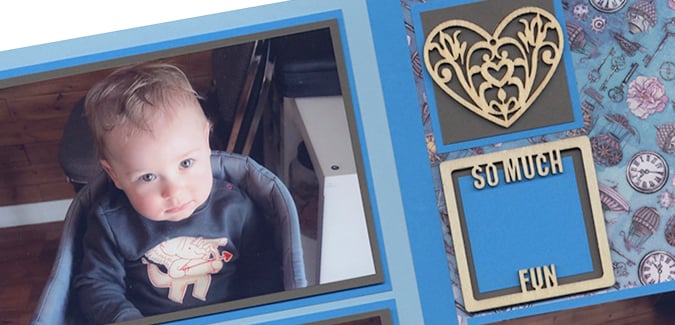
As you can see, very little embellishing is needed. The photos are definitely the focus on these pages, yet there's still plenty of space if you wanted to add a page title or other finishing touches.
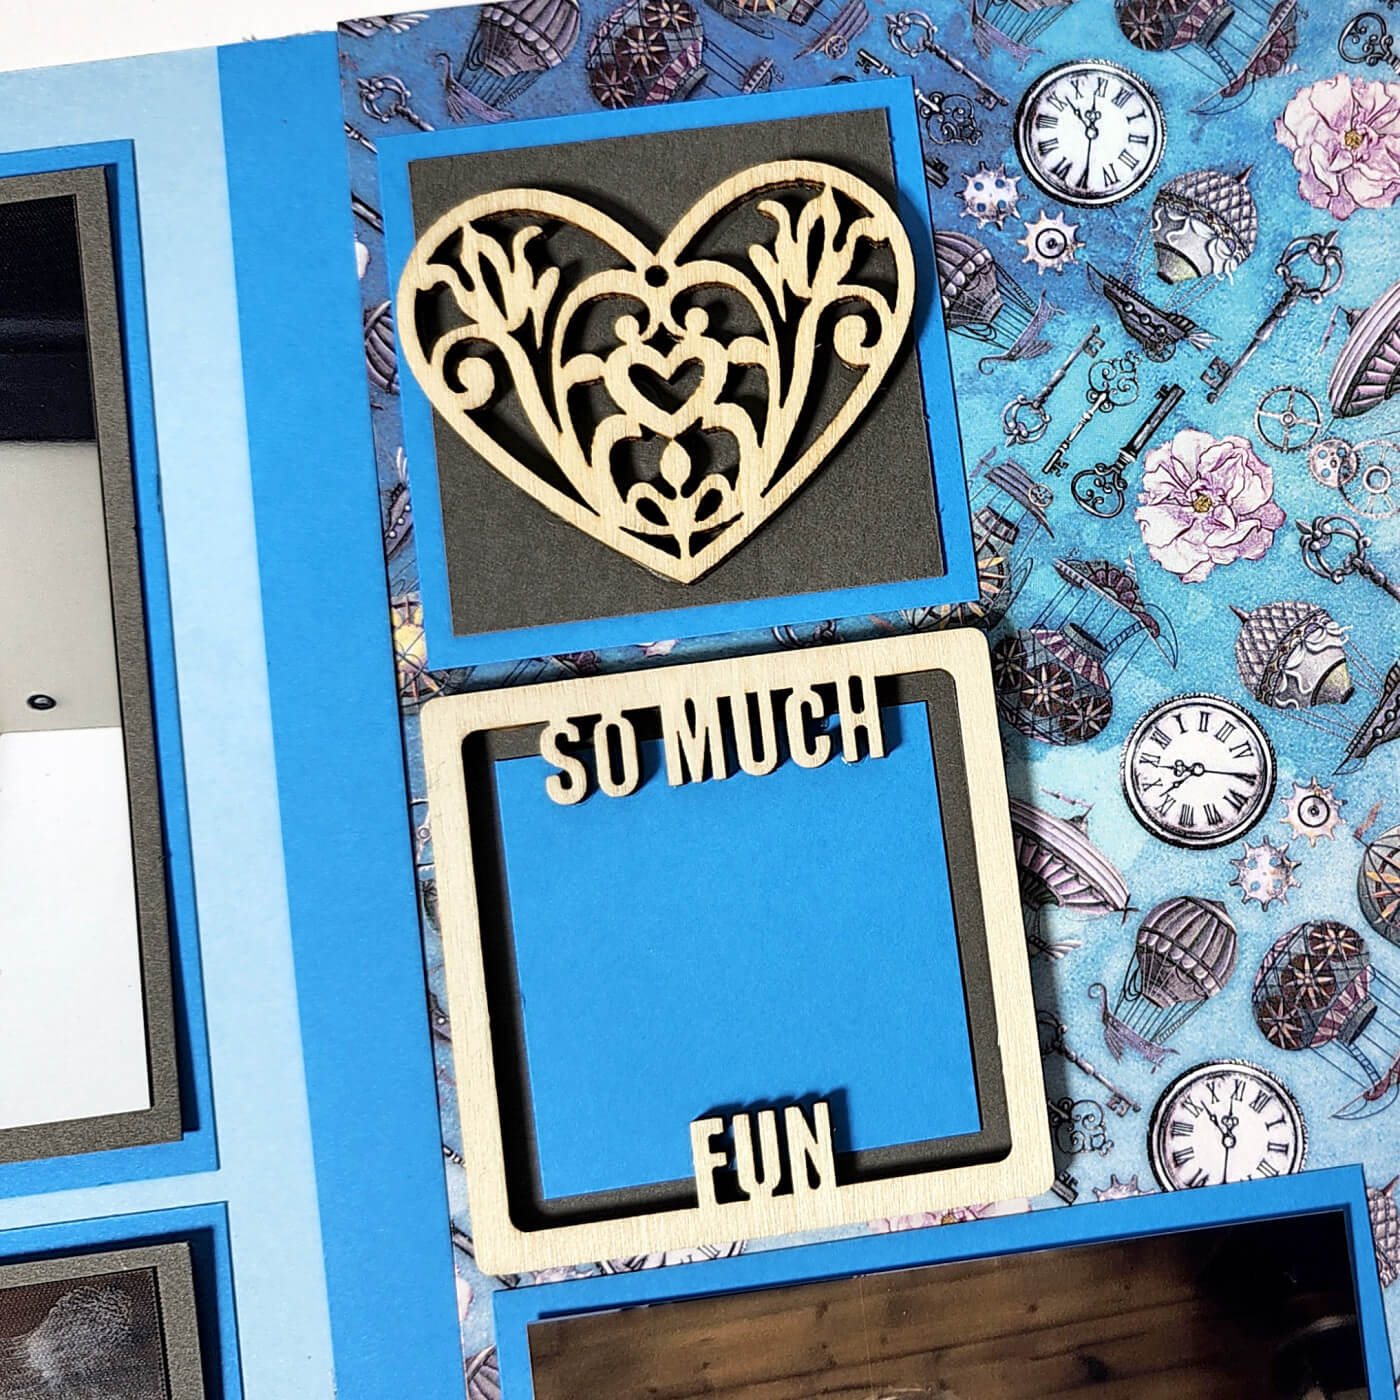
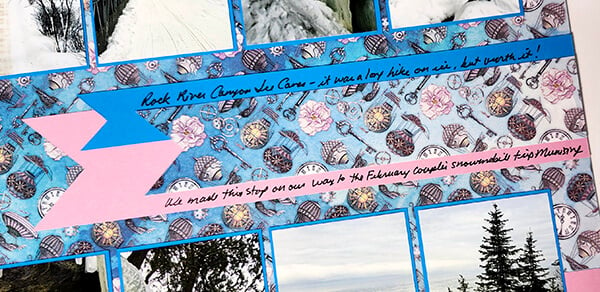
In lieu of small photos, adhere a laser woodcut heart to the top square. Trim the 2x2 Dk Blue scrap (leftover after trimming) to create a 1.75" square. Adhere to the second square mat and top with a woodcut sentiment. (Both woodcuts are from my private collection.)
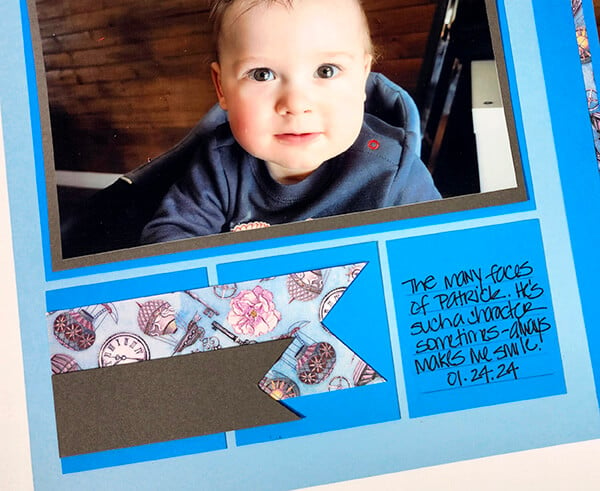
Instead of tossing them, trim a "V" into one end of the print and plain scraps to create two mini banners. Add them to two of the Dk. Blue rectangle mats at the bottom of the page, flush with the left edge. Transform the third mat into a journaling block with the help of a grid ruler and pencil.
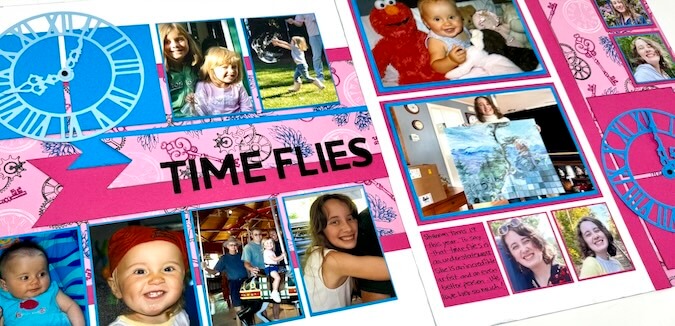
Take Flight Bonus Layout - Tricia
Tricia's layout features the following paper assignments: Card Print (Paper A), Lt. Pink (Paper B), Dk. Blue (Paper C) and two Lt. Blue (Paper D).
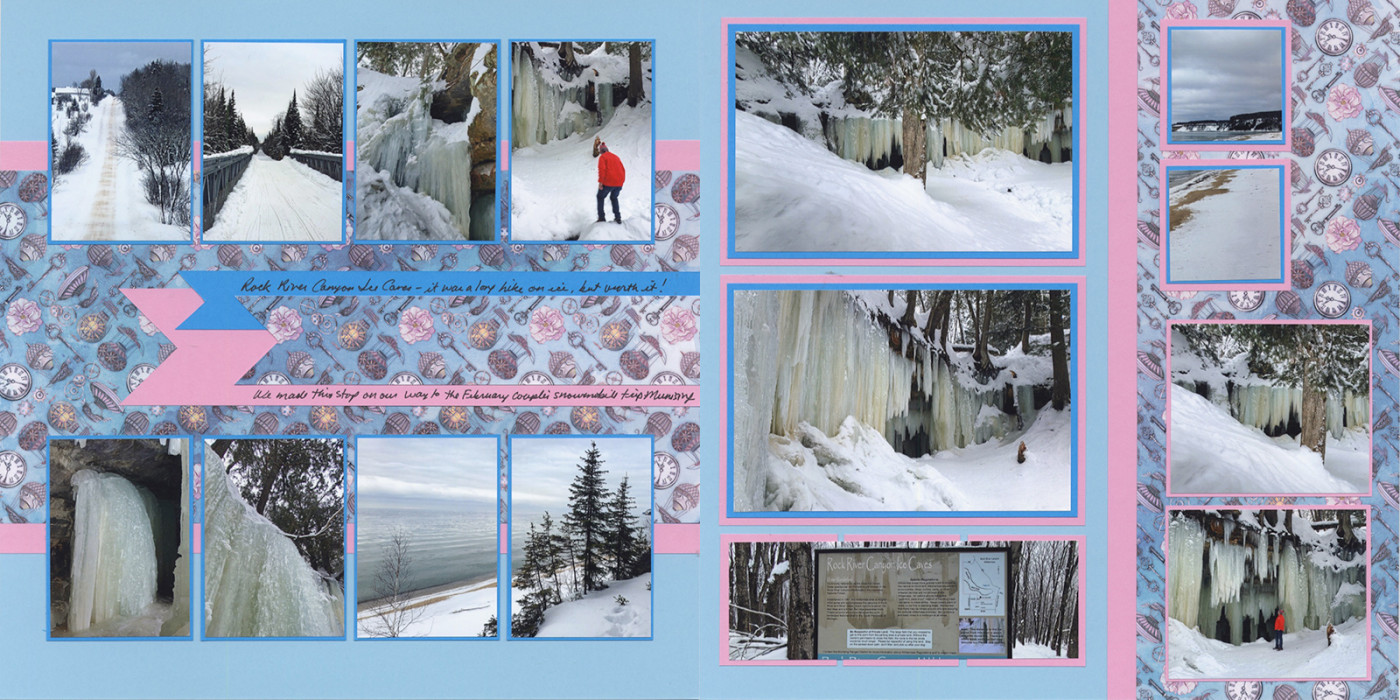
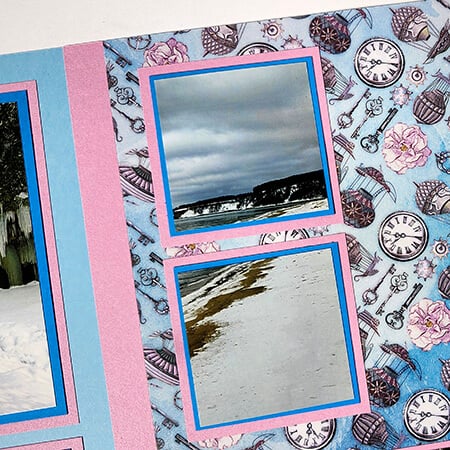
Obviously, the set of eight mini mats works well for individual photos. However, you can also trim a single photo in half and place the two parts side by side, like Tricia did at the bottom of the left page.
The banner strips are a great place to add journaling.
On the right page, trim a single vertical photo into two squares, and mount them onto the square mats.
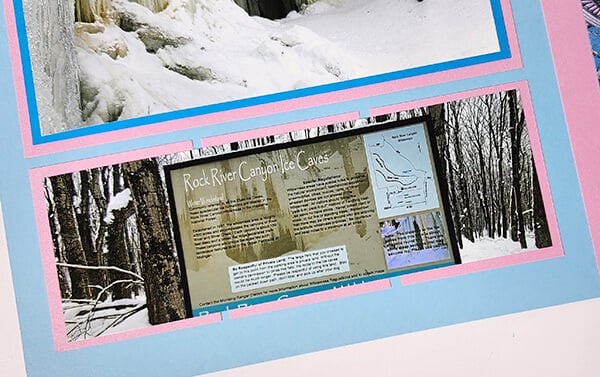
Another option is to crop a single photo to span multiple mats, like Tricia did below.
Club Scrap's clever formulas are designed to help you make even more scrapbook pages utilizing paper and supplies you already own.
Have you scrapped the February Page Formula yet? If so, inspire others by sharing your work on the Club Scrap Chat Facebook group.
Although Tricia and I used many of the same papers, the pages look and feel quite different. Let us know what you think by leaving us a comment below.
3x14 Acrylic Ruler
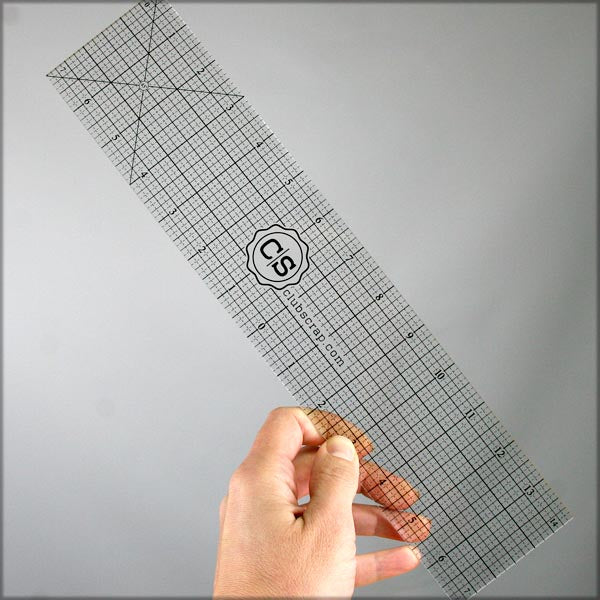
$15.50
You'll love our full-size clear grid ruler with easy to read grid marks, and big numbers. We've designed it just for paper crafters! You'll get perfect measurements every time; ideal for all your craft projects. Be sure to check out… Read More