
Every kit has an underlying theme, but it's always our goal to make it as "themeless" as possible. I feel like these layouts from the Succulents Deluxe collection will successfully accommodate just about any life event. I can't wait for you to work with this kit and decide which memories it will highlight!
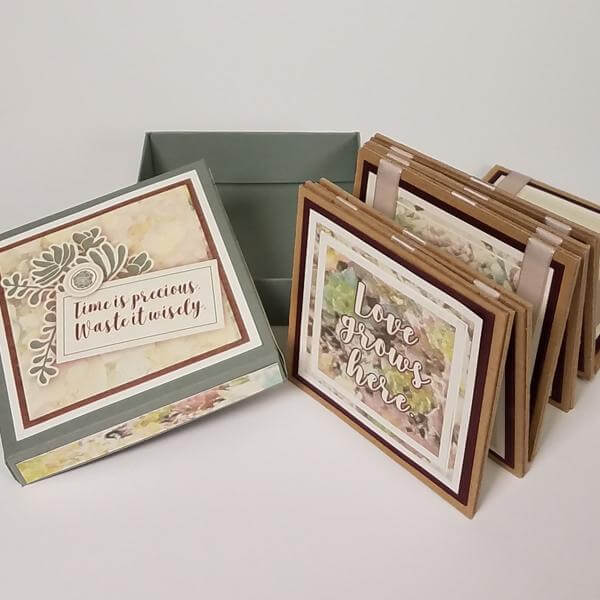
Succulents Deluxe Kit
LAYOUTS 1 & 2

I love how Jacqueline designed three open squares on the "memories" title strip to accommodate three contrasting squares. Adhere them with Foam Adhesive Circles and adorn the square on the far right with a wood button tied with waxed linen thread from your stash. (Jac even designed a 1" decorative circle punch-out to accent the buttons!)

When I don't have the heart to cover a portion of a print, I simply cut around the edge of the image with a craft knife and slide a photo mat beneath. It worked beautifully with the positioning of this layout.

LAYOUTS 3 & 4

This collection gave us the opportunity to select ribbon and fiber to perfectly complement the papers. I love this pebble-colored grosgrain.
Here, the wine-colored soft twill is stapled to the top of a Pink square tucked behind the succulent on the White Print.

LAYOUTS 5 & 6

Even the tiniest nested rectangles can prove to be a sweet addition to a layout. Wrap the journaling cutapart several times with the multi-colored fiber.

LAYOUTS 7 & 8

Nest the three Lt. Green squares onto their designated spots on the White cutapart.

Make a small loop of nested ribbon and tape the ends behind the top of the cutapart.
LAYOUTS 9 & 10

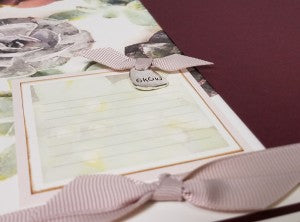
The frayed-edge canvas tags arrive with the silver eyelet and jute string attached. Nest with a Lt. Green cutapart and wood button.

LAYOUTS 11 & 12

I adore this title strip from the White cutapart. Anchor the page with a three-part bow created with the wine twill. Cut around the succulent in the lower right corner of the Pebble print to keep it in the foreground.

LAYOUTS 13 & 14

When I reach layouts 13 & 14, sometimes it's a challenge to figure out how the remaining kit elements will be melded into an effective layout. I think this is one of my favorite "13-14's" of all time! Two 8.5x11 prints are positioned horizontally across the gutter, and a sheet of 8.5x11 Lt. Green is trimmed to perfectly fit the cutapart and several photos.

Cut two slits into the printed borders and thread with grosgrain ribbons. Anchor the ribbon with two wood buttons nested onto 1" punched circles.

Succulents Greetings to Go
SET A

The kit comes with a set of clear tags with grey cords. Thread the cord through the punched hole on the tag and slide the narrow piece into the slot on the larger end to snap into place. (You only get one shot at this. Once the cord is closed, it's closed for good.)

Trim the size of the tag to match the size of the cutapart. Punch a hole into the top of the cutapart before attaching the cord.

SET B

The basic structure of this unique card requires only three pieces of paper. The Lt. Green card base is scored once to create the base of the card and the top flap. A second piece of Lt. Green is scored twice to make the two "gate fold" flaps and adhered flush with the bottom of the card base. Finally, the Dk. Green card panel nests to the inside of the card to hide the seam created by the second Lt. Green panel. It's lookin' sharp!

SET C

I've got an affinity for thin, jute string. It comes in a variety of colors, and it's fun to wrap around cards and layout elements without creating excessive bulk. We've included two full yards for your bow-tying pleasure. (I find no pleasure in tying bows. But this jute sure makes it easier.)

Have a happy layout-making, card-making day!
Tricia