
Members: Have you downloaded your September Bonus Formula yet? If you're not using this super-useful monthly membership benefit, I encourage you to start now!
Not sure where to find it? Check your inbox for your member-exclusive email with important links to the bonus formula, instructions, video tutorials and more. It is sent to active members* on their scheduled shipping day and looks like this:

*An active member is defined as one who paid for and received the current monthly kit.
September Bonus Formula Sketch

The September Bonus Formula creates a well-balanced two-page spread that has space for ten or more photos. To make the layout, gather five coordinating 12x12 papers, a mix of printed or plain. Follow the trimming instructions included on the printable document, then assemble the layout using the sketch as your guide.
Riverbend Bonus Formula Layout #1 - Karen

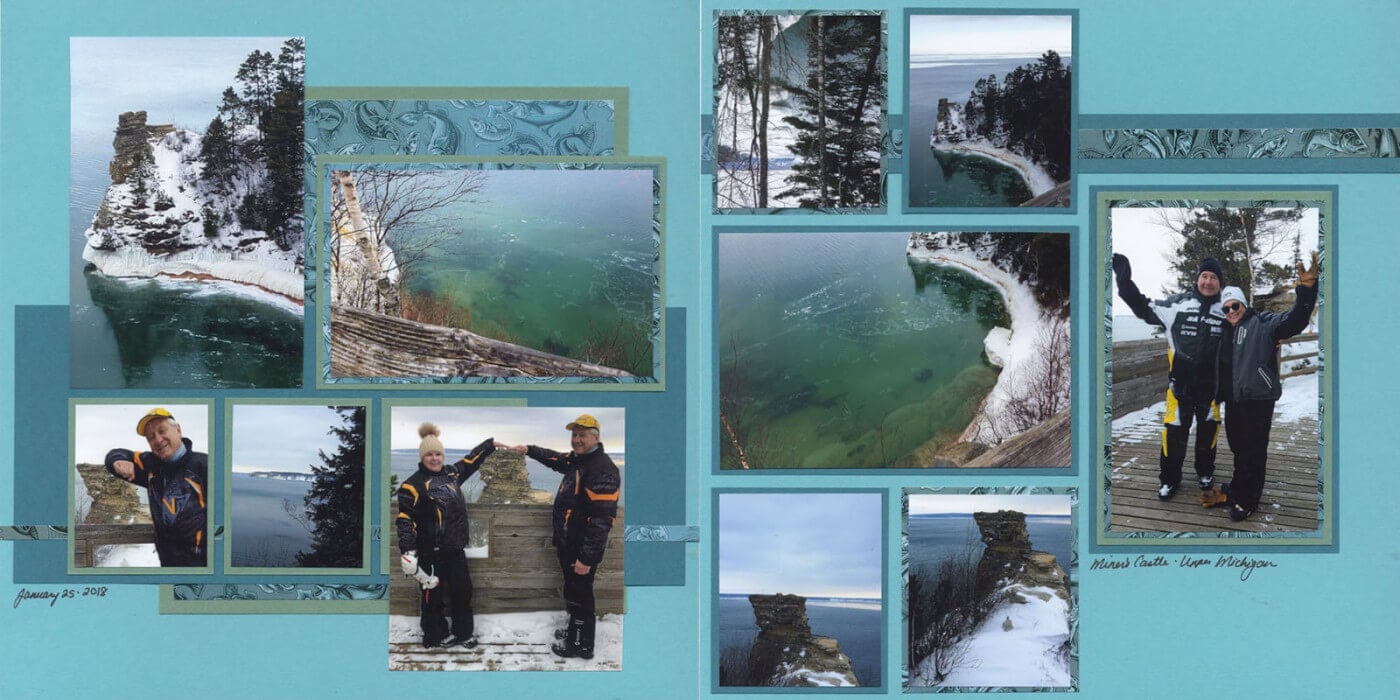
To recreate this layout, gather the following papers from the Riverbend collection: White (Paper A), Teal (B), Tent Print (Paper C) and two Light Green (Paper D).
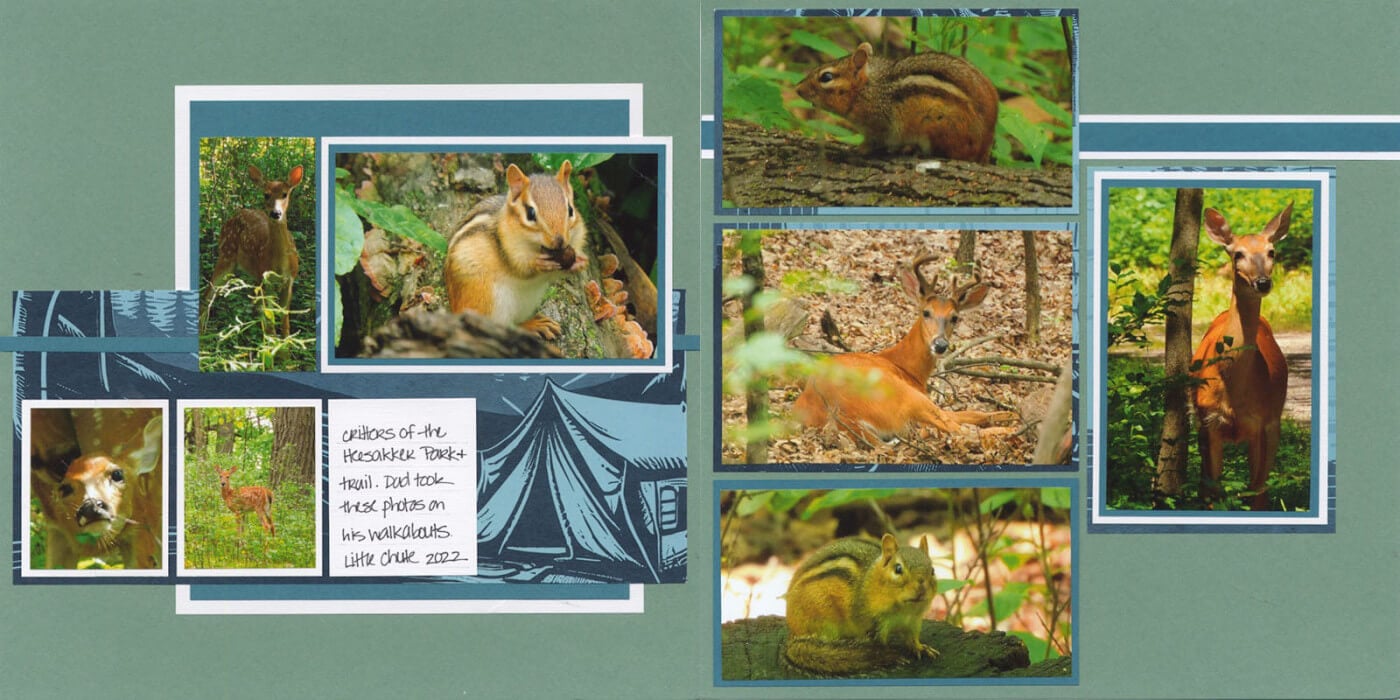
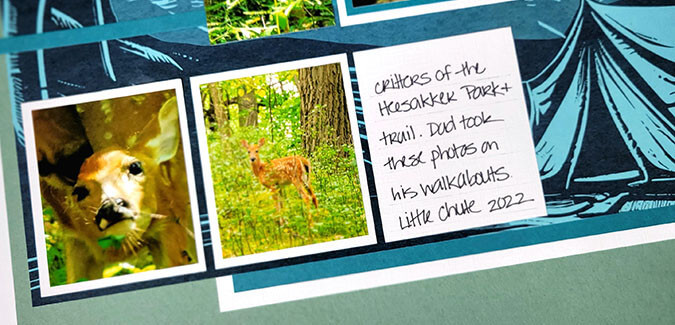
I followed the sketch pretty closely when assembling the layout. Trim an extra photo to 2x4" and adhere to the left of the main photo mat.

A grid ruler and pencil transform the third 3x3.5 mat into a journaling box.

On the right page, I skipped trimming the two 3.5x6.25" pieces at 6 and 3, maintaining their full size.
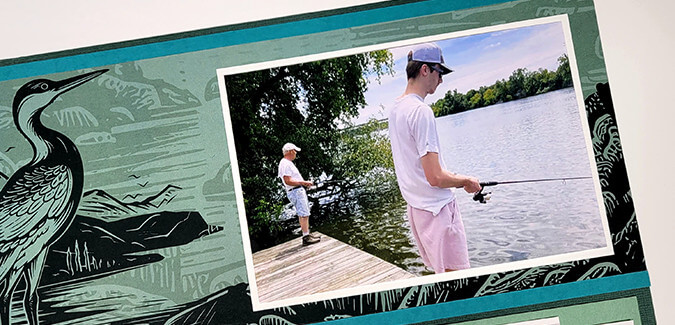
Riverbend Bonus Layout #2 - Karen
I enjoyed this formula so much, I decided to make two layouts. Changing the papers and rotating the orientation of the right page gives it a completely different look.

To create this version, gather the following Riverbend papers: Teal (Paper A), Light Green (B), Bird Print (Paper C) and two Dark Green (Paper D).
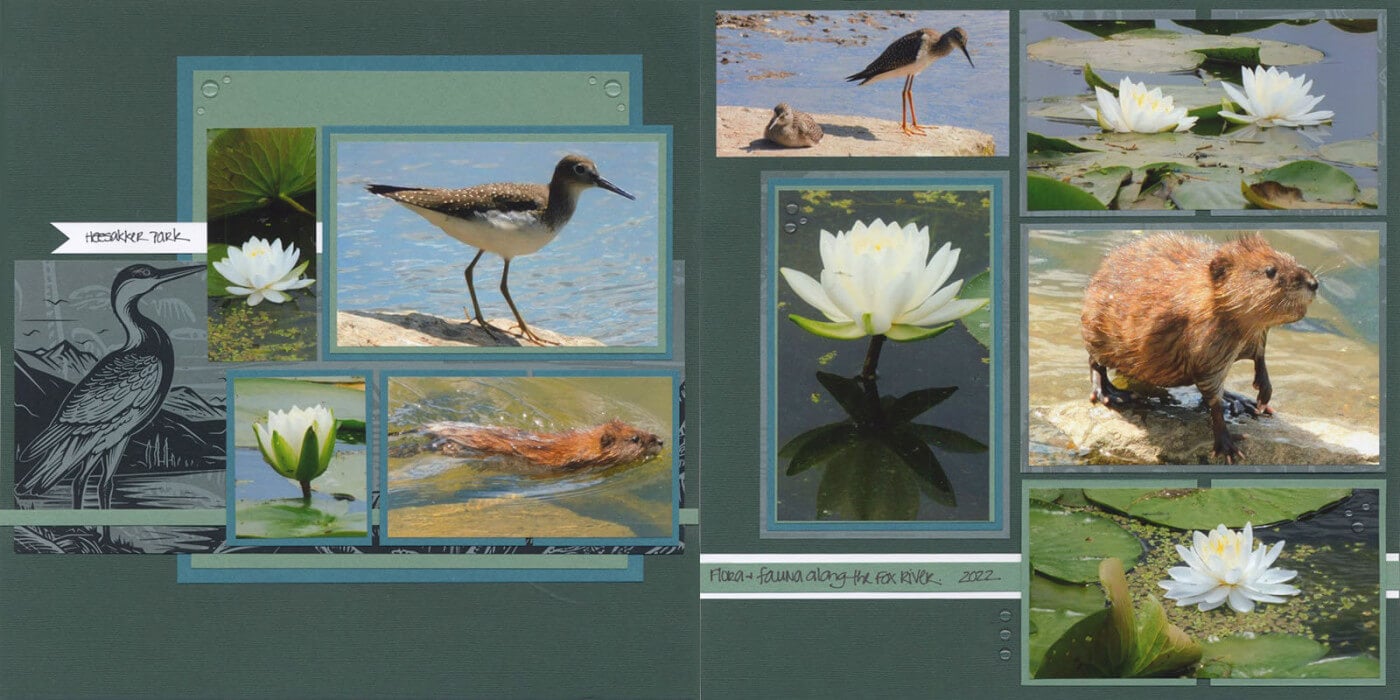
I didn't want to lose any of the bird image when trimming Paper C, so I changed the order of the cut pieces. If you'd like to do the same, follow the "altered" instructions below:
3. With the bird on the left, cut at 11.25 and 5". Trim the 5x12 at 11.5". Cut the 6.25x12 at 8.5 and 4.25". Trim the 3.5x6.25 at 6 and 3".
Rotate the right page 180 degrees. To lighten things up a bit, flip the .75x12" printed strip to the plain side.

To assure white appears on the left side as well, trim the ends of the .5x5" printed scrap at an angle to create a banner shape. Reverse to the plain side and tuck beneath the main photo mat. Water Drop stickers make a fun accent.

Tuck an extra photo into the open space at the top of the right page. (The 8x8 Grid Ruler is a great tool to achieve correct sizing.)

Horizontal photos span the space created by the two smaller mats at both the top and bottom of the page.
September Bonus Pages - Tricia
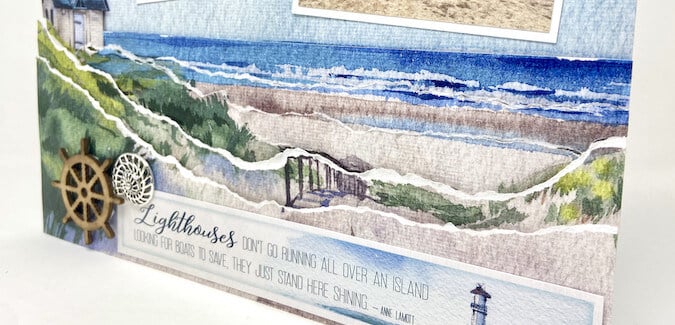
To replicate Tricia's pages, use the following paper assignments: Light Green (Paper A) Card Kit Print (Paper B), and Teal (Paper C) Two Aqua Plains form the base of the layout (Paper D).

Tricia added an extra vertical photo to the left of the main mat. Don't be afraid to tuck a larger photo into the corner of a smaller mat (lower right corner).
I'm quite happy with how well all three sets of pages turned out. Even though Tricia and I utilized the same formula and featured papers from the same collection, the layouts still look and feel very different. What do you think?
Have you scrapped the September Bonus Formula yet? Inspire others by sharing your work on the Club Scrap Chat Facebook group. It's also a great place to explore the work of your fellow CS® fans!