Now that the Reunion Club Stamp kits have shipped, it's time to get creative and make some cards!


I've put together two greeting cards using the Ivory Text Weight print. The quad prints make a great background when layered with a punched matte over the top.

Let's check out the assembly.
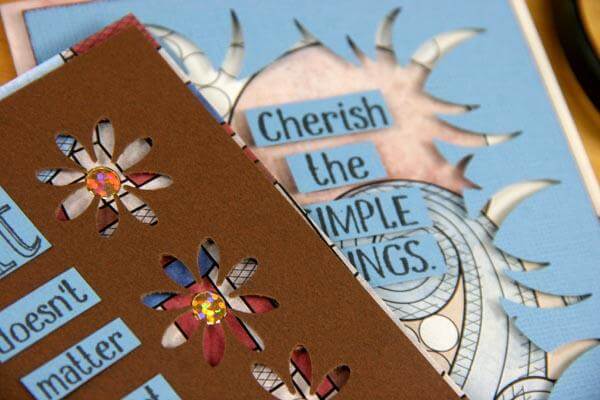
FLOWER PUNCHED CARD
1. Trim to divide the quad print into four 4.25x5.5" sections.

2. Attach to A2 size card front (4.25 x 5.5").

3. Cut 4 x 5.25" Brown Panel and use flower punch to create a border.

4. Use foam squares to attach panel to card front.

5. Embellish with Dazzle Round stickers (or anything you have in you stash).

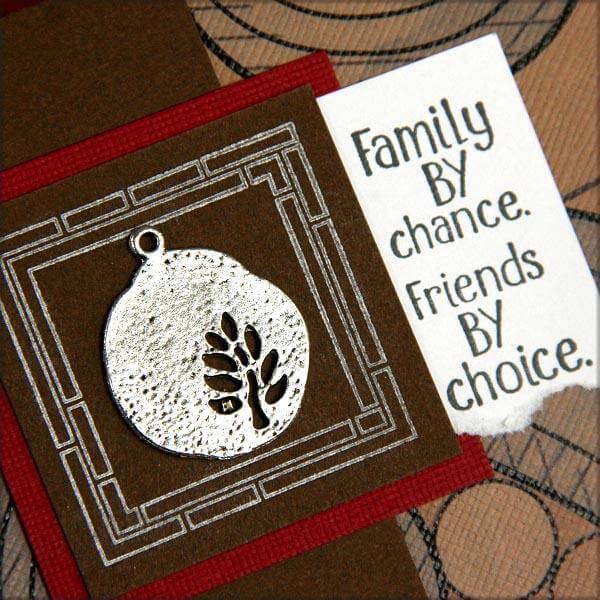
6. Add stamped greeting. Try cutting apart the text for a unique look.


PUNCHED FRAME CARD
1. Attach desired Quad Print to A2 card front. 2. Cut Blue 4 x 5.25" Panel and punch with starburst punch.

3. Continue punching around outside edge until center of the panel falls out.


4. Attach to card front using foam squares.

5. Adhere stamped greeting.

Do you have some days off after the holidays? Maybe you'll consider giving these a try.
Merry Christmas!
Kay