Happy Friday! With December being so busy for everyone, it can be a challenge to find time to craft. So this month I decided to take on the Reunion Greetings to Go myself, and I had a blast doing it!
SET A: 4¼x5½” BLUE CARDS

I'll start with my favorite card out of the bunch.

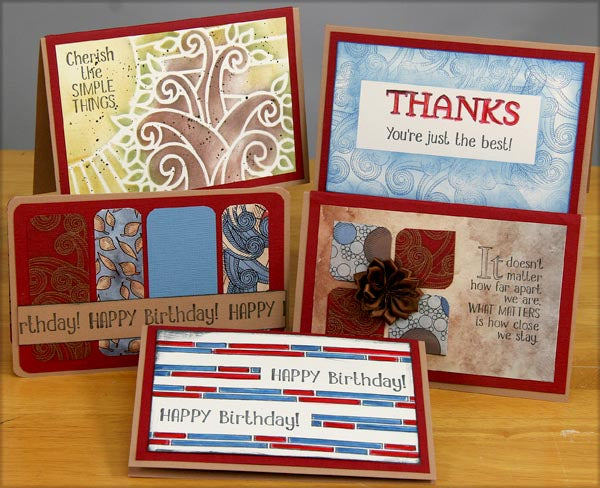
To replicate the look, stamp and heat emboss the "bubbles" image with white EP. Randomly drop several shades of blue watercolors onto White panel. Use a heat tool to speed the drying process.
Trim around outside frame of cutapart. Add striped ribbon. Super simple!
I wish you could see this one in person. I used clear EP that has a touch of glitter in it.

Trim Cutapart borders into squares, and rounded opposing corners. Stamped greeting.
Stamp leaves and letters with India Ink and color with Gelatos.
SET B: 4½x6¼” RED CARDS
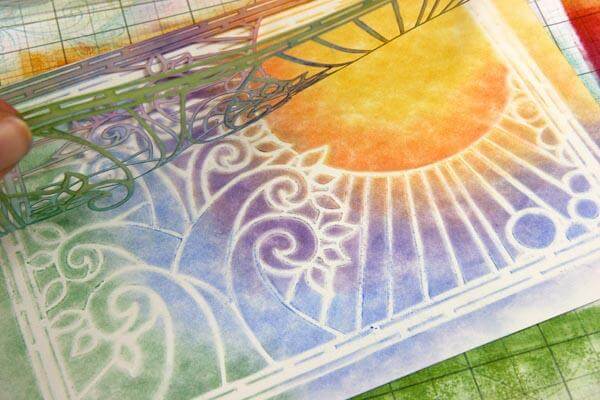
Ink masking stencil using Earth Hybrid ink and applicator tool.
Coat the "Thanks" and punched heart with Glossy Accents.
For these next three cards, I spritzed gold and copper metallic ink sprays through the Reunion Lite Stained Glass Stencil onto a Tan panel. I pressed the inky side of the stencil onto a Red panel, and then trimmed the Tan panel into two halves.
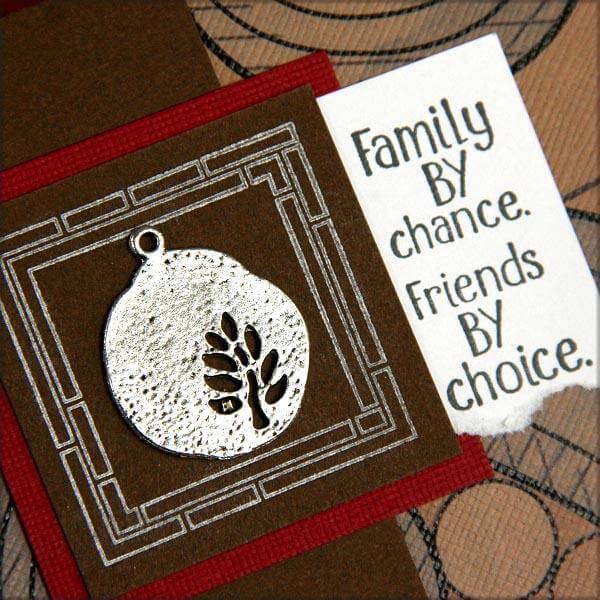
Stamp the sun image and heat emboss with white EP. Ink with Topaz Hybrid Ink. Trim the "Family" quote stamp into three sections to make it more versatile.
SET C: 4x6” TAN CARDS
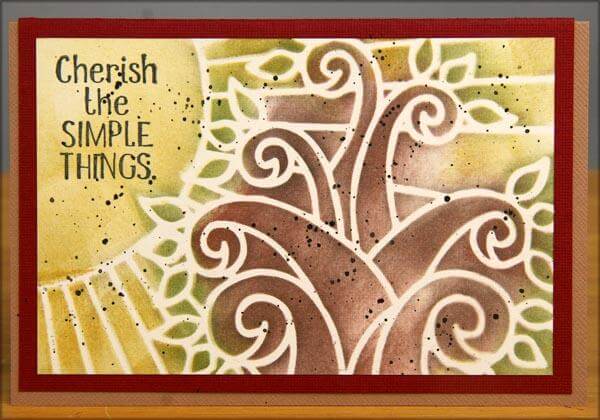
Apply Topaz, Earth and Leaf Hybrid Inks to the masking stencil. Use a waterbrush to flick black watercolor onto panel. Add stamped sentiment.

Stamp border image repeatedly, color with markers.

Trim Cutapart border into squares; round two corners. Add stamped sentiment and ribbon rosette.


This final tan card has a surprise inside!
The full double-layered card was just begging for me to add a pop-up message inside.

I hope you enjoyed my version of the Reunion Greetings to Go cards. Have a creative weekend!
