
Using the Prism Stamps brings me a lot of happiness! Are you ready for some colorful inspiration?

The 6x8" sheet of clear stamps is prime for tons of layered options. Combine the solid squares with the nifty collage of open squares, and mix 'n match the sentiments, as well.

As many of you know, my monthly routine is to set aside a little time to play with the stamps, and this is one of my favorite days! Check out the results below, and hopefully be inspired to try a few things for yourself.
Prism Stamps
Card 1
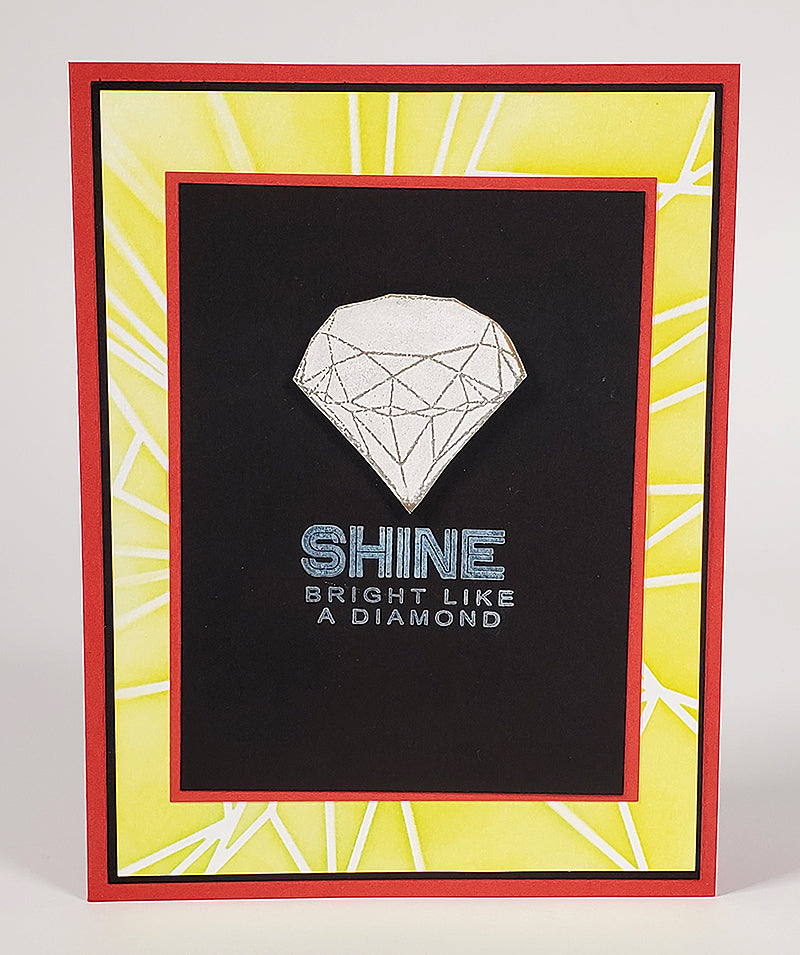
Stamp the diamond image and heat emboss with something sparkly. Add a little "wink of stella" to the entire image, trim from the paper, and layer onto a black panel with foam adhesive circles. Stamp the combined sentiment with White Pigment ink. Create a background panel with the bonus Prism Abstract Stencil, yellow ink, and white paper.

Card 2
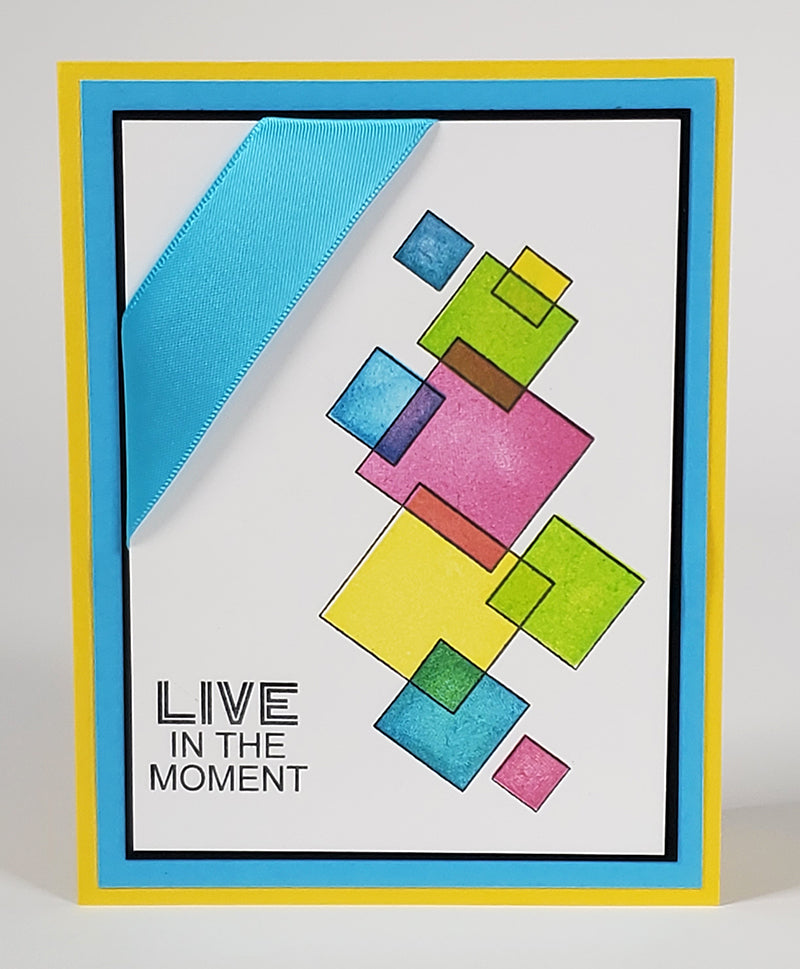
Stamp the open square collage onto a white panel with black ink. Starting with the lightest color first (yellow), fill in the openings with the solid square stamps. Each time a color overlaps, a third color will emerge. Wrap the upper left corner of the card with light blue satin ribbon.

Card 3

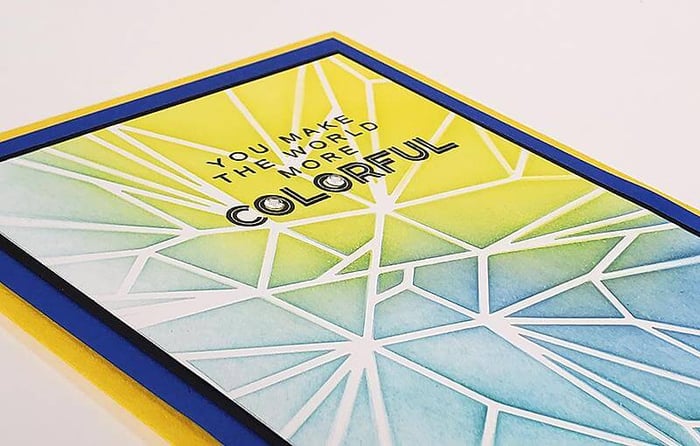
Add the large prism image to a mounting block and mist with water. Apply color to the stamp with watercolor crayons, starting with the lightest color first. Next, stamp the image onto a piece of watercolor paper. Without adding more color, mist the stamp with additional water and stamp again. Repeat until the color fades, and be sure to stamp "off the edges" of the watercolor panel. Allow the panel to dry completely or speed the process with a heat tool. Trim to 4x5.25" and layer onto a Dk. Blue folded card base.

Card 5

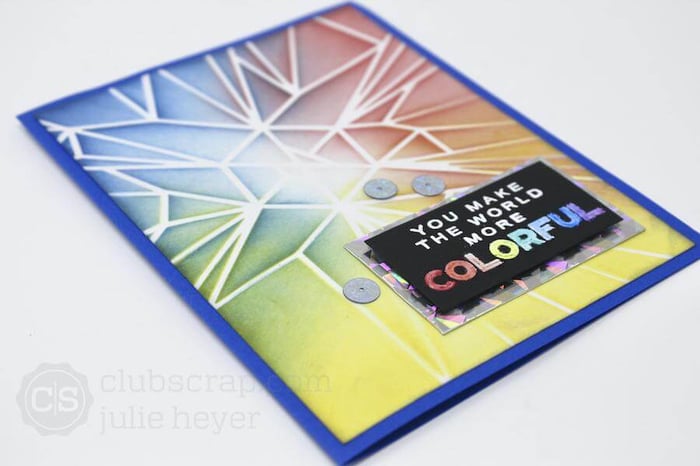
Apply ink to a white panel with an ink applicator brush and the bonus Prism Abstract Stencil. Stamp with a sentiment combo and add rhinestone stickers to the center of each "o" in the word "colorful."

Card 6
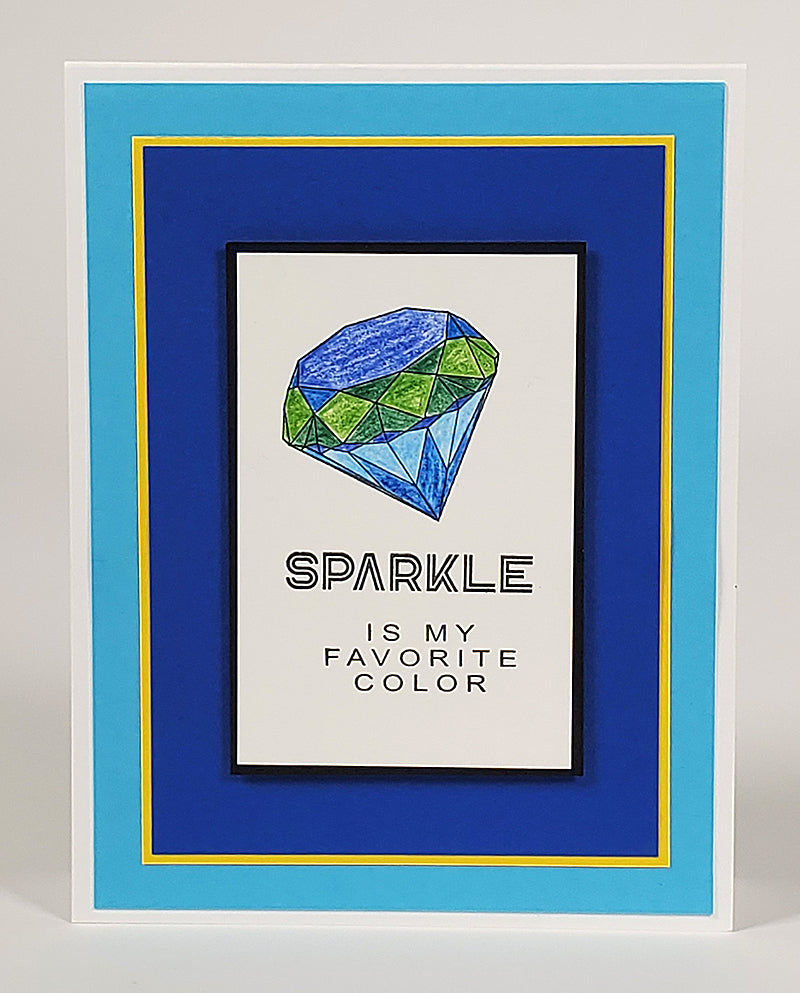
Grab your favorite set of colored pencils or markers and fill in a stamped diamond image. Add the sentiment combo and nest with several colorful panels.

Card 7
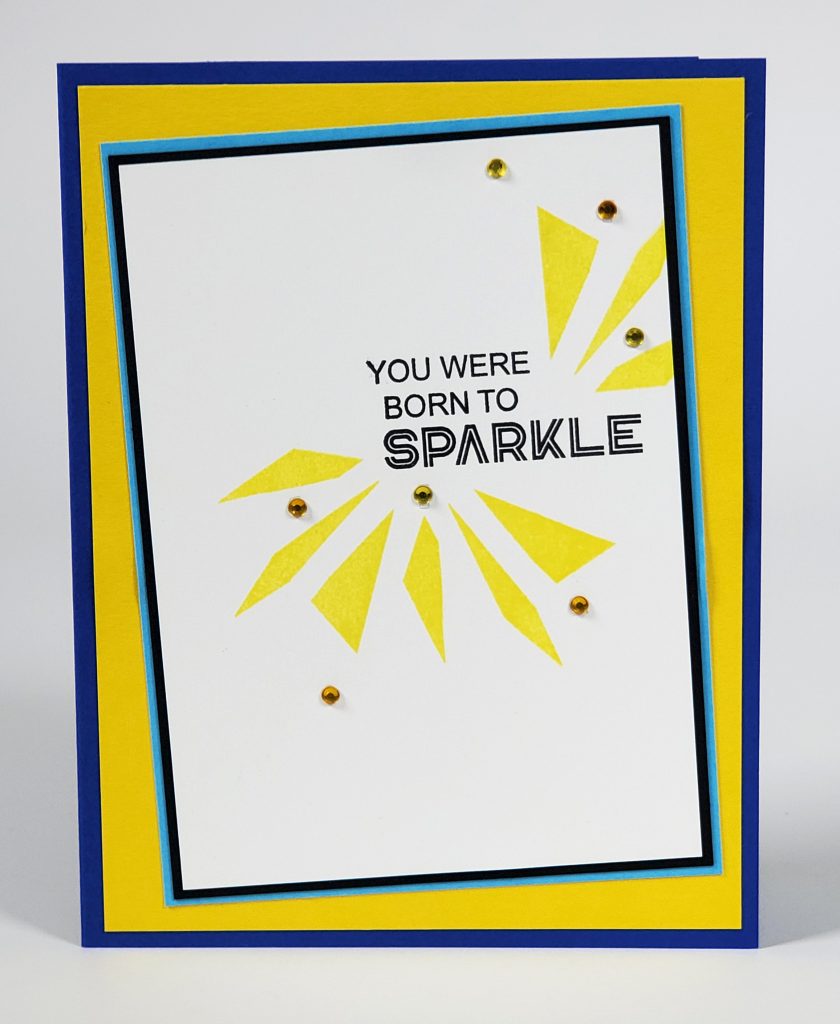
Mount the three prism rays onto an acrylic block, ink with yellow and stamp around the stamped sentiment combo. Embellish with a few rhinestone stickers and layer (tilted) onto a series of colorful mats and a Dk. Blue folded card base.

Card 8

Place a large sheet of white paper into an empty CS® pizza box, lay the Prism stencil on top of the paper, and spray with CS® Stipple Mists. To get a second reverse impression of the stencil, remove the white paper, leaving the misted stencil in the box. Press a second sheet of paper onto the stencil and burnish to transfer the color to the paper. Trim the misted panel and layer onto a 5x7" folded card base combined with a stamped sentiment.
To create the fun sentiment tag, stamp the text and trim, leaving enough paper on the left edge to score and fold over. Punch a hole through the double thickness and set an eyelet. Fold a piece of waxed linen thread in half, thread the folded end loop through the eyelet, and bring the thread tails through the loop. Repeat. Wrap the ends of both threads around to the back of the card, as shown. Attach the tag with foam adhesive circles.

And then, my least favorite part. Clean up the mess.

OH, please, please tell me I'm not the only one to leave such a disaster in her wake!
Your turn to make a mess while being creative with your Prism stamps. Please share your creations on our Facebook chat group. You inspire us, too!
Tricia