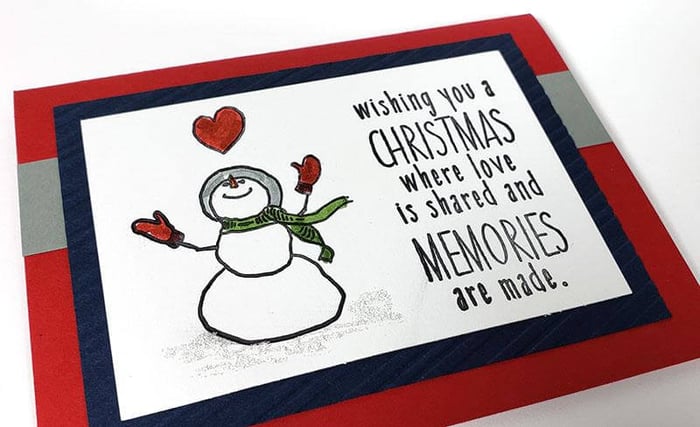
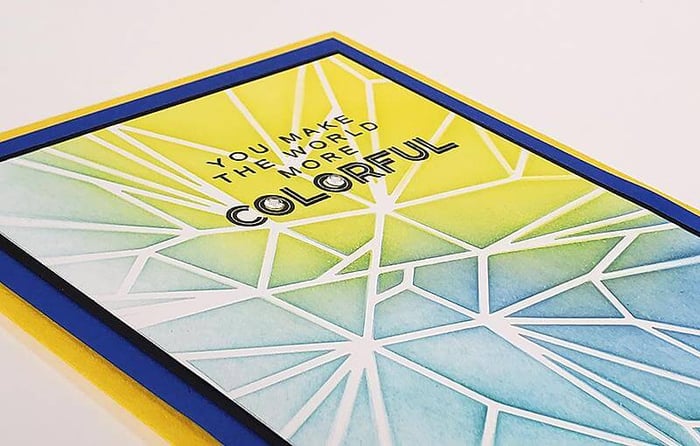
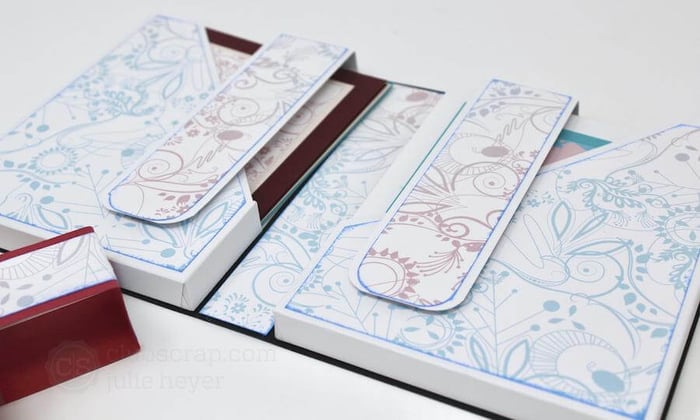
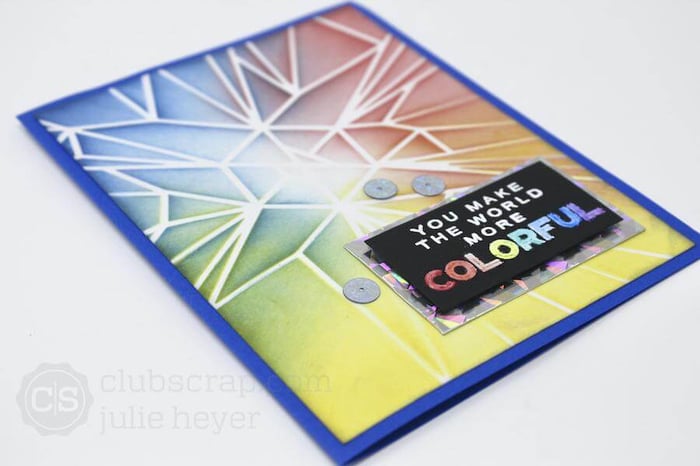
I had fun participating in One of a Kind's Christmas in July virtual event on Saturday, July 11. Tricia shared an awesome card making class featuring Club Scrap's new Christmas in the Neighborhood stamps and a brand-new card formula. The new formula creates 20 Christmas cards from just twelve sheets of paper. (Visit the landing page for details.)
The instructions and video tutorial feature the card kit created specifically for the event, however, I paired the stamps with two each of six different papers from my stash. After trimming and sorting all twelve papers, dry fit the pieces according to Tricia's instructions. Then comes the fun part: decorating!

BONUS SKETCH & INSTRUCTIONS
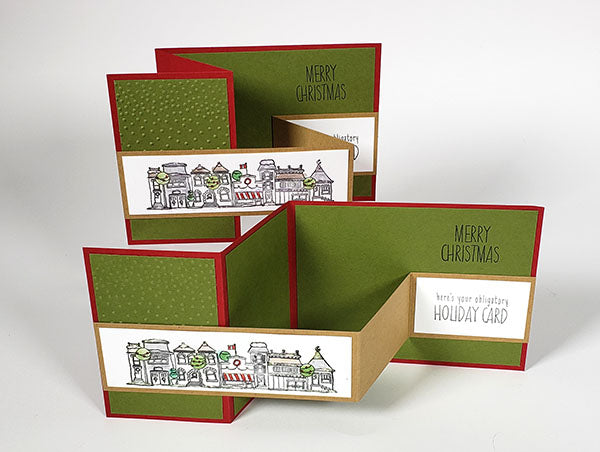
Want to add a "little sumthin' sumthin'" to the Z-fold cards? Gather and trim two additional 12x12 papers to create panels for card Set A. (I used two 12x12 green plains.)

Trim each 12x12 Bonus paper at 10.25, 7.75 and 5.25". Cut the 5.25x12 at 8 and 4". Trim each 2.5x12 at 8 and 4".
SET A: Z-FOLD CARDS
The resulting "bonus" panels nest perfectly onto each section of the Z-fold card base. (Note: Be sure to add the panels to the card base before adhering the narrow Z-fold strip.)

Add texture to the front card panels using embossing folders.

SET B

For a fun "watercolor" effect, color the Christmas in the Neighborhood stamp images with Distress markers and a waterbrush.

SET C
For variety, apply color to the stamped images with gelatos, markers, colored pencils or other favorite medium.

It's amazing how just a bit of ribbon really dresses up the cards!

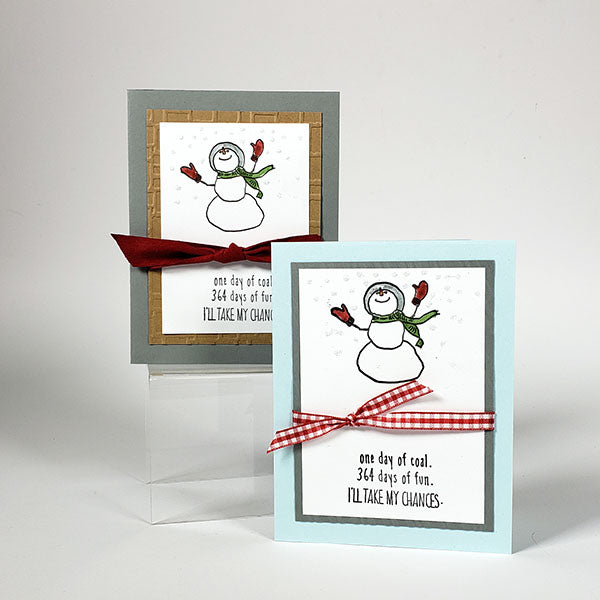
You can't have wintry scenes without snow, right? Strategically placed glitter glue adds just the right amount of sparkle to the cards. (Just be sure to set the panels aside to dry somewhere safe from kitty paws!)



My favorite part about the card formulas is they can be recycled again and again by substituting papers from your stash. Keep this one handy the next time you need to make cards in bulk for things like party invites, "event" announcements, or thank you cards.
Happy crafting!
