
I enjoy having the opportunity to share a few extra details about each layout in our new collection, especially for those who want to replicate the pages according to our free assembly instructions.
Paris Flea Market Deluxe Kit
LAYOUTS 1 & 2
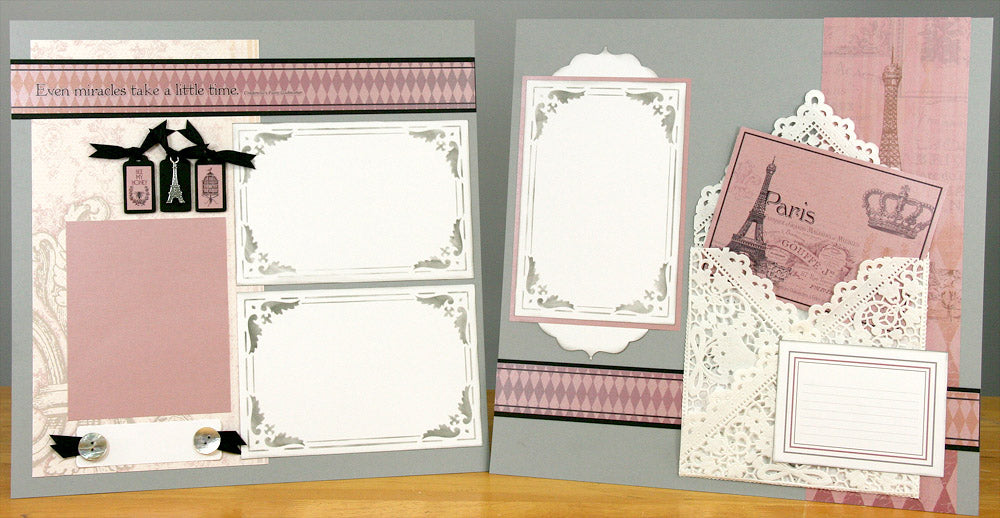
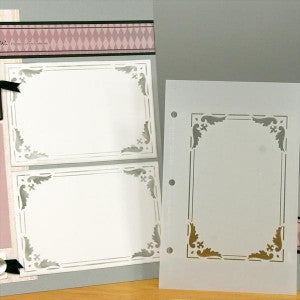
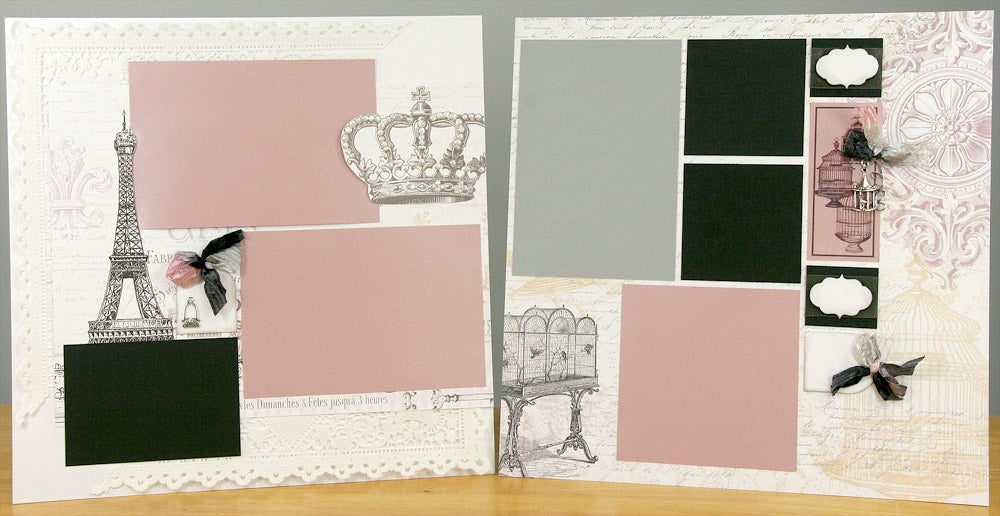
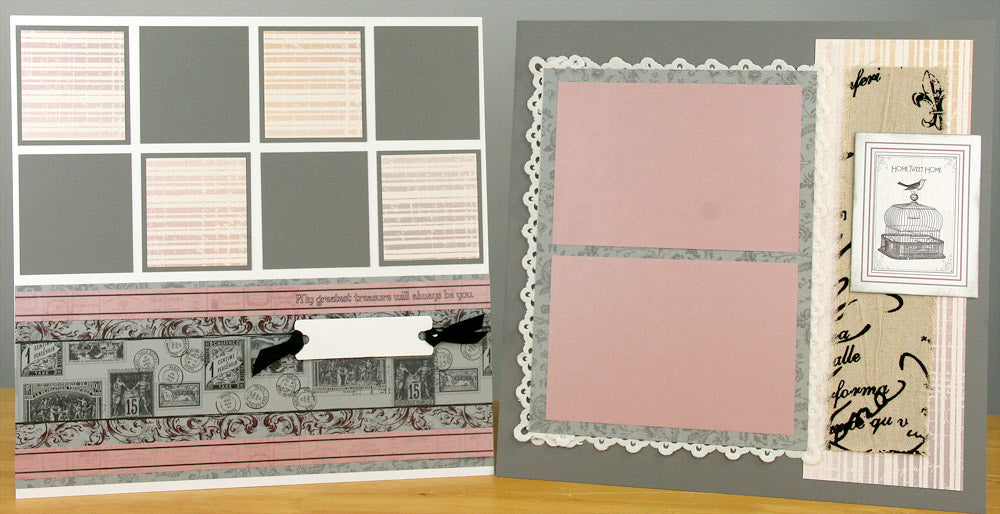
The clever Frame Overlay Stencil included in your kit can be used to create an elegant frame on our 4.25x6.25 pre-cut photos mats. You can also tape off the straight lines connecting the decorative corners to adjust sizing for any mat, no matter how large or small.
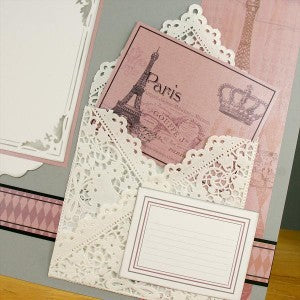
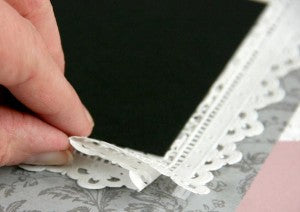
Turn one 10x10" Paper Lace Mat into a gorgeous envelope by folding along the solid inner square to create four triangular flaps. Trim away the excess paper at each folded corner and seal three of the flaps to create the envelope pocket.
LAYOUTS 3 & 4

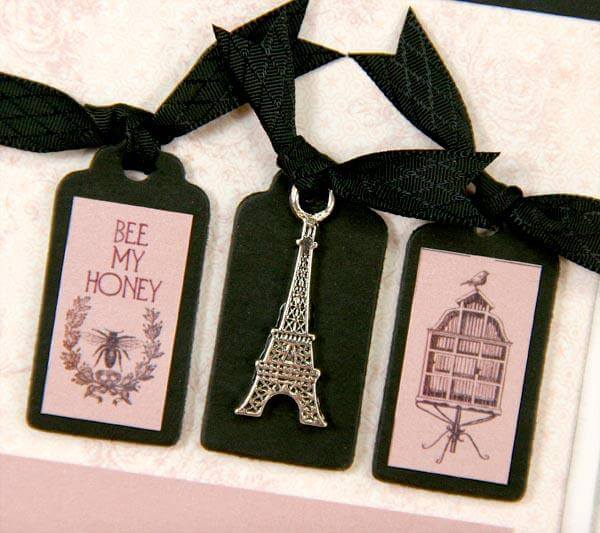
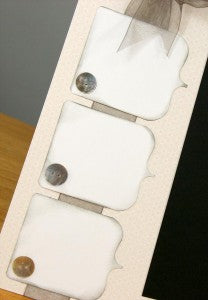
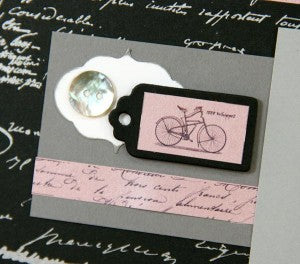
The embellishment pack includes an 8.5x11 sheet of White Die Cuts. Jacqueline cleverly designed several images on the Jumbo UM stamp sheet to fit onto the tags, but here I simply colored the edges of the tags with Ash ink to create contrast, added a shell button accent, and anchored the tag trio with a strip of organza ribbon.
LAYOUTS 5 & 6
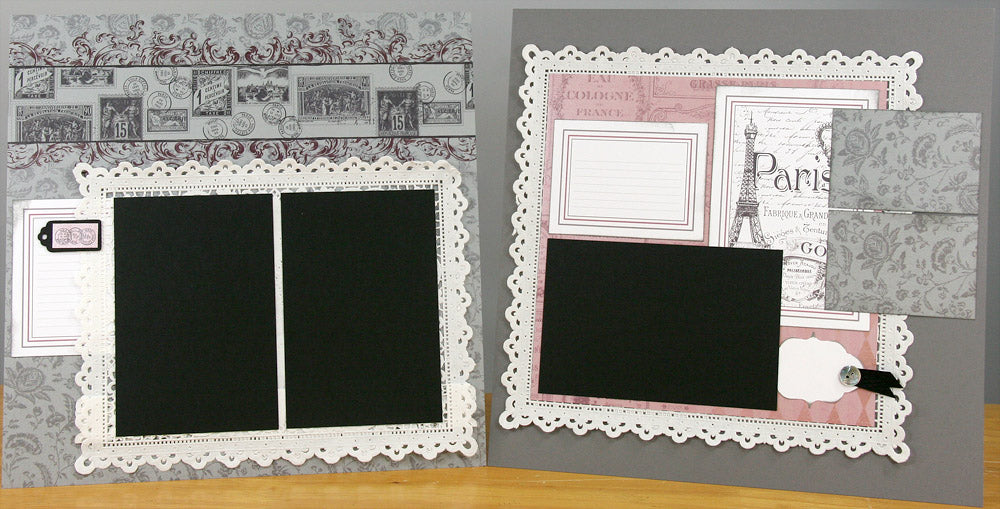
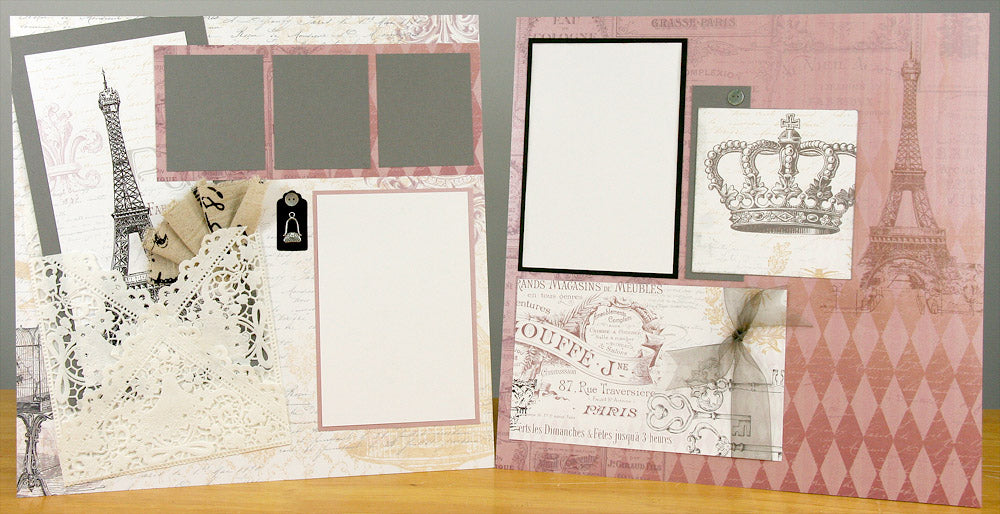
The Paper Lace Mat is an 10x10" square. Modify the size of the mat by creating a gusset to accommodate a pair of Black photo mats.
LAYOUTS 7 & 8
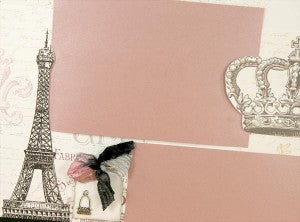
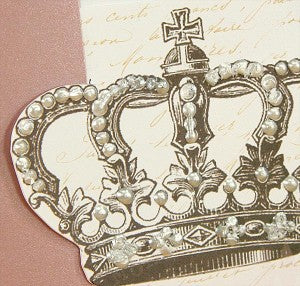
If you happen to have a Viva brand Pearl Pen, add pearls to the crown and set it aside to dry completely. Glitter glue or other pearl stickers would enhance the crown, as well!
LAYOUTS 9 & 10
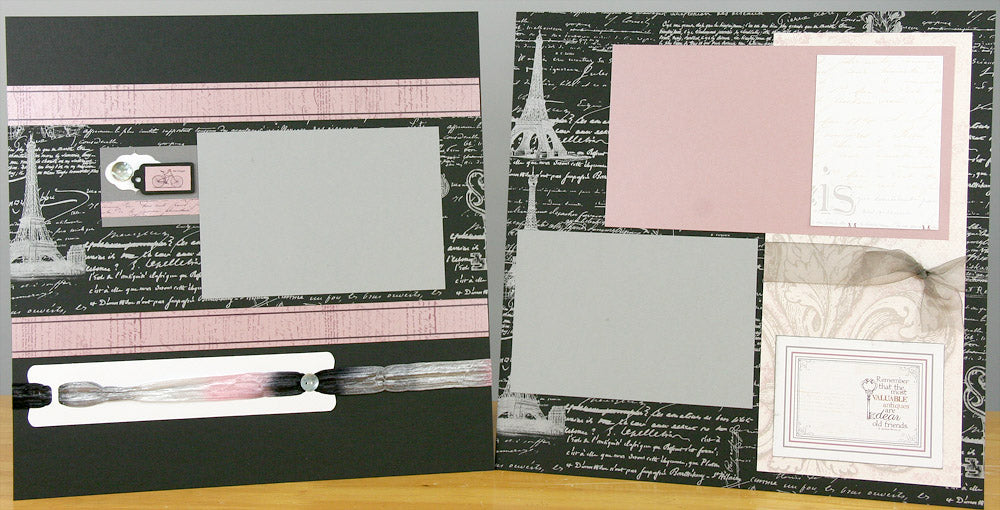
We were thrilled to discover the Printed Burlap Ribbon included in the embellishment pack. Layer a strip of the ribbon onto the right edge of the page to help anchor the die cut and add contrast to the layout.
LAYOUTS 11 & 12
Fold the remaining portion of the burlap ribbon into a pleated fan and staple (or sew) the bottom edge together. Tuck the fan into the top right corner of the handmade envelope.

LAYOUTS 13 & 14
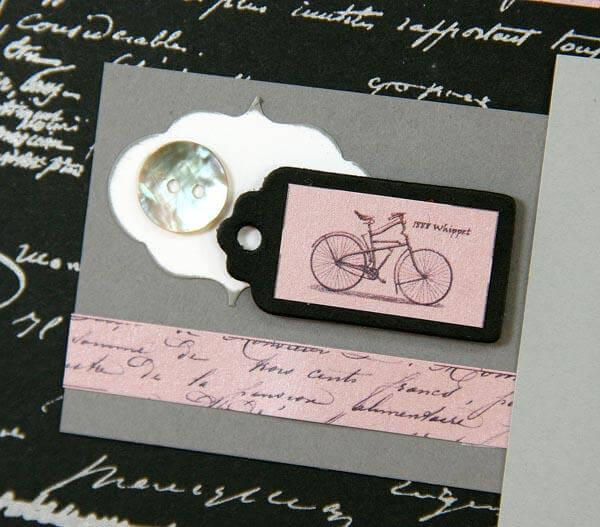
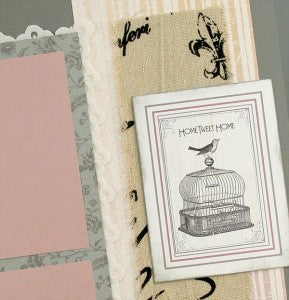
After the "skeleton" of each layout is complete, I enjoy going back to incorporate all of the curated embellishments. Nest a Pink cutapart onto a small black tag and layer onto a White Die Cut tag with a shell button; anchor all of that with a Pink strip of script added to a Dk. Gray "scrap". (No such things as scraps!)
Paris Flea Market Greetings to Go
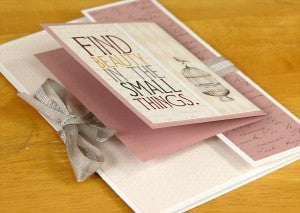
SET A
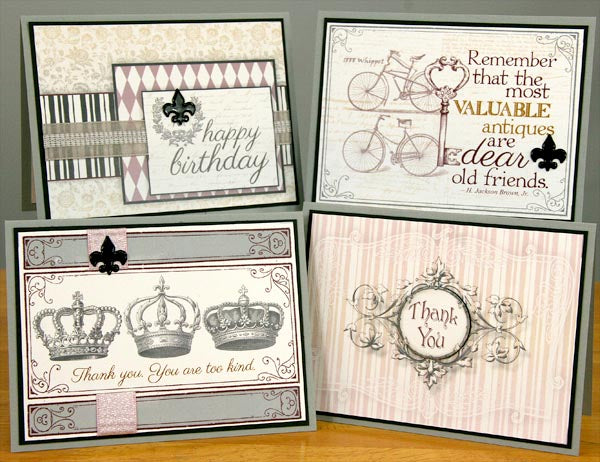
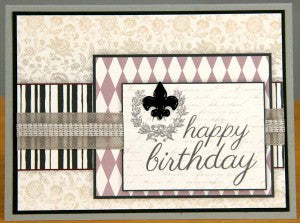
Cut slits into the White cutapart with a craft knife; slide the beautiful grey ribbon beneath the slits and secure the ends on the back of the cutapart with tape. I love how the cutapart appears to have four layers, but it's really just one piece of artwork!
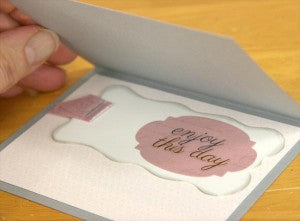
The inside of each card includes a die cut tag. If you happen to have die cutting equipment and a tag-shaped die, create a decorative shape with the Pink cutapart.
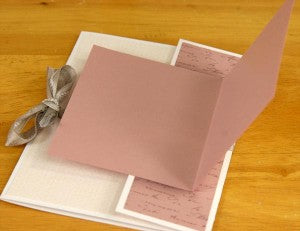
SET B

This unique card structure allows for plenty of additional images or handwritten messages. The opening of the folded Pink card can be placed on the left or the right.
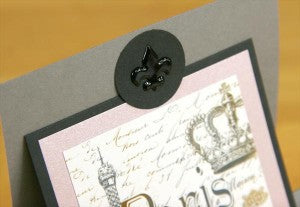
SET C
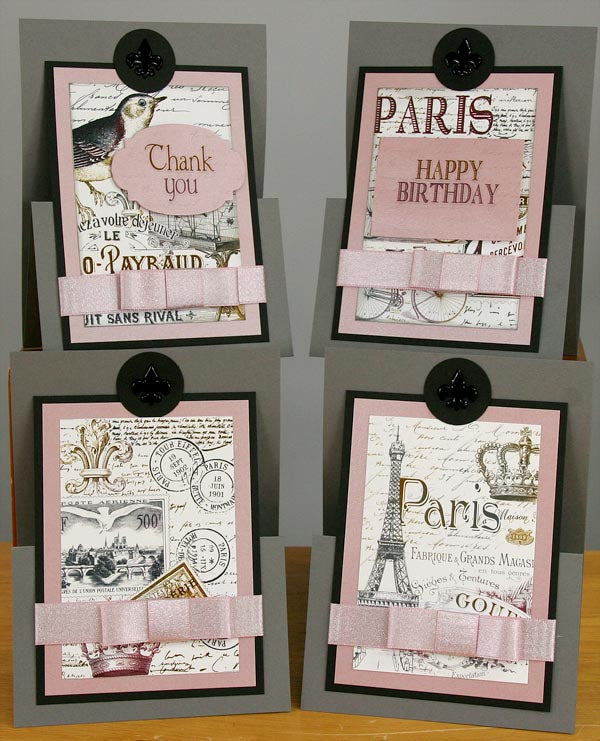
This is my favorite card! The decorative cutapart and nesting panels fit onto the short flap of the card. The top edge of the panels will slide beneath a punched black circle secured with a fleur de lis brad.

I hope the images and details will help out when you assemble your layouts and cards. Thanks for taking the tour!
Tricia