Before I share the details of my
Paris Flea Market cards, I have a fun Pin for you!
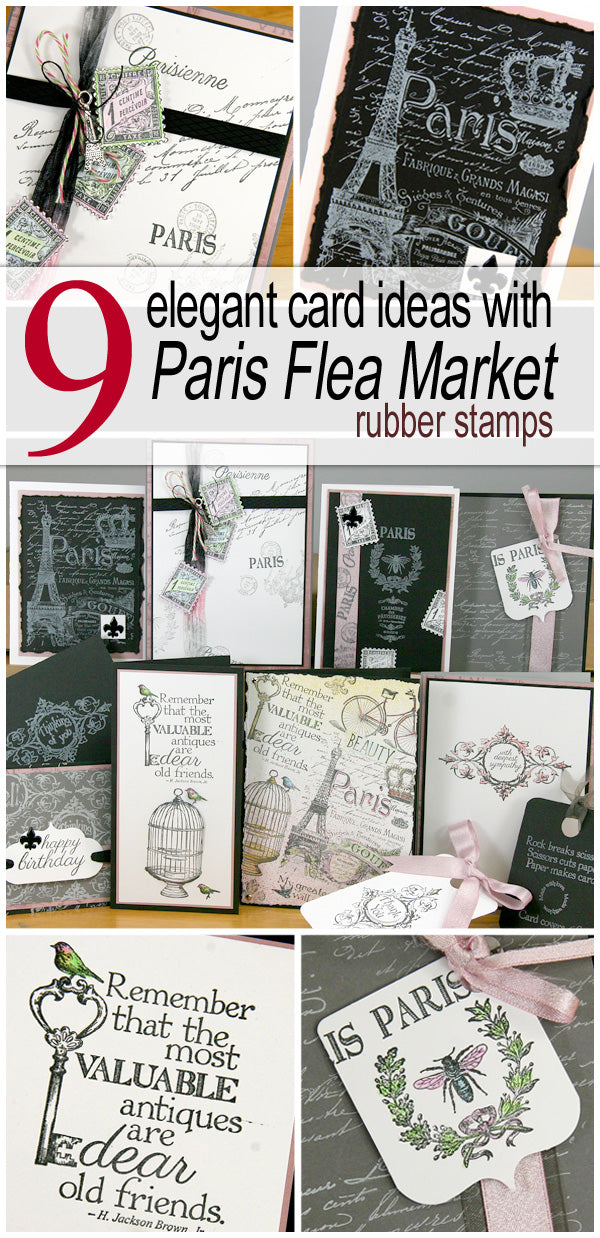
All of the above cards were created with the beautiful unmounted stamps designed to coordinate with our
Paris Flea Market collection.

Let's take a closer look at the cards made with each sheet of stamps.
JUMBO UM
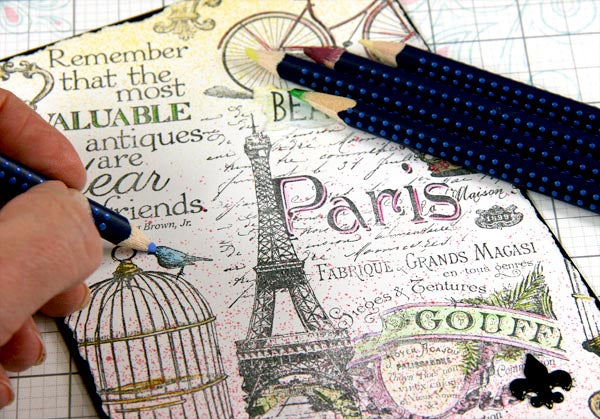
CARD #1
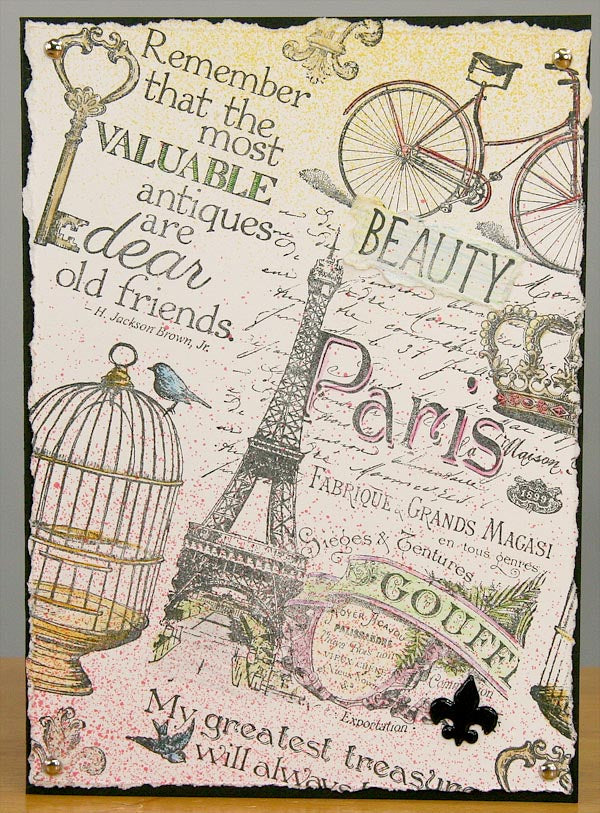
Put
every image on the sheet to work for you by making an artful collage card. Stamp images at a slight angle to help conceal any alignment errors, and be sure to stamp off the edge of the paper. Once you're satisfied with the arrangement, color the panel with your favorite pencils or markers and finish it off with a bit of watercolor splatter.
CARD #2
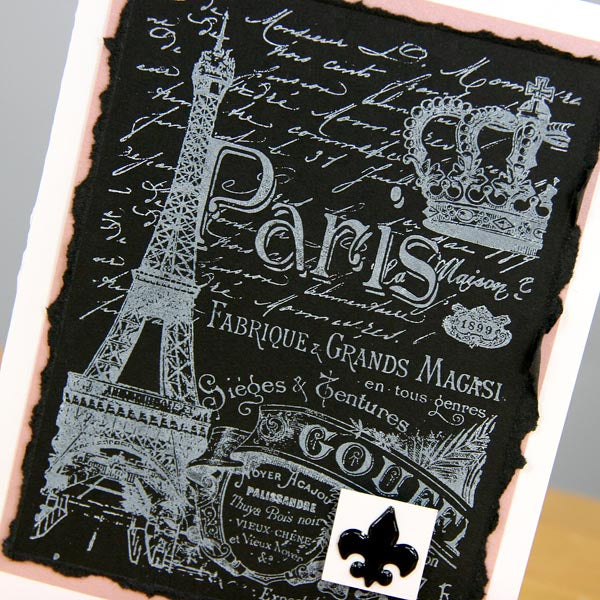
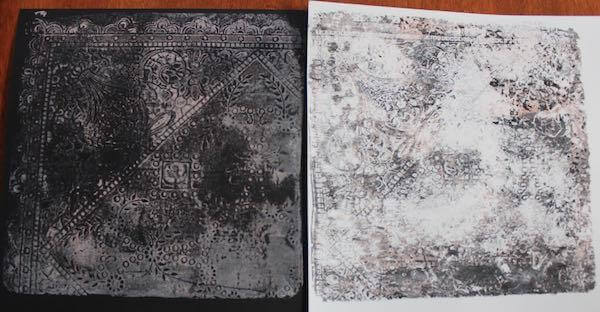
The black paper in this collection has a nice, smooth surface. Stamp the large collage image with our vibrant
White Pigment ink, heat set, tear edges, and call it done!
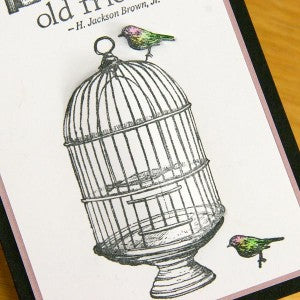
CARD #3
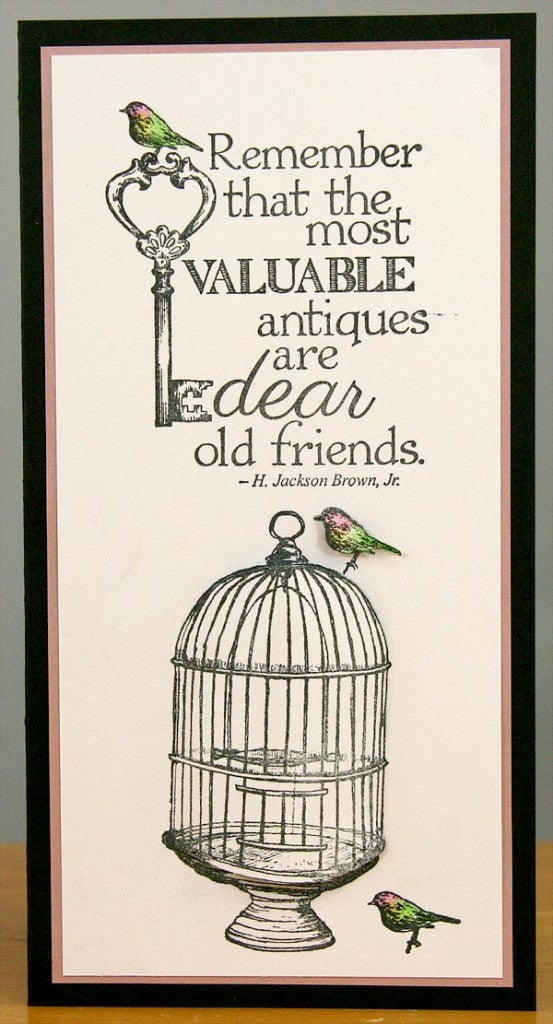
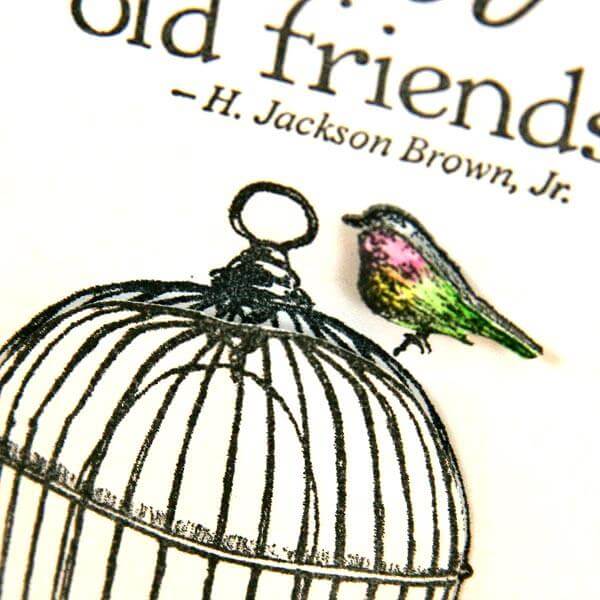
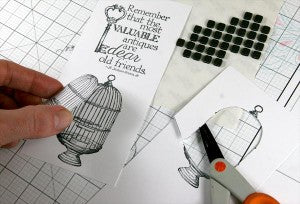
If you look carefully at the birdcage, you'll notice that it has a bit of dimension . . .
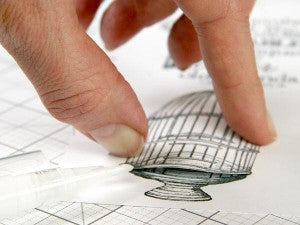
Stamp and cut a second birdcage, and layer it onto the panel with foam adhesive.
Place the foam adhesive in the center of the cage and adhere the outside edges directly to the card panel to create a slightly curved shape. (You can do the same thing with the little birdie sitting on top of the case.)
 ART NOUVEAU
 UM
CARD #4

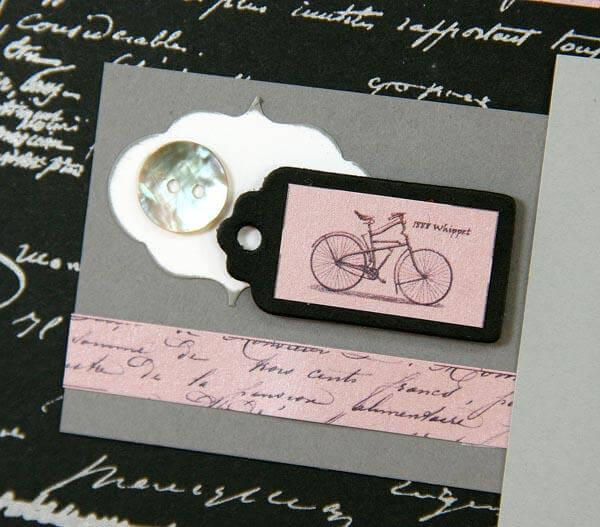
I adore the tasteful, sparkly pink satin ribbon in the
Greetings to Go kit! Make your own custom print by stamping images directly onto the smooth ribbon with
India Black ink.
CARD #5

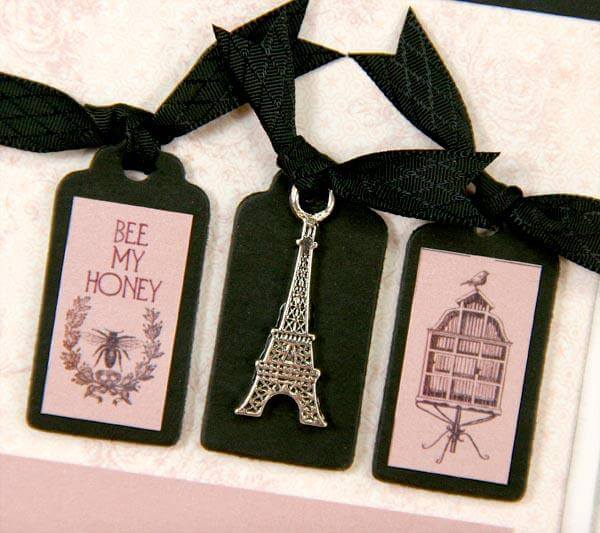
We included an 8.5x11 sheet of
White Die Cuts in the
Embellishment Pack this month, and many of the stamp images on the Jumbo UM sheet are designed to fit right on tags. Tie a stamped tag onto a card with ribbon.
See the narrow ribbon attaching the tag? I simply cut the width of the ribbon to suit my needs.

CARD #6
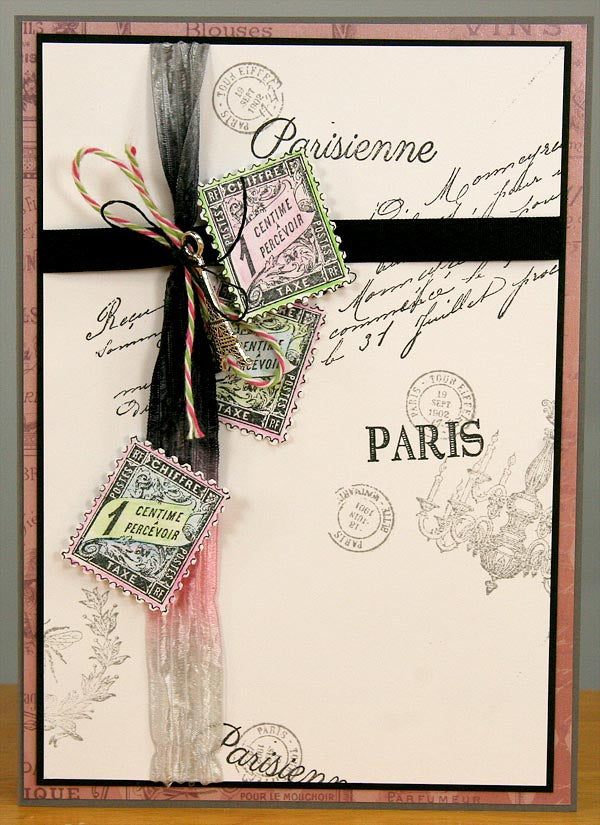
Decorate a White card panel with random images from the sheet stamped in Ash and India Black ink and tie a gift-style bow around the panel with the gorgeous multi-colored satin ribbon we featured this month.
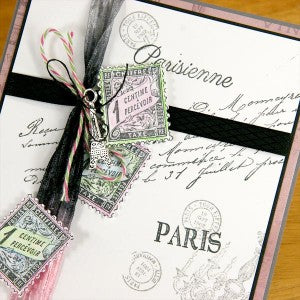
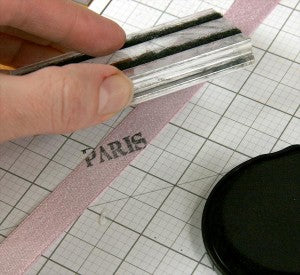
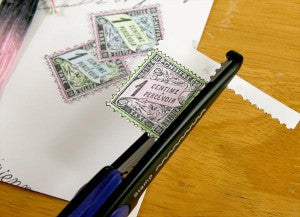
If you happen to have a postage edge scissors on hand, cut the colored stamp images and make some faux postage.
 GREETING UM
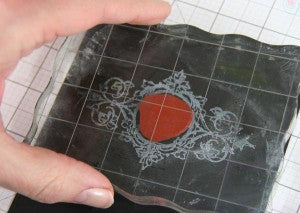
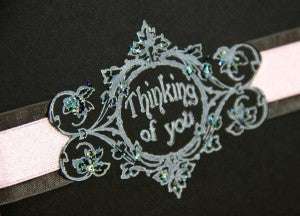
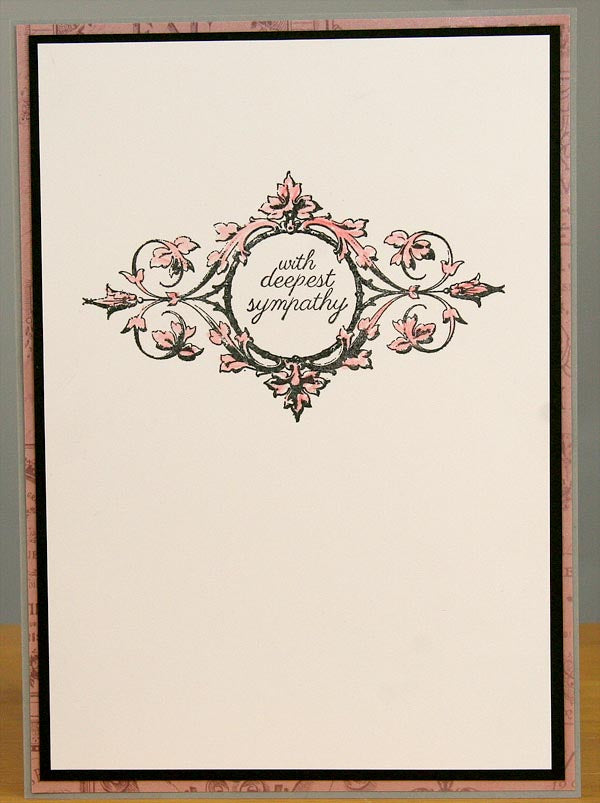
CARD #7
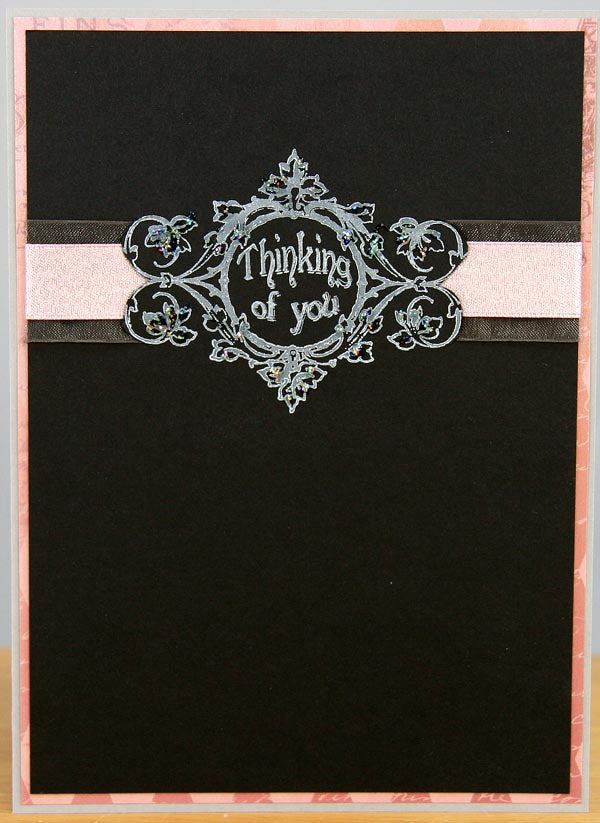
There are several greetings that are cleverly designed to fit within the ornate frame. Stamp the frame onto a black panel with White Pigment ink.
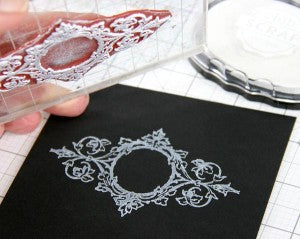
Stamp the greeting of your choice within the frame.
Tah-dah! A perfect fit! (We were thinking of you.)

Cut slots around the left and right edges of the image with a craft knife, and slide two layers of ribbon into the slots and top it all off with some glitter glue. (My favorite!)
CARD #8
Use the same steps to customize this frame stamped in black. Color the details with a watercolor pencil or marker.

CARD (TAG) #9
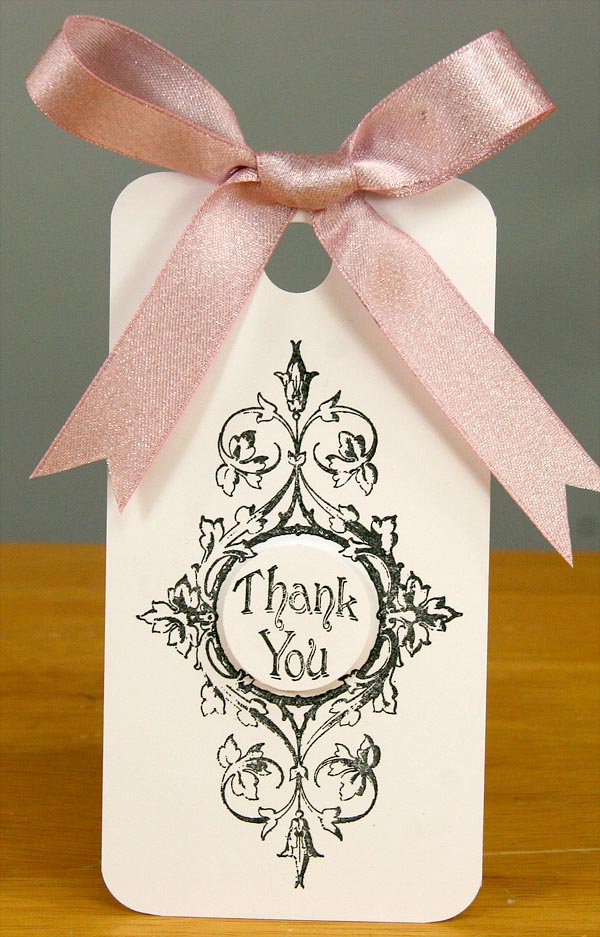
If you struggle with aiming a rubber stamped image into the center of the circular frame, simply stamp the sentiment onto a separate piece of paper, remove with a 1" circle punch or die, and add to the frame with foam adhesive.

I hope you found some helpful tips along the way. Off to make more beauties with these fun stamps!
Kay