
The Pacific Northwest Pages are so gorgeous, you might be tempted to save them for the perfect occasion. However, the future will bring lots of great outdoorsy kits from Club Scrap, and there's never been a better time to get some scrapbooking done!

If you haven't taken a peek at the Pacific Northwest kit, be sure to visit the Club Scrap Facebook page to view my "unboxing" video! I'll introduce you to the papers, goodies, stencil, pages, and the entire collection.

Pacific Northwest Pages
Layouts 1 & 2
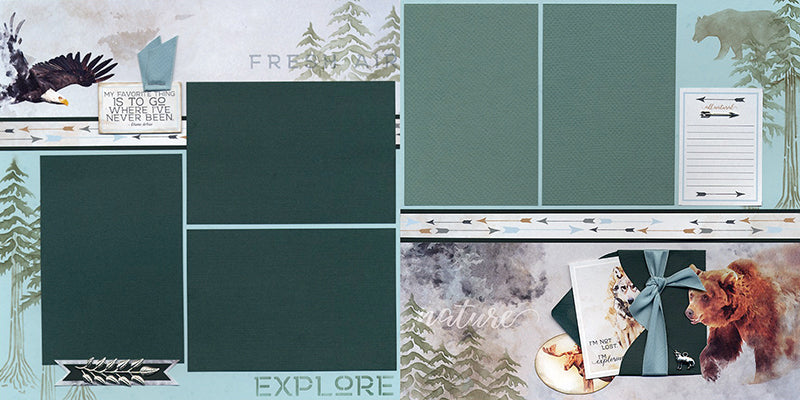
I did quite a bit of stenciling on this double page spread. Trees were added to the upper right and lower left corners of each page. Earth Ink and an Ink Applicator Brush were used to add the bear silhouette to the upper right corner.

Layouts 3 & 4

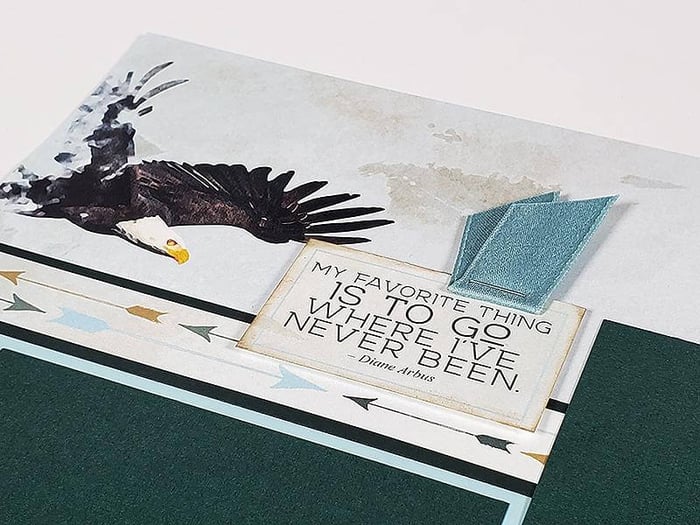
Wrap the pine mini envelope with cotton ribbon. Slide the journaling prompt cutapart partially into the envelope and adhere to the layout. Finally, apply bookbinding glue to the back of the silver branch charm and slide behind the ribbon. Place a heavy object on the charm until the glue dries, and the branch will never move again!

Layouts 5 & 6

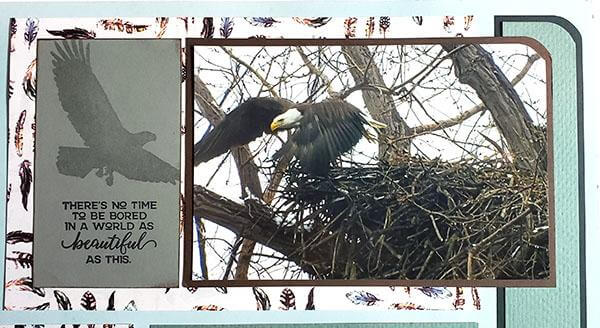
If you're okay with using a craft knife, try your hand at a little detail cutting to bring the eagle and bear images into the foreground on the right side of this layout. I'll walk you through the process during the video tutorial. It's worth the effort! Be sure to keep the area behind the eagle's wing free of adhesive so a photo can easily slide behind the area.

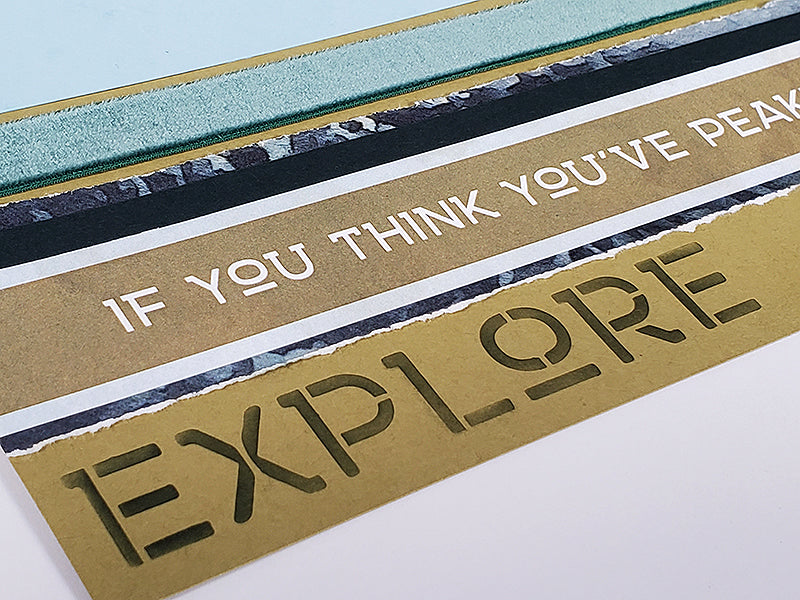
Layouts 7 & 8

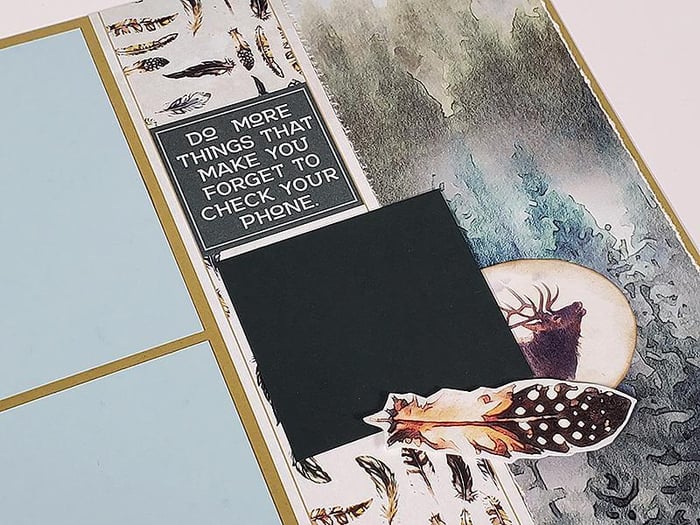
There's quite a bit of detail in this small area of the layout. One 12x12 sheet of the Forest Print is torn into strips of various widths with the help of a CS® Grid Ruler. Nest the title strip and a narrow Pine strip onto the print. To adhere the gorgeous velvet, add a bit of bookbinding glue to the page to hold the ribbon in place. Wrap the ends around to the back of the page and secure with tape. Finally, stencil the word "explore" onto the bottom edge of the layout with Spruce ink.
I know many of you are new to Club Scrap. I sincerely hope you're picking up some new skills, different techniques, and a better understanding of how our efficient method can work for you. Please be sure to share your success or questions with us on our private chat group. We love to cheer you on!
Tricia