
 Deep in thought . . .
 Raw sketches in my graph paper notebook.
The National Parks Lite pages were all "framed up" on a Friday afternoon and finished in a snap on Monday morning. (My least favorite task is sticking everything down, so if anyone is interested in that job . . .)
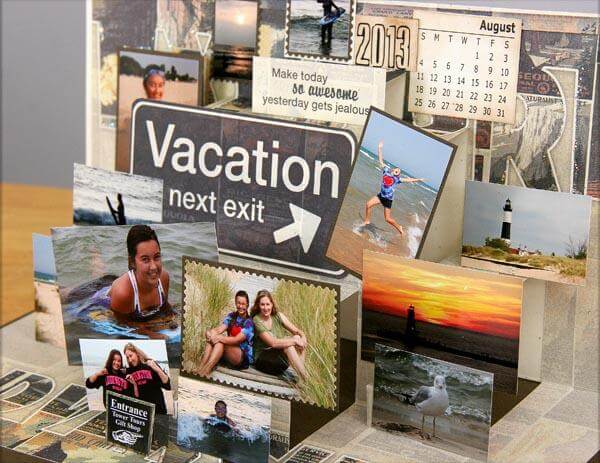
LAYOUTS 1 & 2 I like how the outlined text bursts out of the artwork on the 12x12 Ivory Print. It's such a cool element that can be used as a full print or to anchor the page.
  LAYOUTS 3 & 4
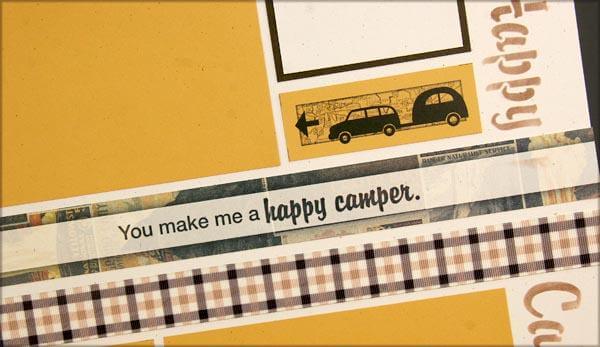
 And how about that Happy Camper Stencil? It's just the sweetest thing ever! I used it on the lower right of this spread with a CS Ink Applicator and Mahogany ink.
  LAYOUTS 5 & 6
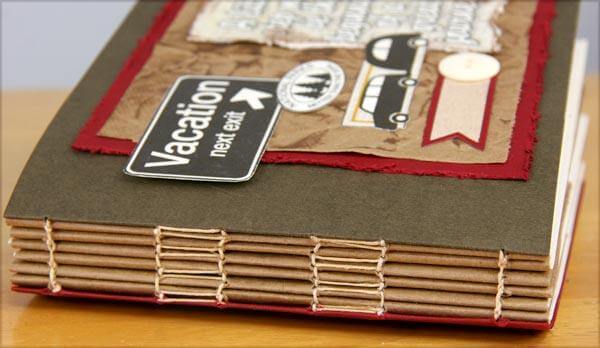
 The Brown Plaid Ribbon reminds me of the tablecloth my mom used to cover the picnic table at our campsite on Lake Michigan.
  LAYOUTS 7 & 8
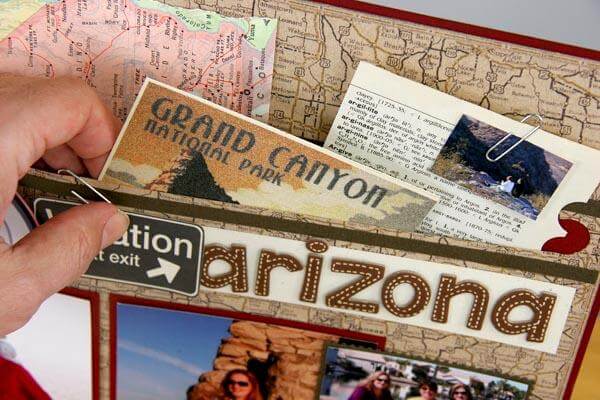
 When adding photos to a page like this, I'm always willing to place photos over the printed cutaparts if I have tons on hand. But it's nice to have the elements in place for occasions where I only have a handful of pictures.
  When I finished creating the pages, this is what was left. Waste not, want not!
 A few small scraps.