
Create more Magnolia pages with this month's Bonus Page Formula. These formulas help me utilize my extensive stash of papers and get those photos into my albums!
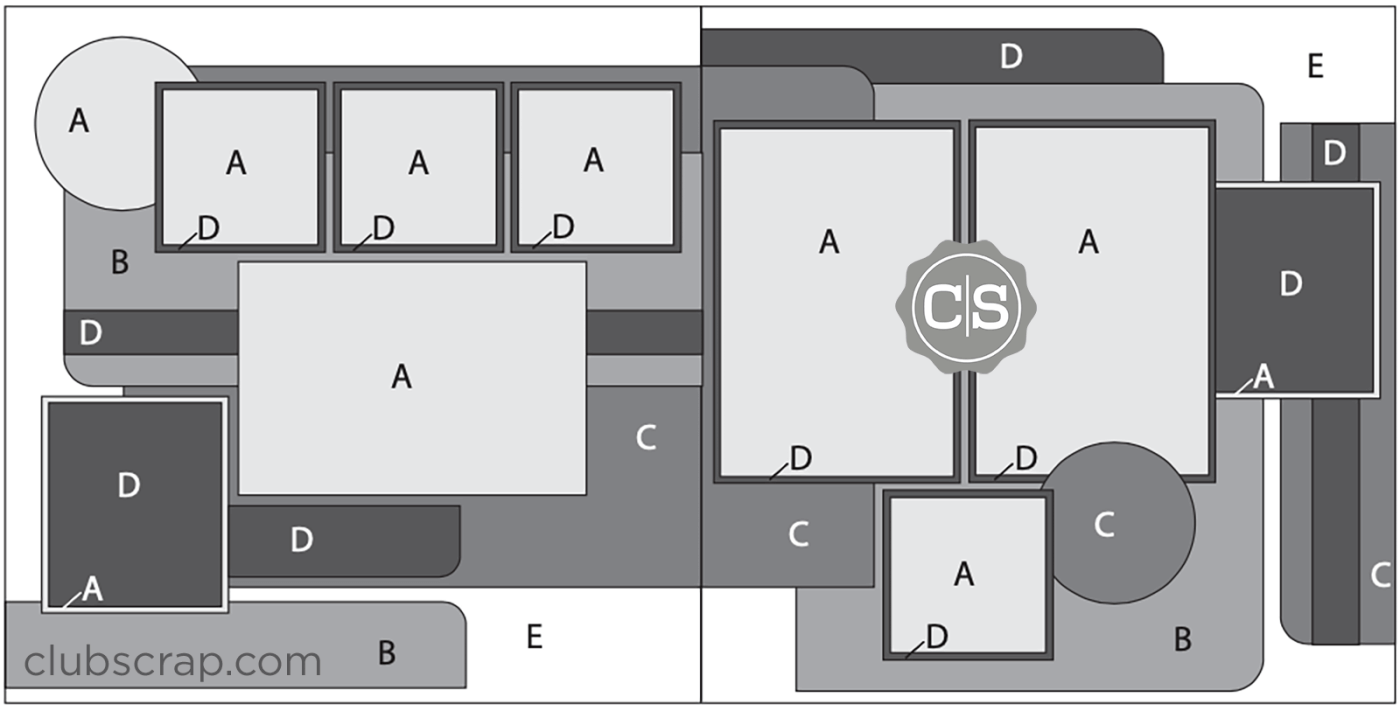
April Bonus Formula Sketch
Members*: Have you downloaded your bonus formula yet? Each month that you receive a membership kit you also get an exclusive email with tons of info, including a sketch with detailed cutting instructions.
*An active member is defined as one who paid for and received the current monthly kit.
Magnolia Page Formula - Tips and Tricks
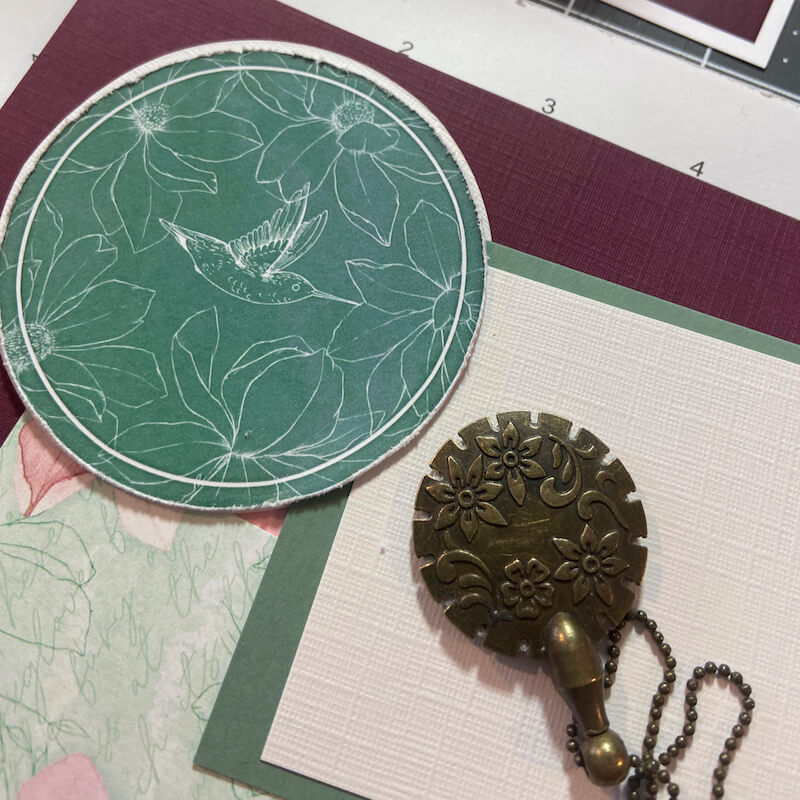
First, download the formula from the member-exclusive email. Next, gather the number of papers required to complete the formula, along with cutaparts and embellishments from the collection.
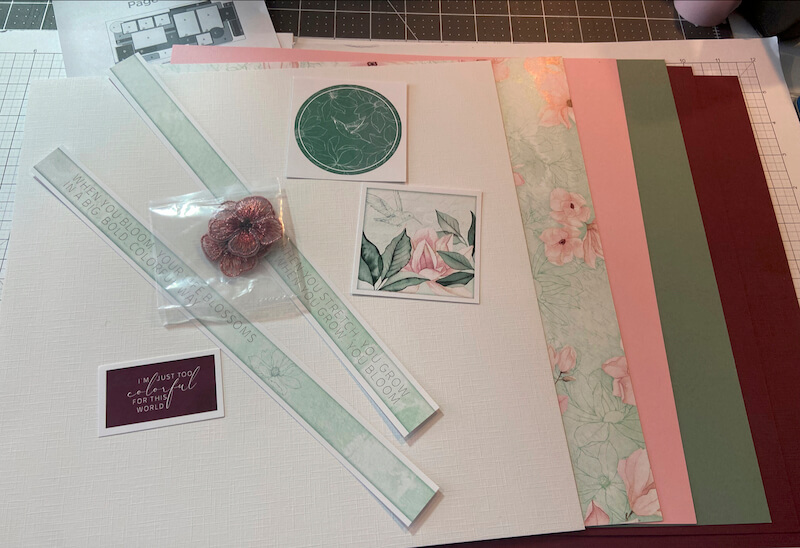
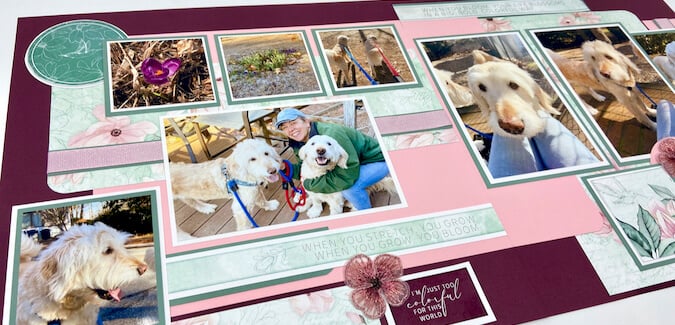
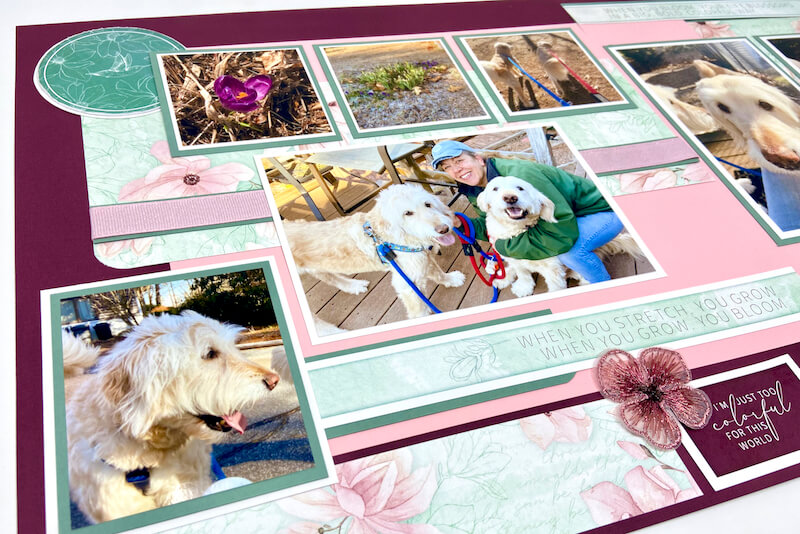
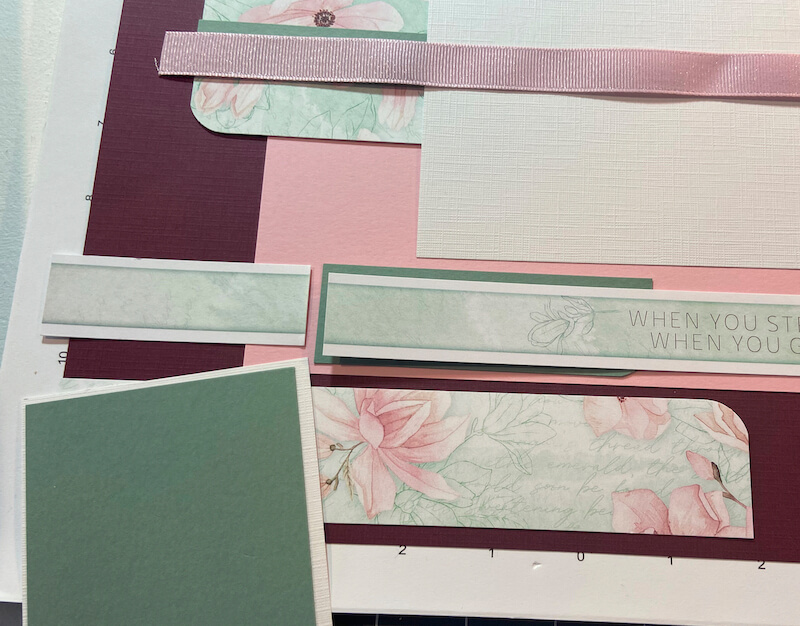
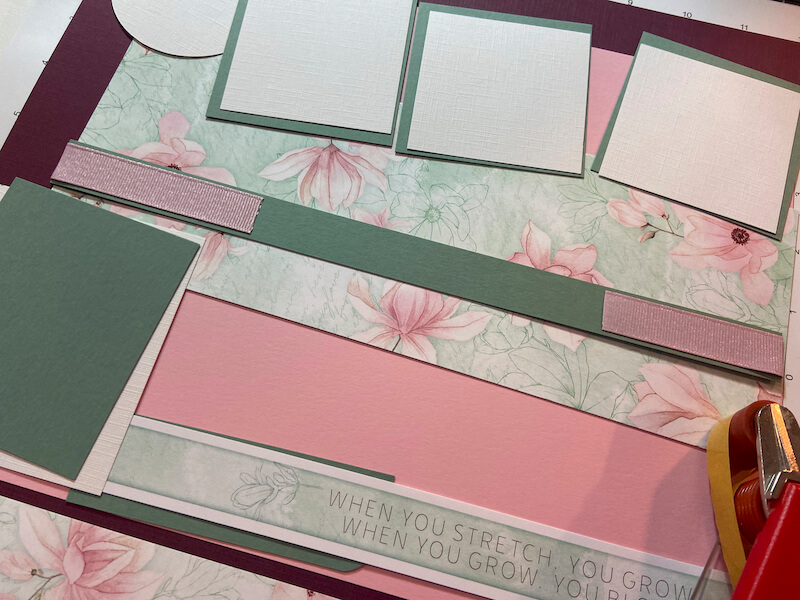
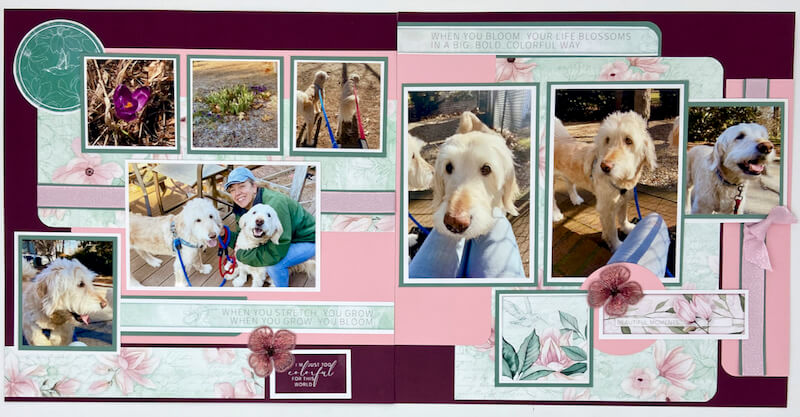
To recreate my pages, use the following Magnolia paper assignments: White Linen (Paper A), Green Print (Paper B), Pink (Paper C), Green (Paper D) and two Burgundy Linen (Paper E).
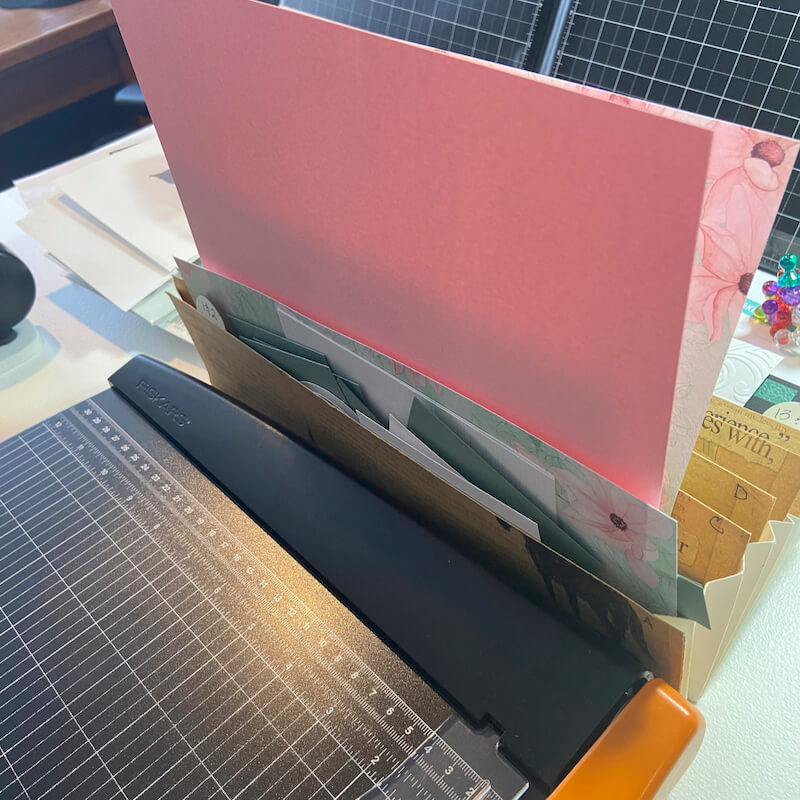
Trim the papers with this super-lightweight workhorse Paper Trimmer. File the cut pieces in Tricia's ingenious organizational tool, the Accordion Pocket File! It's the must-have sidekick to the trimmer when making pages. File the trimmed pieces for the left side in pocket A and the right side in pocket B.
Take the layout for a test drive by dry fitting the pieces (including any possible cutapart artwork) before securing permanently to the base papers.
Don't be afraid to trim cutaparts to fit the layouts.
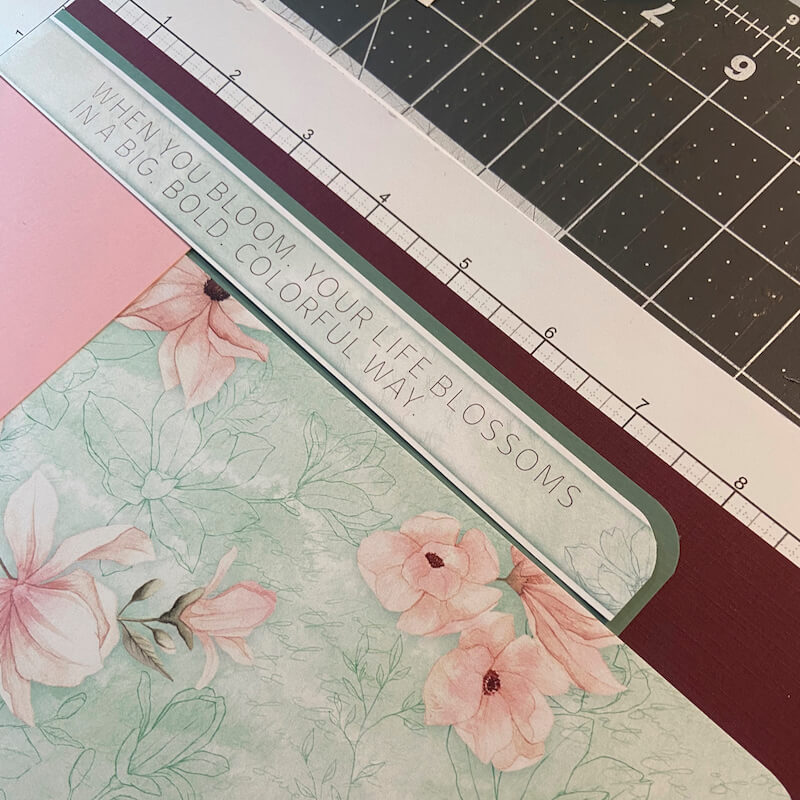
Round the corners of select elements for added interest.
Distress the edges of the cutaparts on each page to add a bit of texture and dimension.
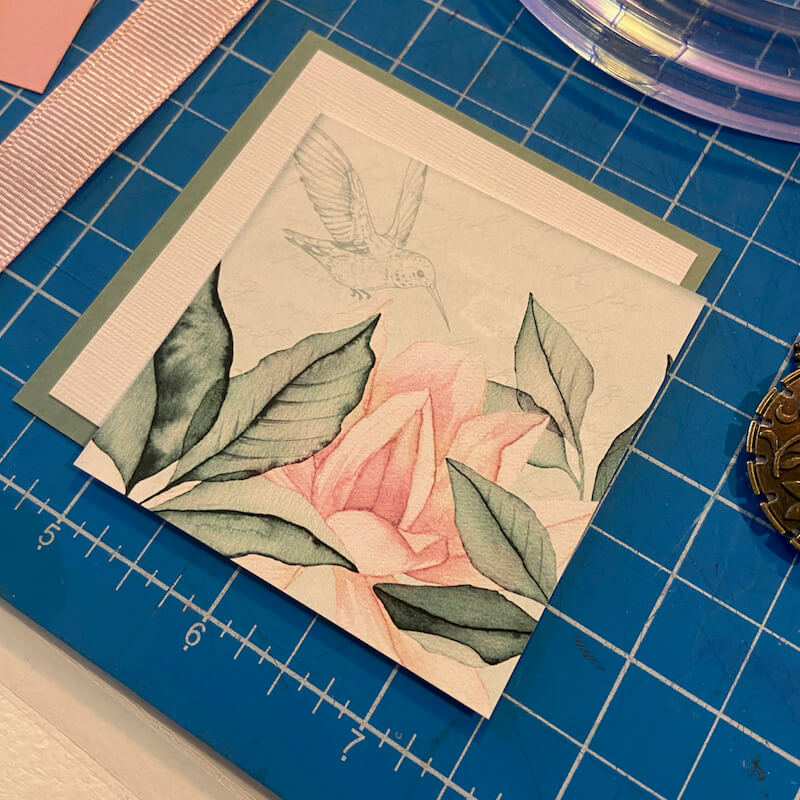
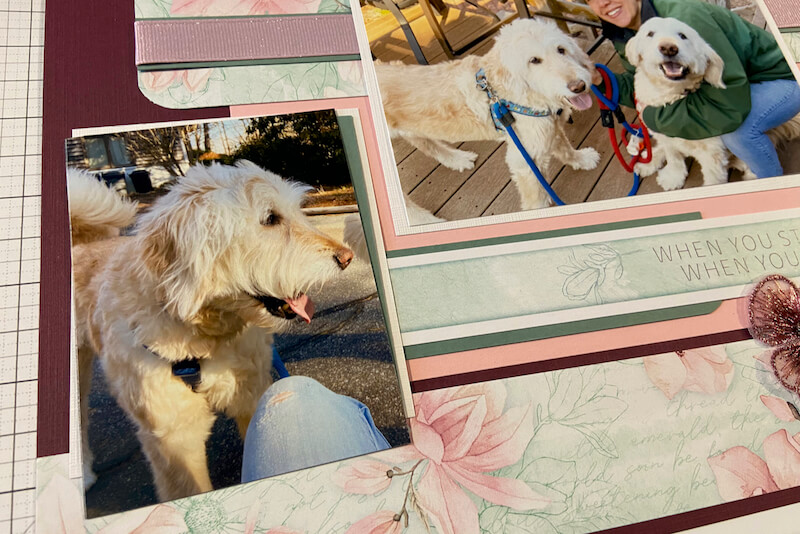
Trim a cutapart to fit perfectly inside a photo mat.

Center a piece of pink ribbon across the Green accent strips.
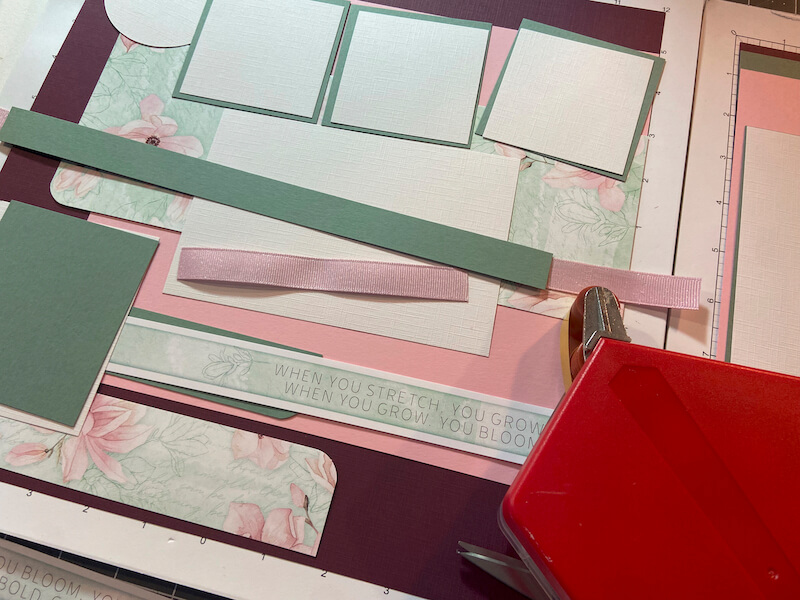
Cut away any ribbon that is hidden beneath the White Linen photo mat. Save this portion of ribbon for use on the right side of the layout.
Secure the ribbon tails to the Green strips with double-sided adhesive before adhering to the page.
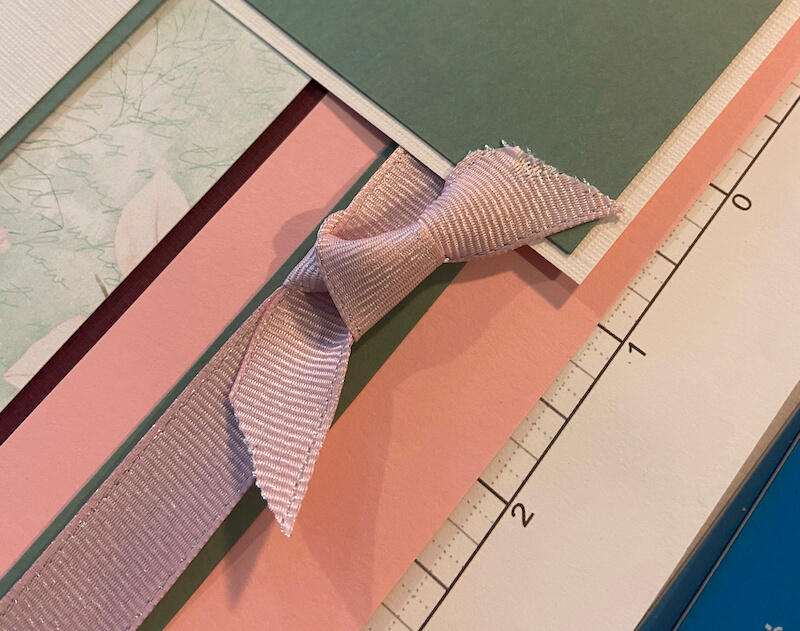
Tie the length of reserved ribbon around the ribbon on the right side of the layout.
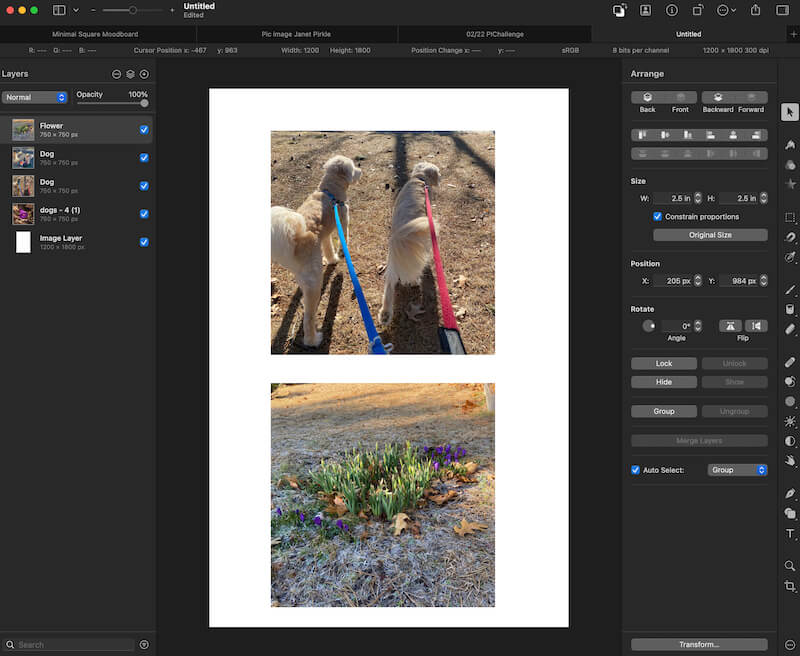
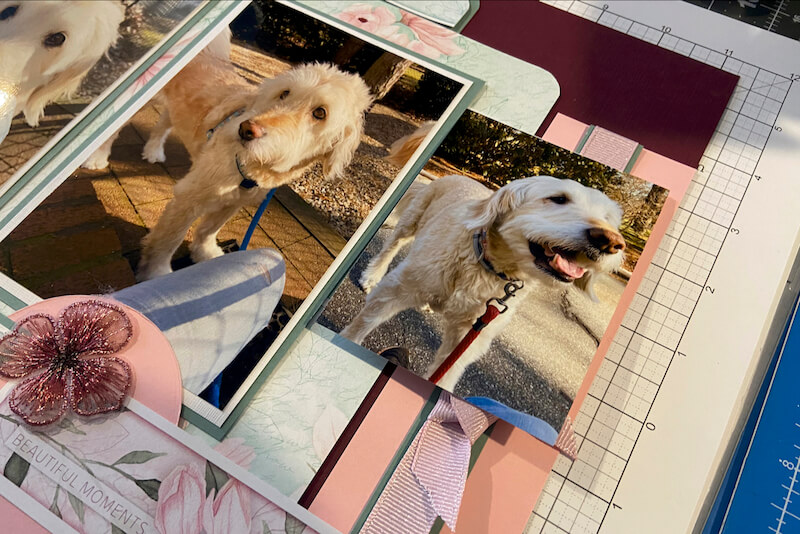
Print photos that will fit the layout. Crop four photos into 2.5" squares with a photo editing application (I use Pixelmator Pro). I was able to get two prints on a single 4x6 photo paper.
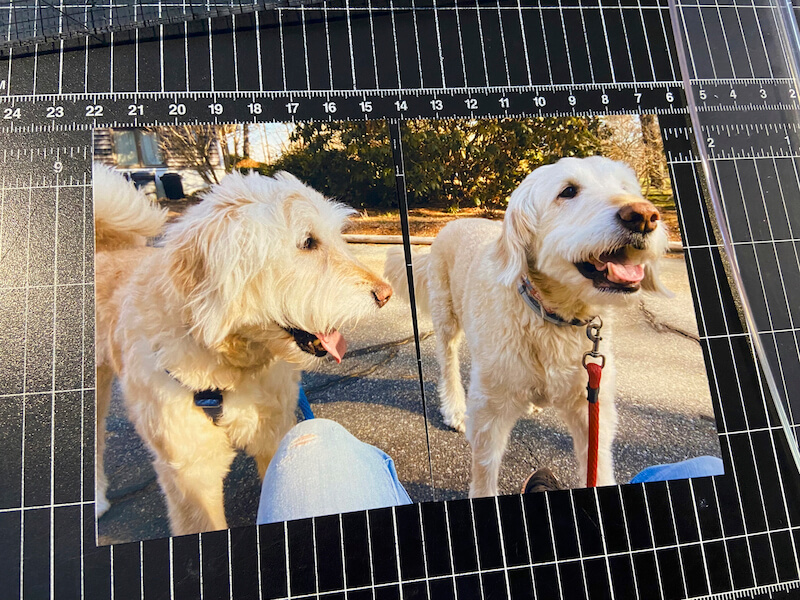
Trim a 4x6" photo horizontally in half at 3".
Crop each 3x4" to fit the Green mats.
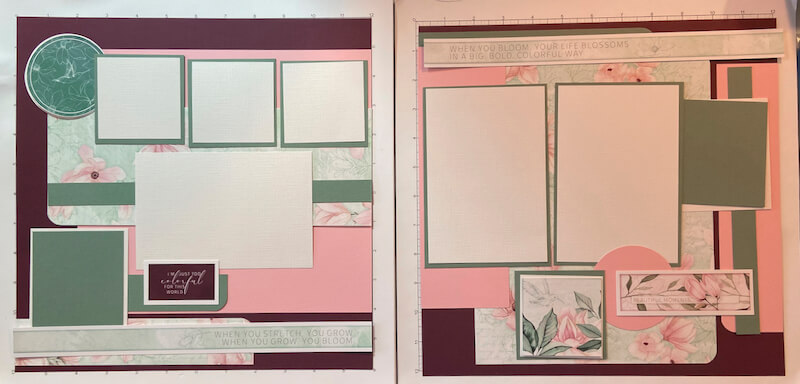
Let's take another look at the finished pages.
I hope you find these tips and tricks helpful as you make your own layouts with Club Scrap's page formulas.
Happy scrapbooking!