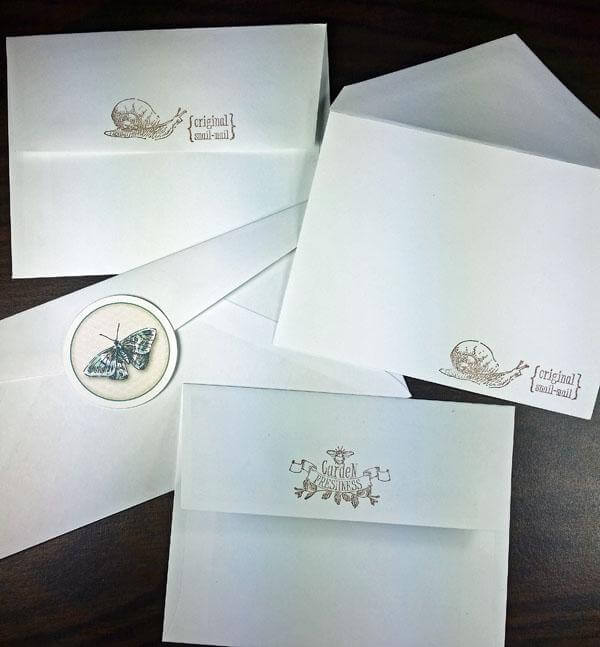
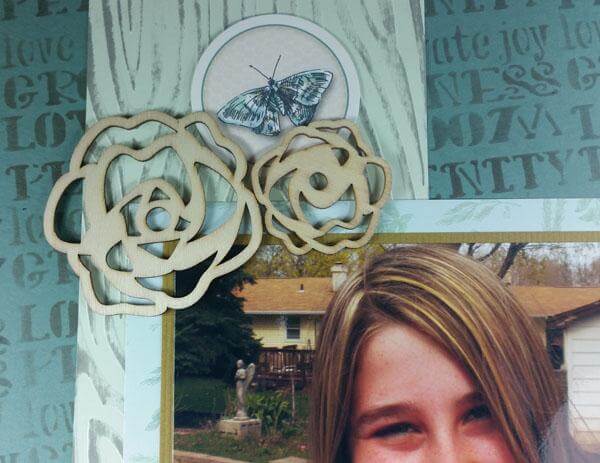
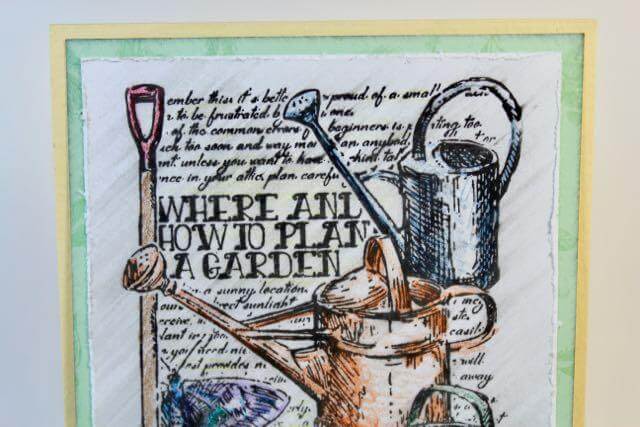
Last week I wrote a blog post sharing my Garden Shed Greetings to Go cards. While the cards are super cute, I noticed how plain and neglected the envelopes were by comparison. After playing with the digi kit to decorate my cards, I realized the prints would make fun liners to dress up the envies.
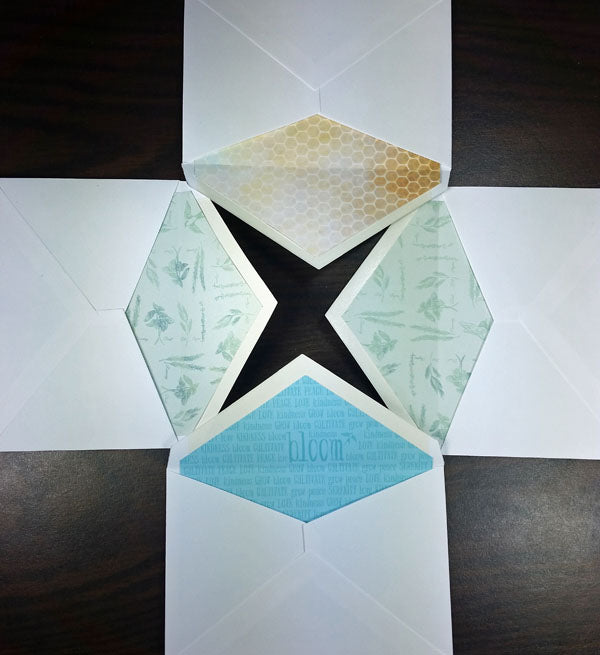
After using PSE to resize each of the four quad prints to fit the envelopes, I printed them onto text-weight paper, trimmed them*, and attached them to the inside.
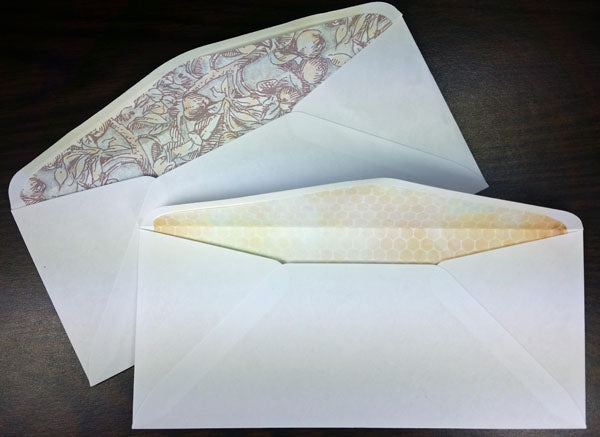
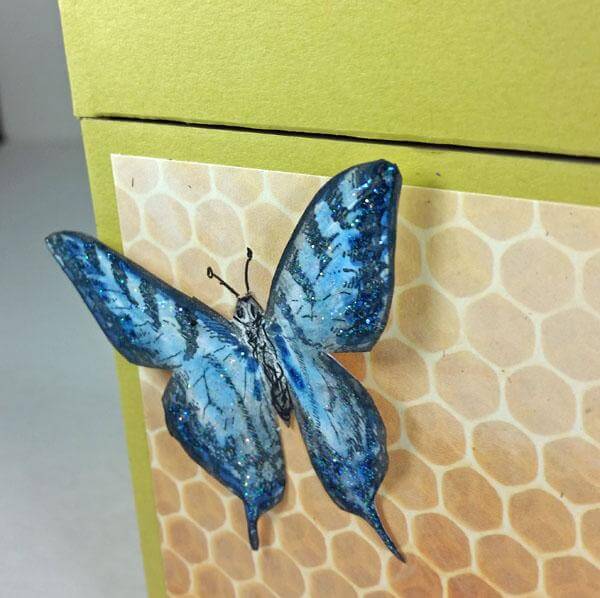
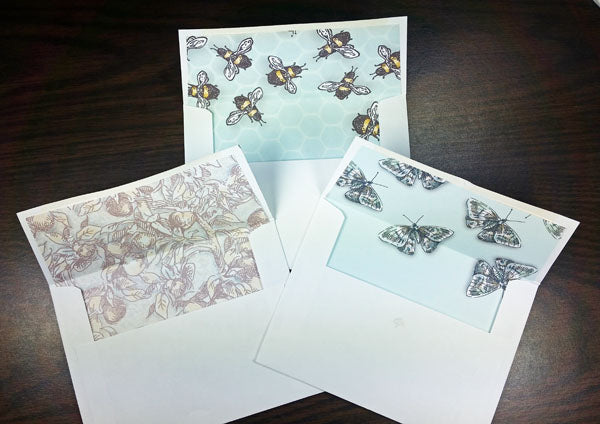
I was having fun playing around in Photoshop, so I even added some cute little bees and butterflies.
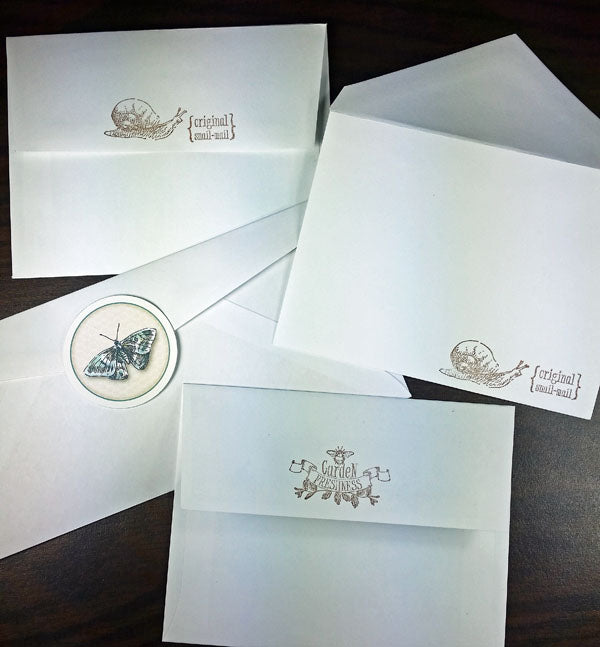
Now that your envies are fully lined, don't forget about the fronts and flaps! Images and phrases from the Greeting UM add a bit of lighthearted decoration, banishing those "plain envelope" blahs.
Next time you're making cards, don't miss the chance to jazz up those envelopes, too!
*I was asked what method I used for trimming the liners. Since each set of four envelopes was a different size/shape, I did the following:
1. Trace the shape of the envelope onto the plain side of printed paper, carefully cut out with scissors.
2. Use paper trimmer to cut 1/4" inch from one long side and 1/8" from bottom edge of liner.
3. Re-trace the flap shape on the trimmed side. Use that liner as a template for remaining three envies.
