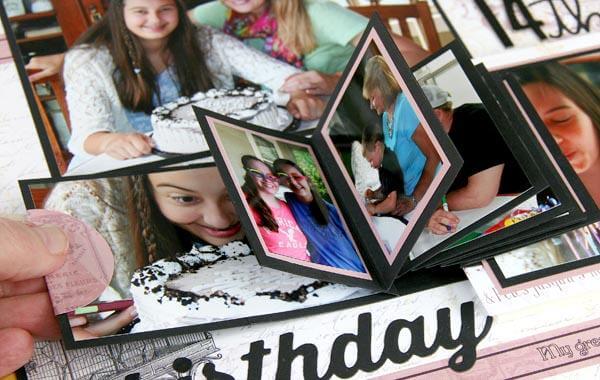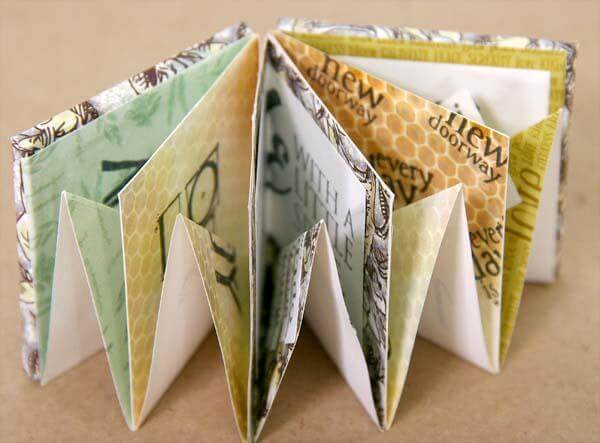
The inside page folds of this miniature book create the appearance of five little rooms. The weight of the 8.5x11 Quad Print included in each Club Stamp kit is perfect for folding.
Check out my Garden Shed version:


Take a tour of the rooms inside . . .


Follow along with the steps below to make one of your own.
1. Cut five 4x4" inside pages and two 2.75 x 2.75" outside cover wraps from two Garden Shed Quad Prints. Trim two 2x2" covers from Book Board.

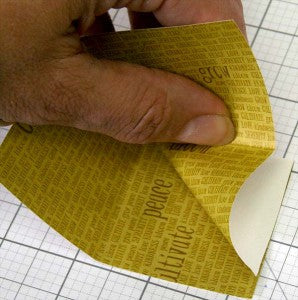
2. Wrap the book board covers with the 2.75" papers and CS® Bookbinding Glue.

3. Fold each 4x4" inside page in half.

4. Open and fold in half again in the opposite direction.

5. Open.

6. Bring the bottom right corner to the bottom left corner and make a crease along the angled fold.
7. Repeat folding steps with the remaining 4x4" inside pages.

8. Place a page plain side up on your work surface with the diagonal fold in the lower left corner. Cut along the horizontal crease from the right edge, stopping at the vertical crease.

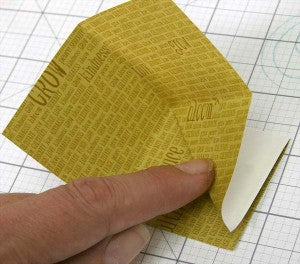
9. Cut from the top edge of the paper, about 1/2" to the right of the vertical fold to remove a rectangle from the top right corner of the paper and to create a small flap.

10. Miter the corners of the 1/2" flap to create a tab.

(The page will look like this when complete. Repeat for all remaining pages.)

11. Flip the paper so the printed side is facing up. Now would be a good time to decorate the "room". (Hindsight is 20/20.) Apply adhesive to the 1/2" tab.

12. Close the angled fold.
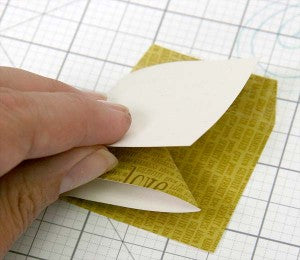
13. Fold the tab over onto the square to adhere.

14. The first "room" is complete. Repeat for all remaining pieces.

15. Decorate the individual pages.

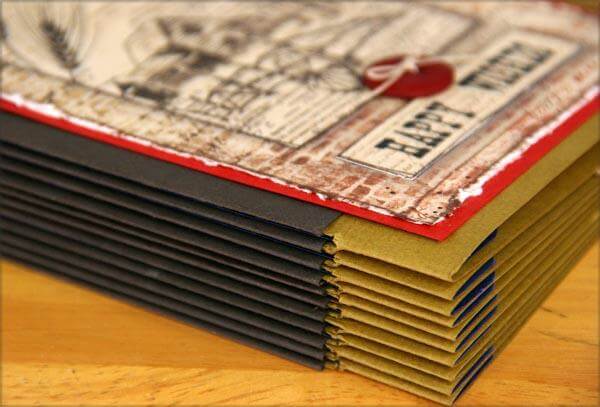
16. Close the pages and adhere them back to back, making sure the angled folds are facing the same way.


17. Adhere the stack of pages to the outside covers.


Sweet!


Make some "room" in your crafting stash for those handy Quad Prints!
Kay