Want more Lagoon details? You've come to the right place! Read on to learn more about what you can create with our latest collection . . .

Lagoon Details: Deluxe Layouts
LAYOUTS 1 & 2

Cut around the starfish printed on the Dk. Teal paper with a craft knife and cutting mat to accommodate the White photo mat. Intersperse the silver coins among the starfish, adhering with CS® Bookbinding Glue.

LAYOUTS 3 & 4
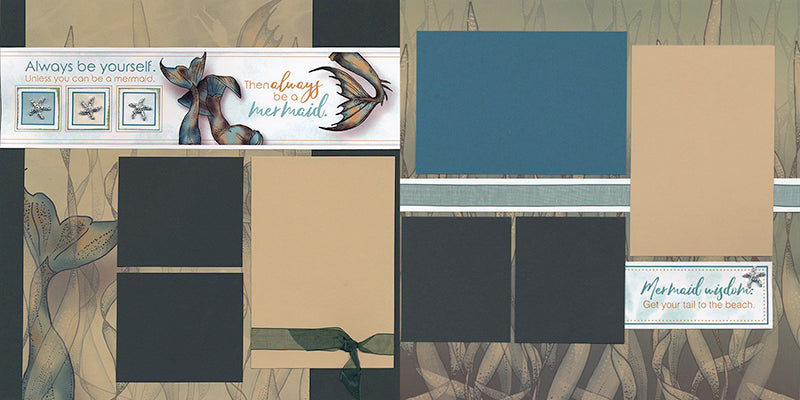
Jacqueline created a framed home for three adorable starfish rhinestones. Sponge the edges of the nesting squares with Spruce ink. (Our newest ink color matches perfectly with the Deep Green in this collection.)

LAYOUTS 5 & 6

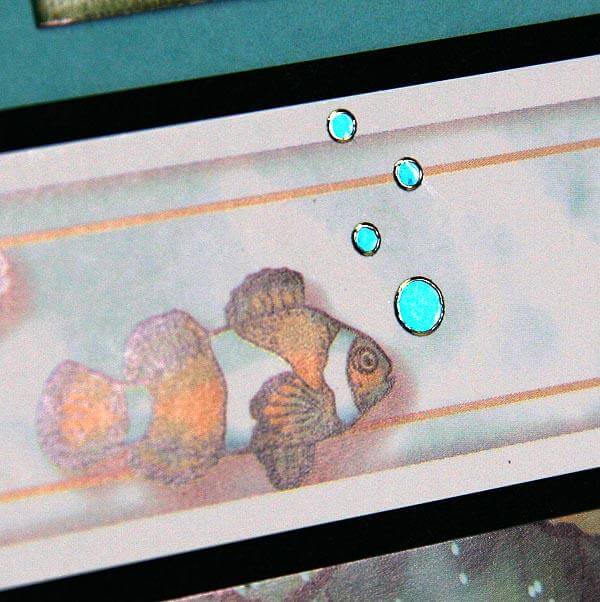
Have fun adding Teal Jewel Stickers as "bubbles" on several layouts. The easiest way to apply the small stickers is to pick them up from the parent sheet with the tip of a craft knife. The large sheet of stickers will go a long way, so use them liberally!

LAYOUTS 7 & 8

Nest two starfish rhinestones onto two inked squares. Wrap the trimmed portion of the 8.5x11 White Print with metallic teal ribbon, and round the corners on the right side of the print with a Corner Chomper on the 1/2" setting.

LAYOUTS 9 & 10

Enhance printed bubbles with the addition of Teal Jewel Stickers to the existing artwork. You'll love the white grosgrain ribbon screen printed with iridescent scales. Layer a piece behind the printed cutapart.

LAYOUTS 11 & 12

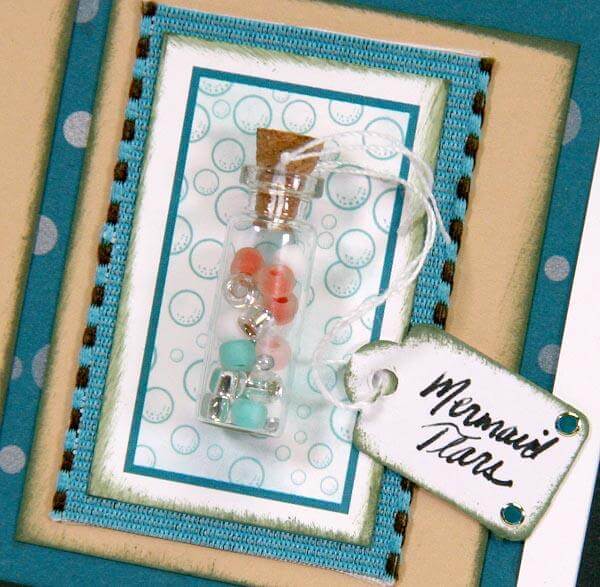
The mini glass bottles were the tiniest we could find. They'll add a bit of bulk to your layout, but I couldn't resist incorporating them into the collection. (You'll receive a set of three in your kit.) Fill one with seed beads and attach a mini tag to the cork. Glue onto the perfectly sized cutapart and layer onto a piece of saddle stitched ribbon.
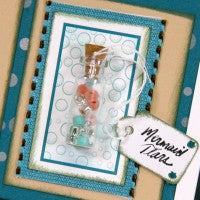
Use a craft knife to remove teal jewel stickers from the parent sheet and match up with the printed bubble streams on the Dk. Teal print.

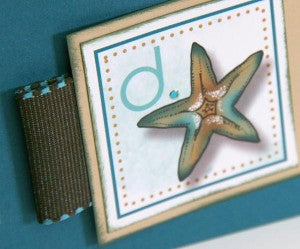
Cut four 2" lengths of the saddled-stitched ribbon, fold in half and tape to the back of the four Sand panels. Loop to the brown side of the ribbon on two pieces, and the teal side on the other two panels.
LAYOUTS 13 & 14
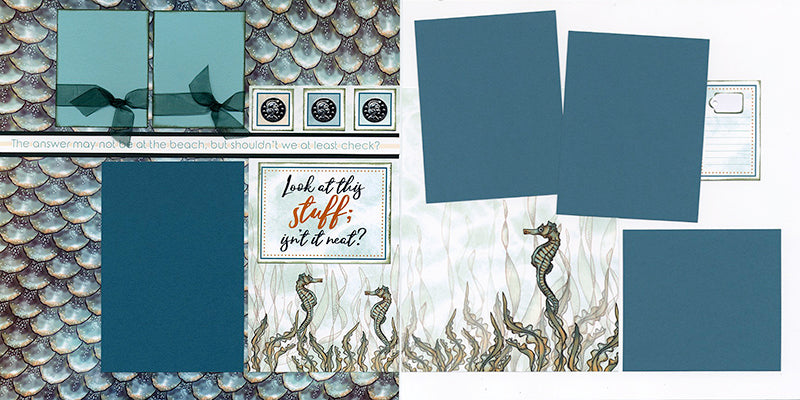
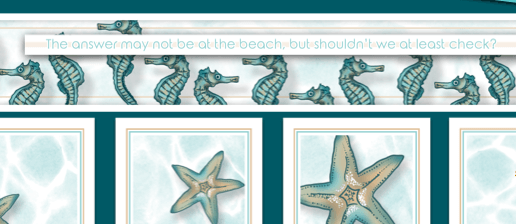
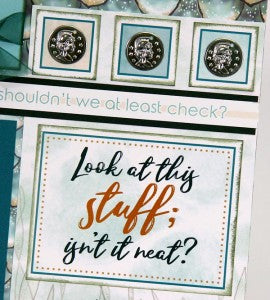
Glue three silver coins to a set of three inked squares and arrange above the matted border strip. ("Look at this stuff; isn't it neat?" Are you singing that in your head right now like I am?)
Lagoon Details: Greetings to Go
SET A

The silver/white twine makes a subtle, but perfect addition to this card set. Adhere four equally-spaced cutaparts to the Dk. Teal panel. Thread a silver starfish charm onto the twine, and wrap around the strip.

SET B

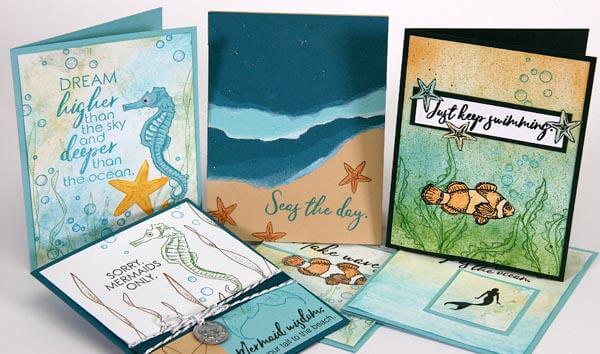
Each card in this set comes with a single Deep Green panel which is cut in half vertically to create a strip for the left and right flaps of the stand-up card structure. I love this simple but effective style. As you learn to create unique card folds by subscribing to our Greetings to Go kits, you gain the skills needed to make additional cards using the measurements provided.

SET C

The final set of cards assembles in a snap. My favorite is the inside sentiment for the "celebrate" and "happy retirement" cards . . .

Happy deep sea card making and scrapping!
Tricia

