
With new members arriving regularly, I wanted to take an opportunity to outline the features of our layout assembly instructions created for each paper collection released by Club Scrap.
TO PRINT OR NOT TO PRINT?
If you have a tablet or laptop, it can work well to simply download the .pdf file and keep your device handy when creating the layouts. (Save the paper for your scrapbooks!) If you plan to "recycle" the instructions by substituting papers from your existing stash, having a printed copy where you can write notes will be helpful. You can find the instructions for each collection in the "HOW TO'S" tab under INSTRUCTIONS.
MATERIALS AND SUPPLIES LIST
Page one of the document will list the materials and supplies needed to complete the layouts as you see them. The items listed under the "Materials" heading are from the monthly collection.
The "Tools and Supplies" list are items that will be needed from your personal stash. With the exception of the 12" Paper Trimmer and Adhesive, many of the items can be eliminated or substituted if you don't have them handy. If the "Tools and Supplies" area lists "(5) Copper Brads," you'll know this item was not included in your kit.
PREPARATION
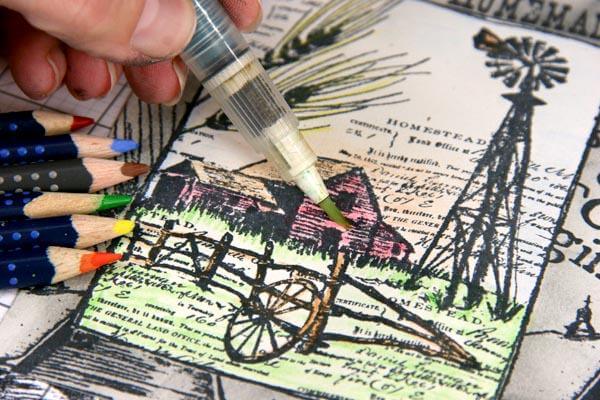
The first page will also remind you to prepare the printed cutaparts for adding to the pages. The cutaparts will typically contain tiny cutting guides to help you figure out where to trim. Study the print to ensure you do not cut through an image, and remove the narrow/smallest strips from the cutaparts first. Any other preparations will also be listed in this area.
INSTRUCTION DETAIL
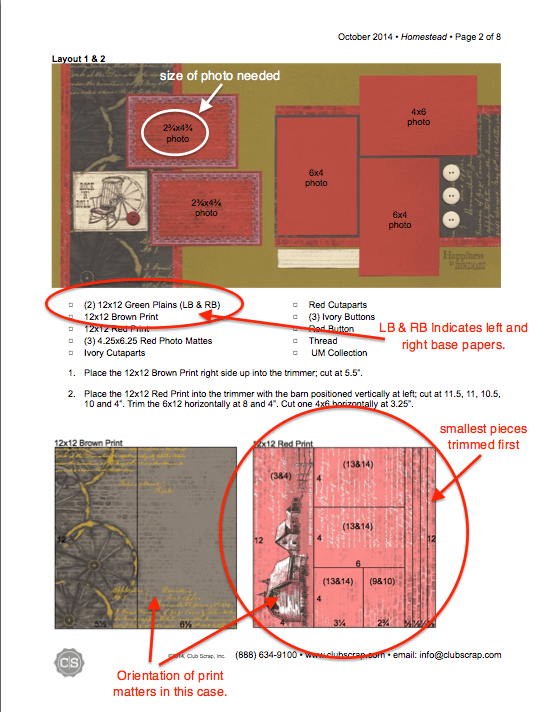
Each page of instructions will include a scanned image of the double page spread, ingredients list, cutting instructions and cutting diagrams. We've calculated the size you'll need to trim photos in order to have them nest onto the mats provided with a 1/8" border. Those measurements have been added to the scanned image of the layouts.
The first two ingredients listed will always be the "left base" (LB) and "right base" (RB) papers. No need to look at the image to guess which paper was used. Sometimes it's almost impossible to figure it out!
If the orientation of a paper when trimmed will effect the outcome of the layout design, the image of the print will be included with the cutting diagram. Whenever possible, the smallest pieces are trimmed first, followed by the largest pieces. If you are having a difficult time understanding how the instructions match up with the diagrams, simply ignore the diagram and follow the written instructions.

Sometimes a piece of paper is spread out among several double page layouts. If a piece is not used on the existing page, the diagram will indicate which layout will include the piece, and it will also be included in the appropriate ingredient list for that page.

A PLACE TO BEGIN
Remember . . . the instructions are merely there to give you a starting point for your own creativity. Feel free to make the pages exactly as shown, or jump in by adding your own arrangements and ideas. If you make a mis-cut, supplement from papers in your stash, use some adhesive to make a repair, or punt and do your own thing. (Nobody will ever know.)
For a better understanding of the basic principles of design we tend to follow, check out THIS POST. Thanks for tuning in!
Tricia