
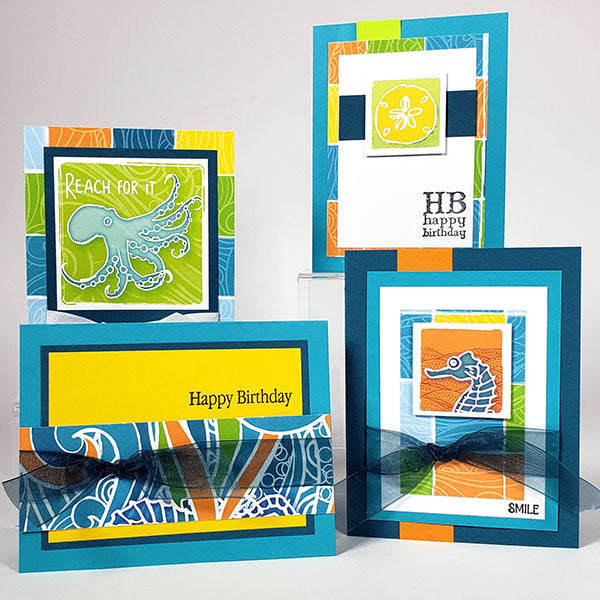
Folks are loving our special release page kits. But one question frequently pops up: "Is there a card version?" It's time for another reminder of the wide range of card making formulas we offer. For example, pairing the Christmas in the Neighborhood card making instructions with our most recent special release produced 24 beautiful and colorful High Tide Remix cards!
HIGH TIDE REMIX CARDS
THE SECRET
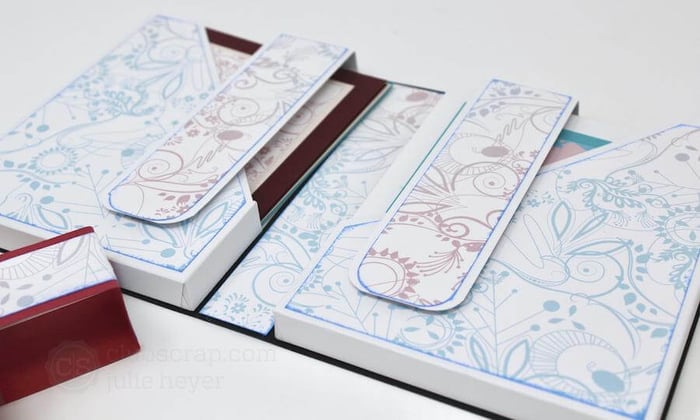
What's the secret formula? Paper substitution is probably the hardest part! I normally don't print kit instructions - I read them off my tablet. However, when reusing an existing formula I find it helpful to have an actual printout available. After a bit of consideration, I cross out the "original" paper colors, and handwrite the "replacement" colors for whatever kit I'm working with. I make sure to write down the substitute paper color on every sketch to avoid mistakes. (Which are really just opportunities for further embellishment anyway, right?)
PAPER ASSIGNMENTS
- (2) Ivory Plains = 1 each of White, Yellow
- (2) Brown Plains = Dk. Turquoise (3)
- (2) Red Plains = Orange
- (2) Blue Plains = Tile Print
- (2) Kraft Plains = Green
- (2) Manila Plains = Lt. Turquoise (3)
- (2) Papers for Bonus Sketch = Wave Print
From there, simply follow the trimming and sorting instructions for all papers. Cut two Wave Prints according to the Bonus Sketch/Instructions shared in my blog post last week. After that comes the fun part - decorating!
SET A - Z-FOLD CARDS
When converting a page kit into cards, don't be afraid to let the cutaparts guide you. Journaling boxes obviously don't translate very well, but most of the other sentiments and artwork can easily be used to decorate the cards. Once all of the applicable cutaparts are utilized, feel free to reach into your stash of stamps to finish up the rest.

With a bit of strategic trimming, even the title strips can be used. I just love how they fit perfectly onto the narrow Z-fold strip.


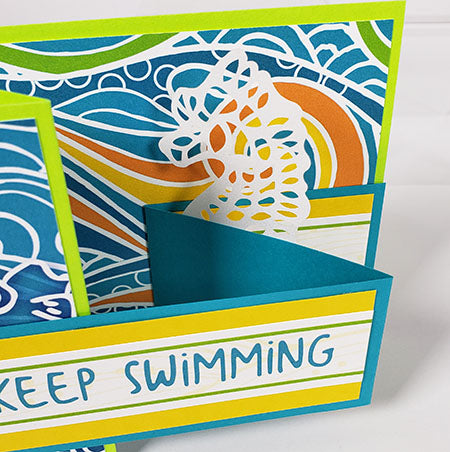
Browsing Z-fold card designs on Pinterest inspired me to adhere a seahorse laser cut to the center panel for a bit of dimension.

He's viewable both when the card is open and closed!
After an initial dry fit of the cards, you may find yourself moving things around a bit. The double mat panel on the right side of this Z-fold was leftover from Set B where a large cutapart was used in its place.

Ribbons, charms and other embellishments add just the right finishing touch without making the cards too "lumpy" for mailing.

SET B AND C
Since our special release collections come with a few extra 12x12 plains to cut into photo mats, I had two plains left: one each of Dk. Turquoise and Lt. Turquoise. Simply trim and sort them according to steps 4 and 5 respectively. (See notes under Paper Assignments above.)

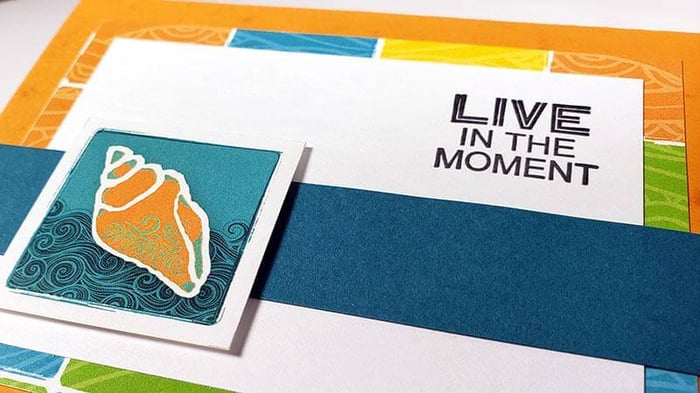
After sorting the card bases and largest panels for Set B and C, the decorating became more "free form" so I could make the most of the cutaparts. So, rather than try to delineate between the two, they are combined for photo purposes.

I didn't use the 1x5.5" strip on every card. Adhere the extra strips onto one 3.5x4.75" panel diagonally. Trim away excess to create a unique background panel. (See center card below.)
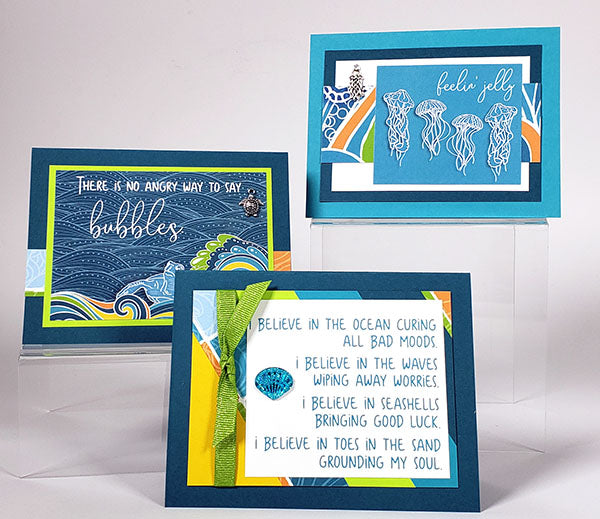
Adhere the small square cutapart artwork to the cards using foam adhesive circles (in white or black) to make them pop.

As you can see, only a few sentiment stamps were used to finish off the cards.
Next time you see a special release page kit that would make beautiful cards, I hope you give card formula "recycling" a try. Be sure to share your results on the Club Scrap Chat group on Facebook.
Happy crafting!