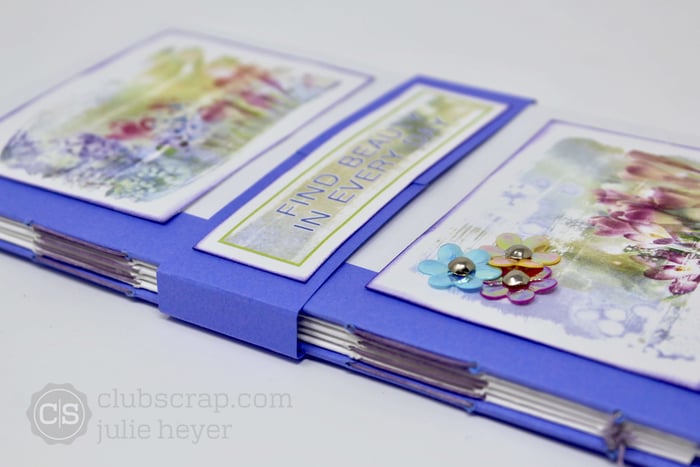
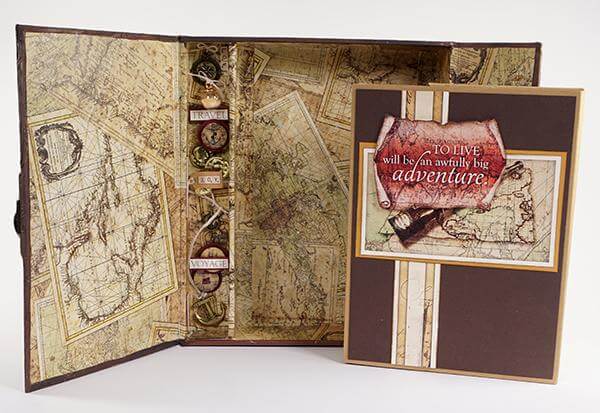
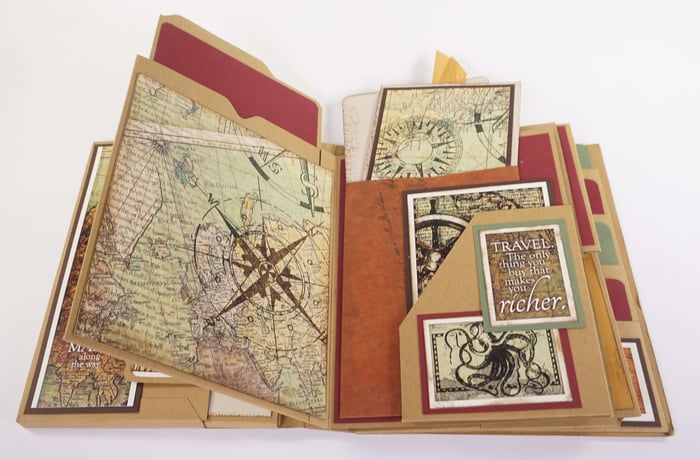
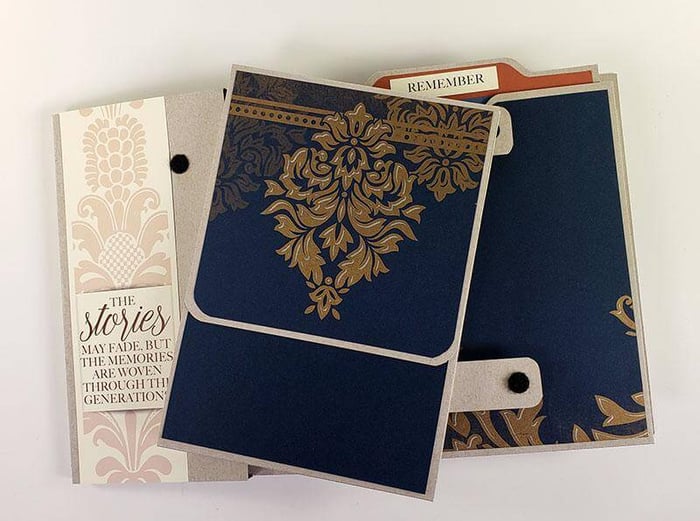
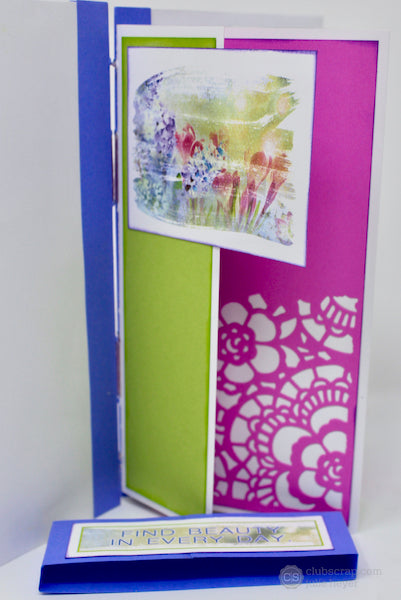
Create a unique Gate Fold Cards Album featuring the Set C cards and envelopes from the In Bloom Card Kit. Visit my guest artist post to see all the cards I created with this fun kit.
Gate Fold Cards Album Tutorial

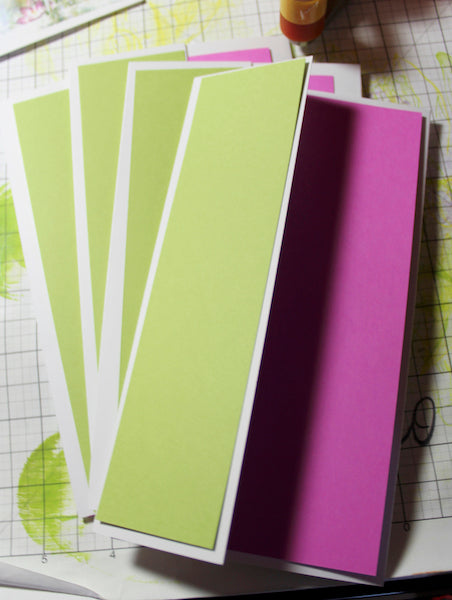
Prepare the Set C Gate Fold Card components as instructed in the Card Kit.
Envelope Signatures
Open each envelope.

Wet the adhesive and tuck the flaps inside two of the envelopes.
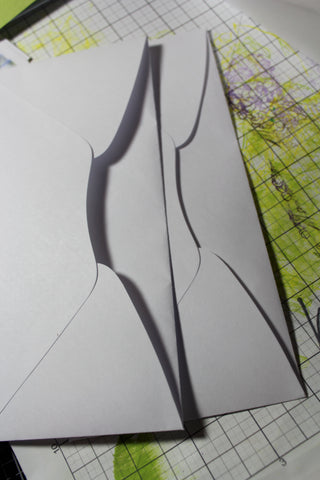
Apply adhesive to the back sides of the remaining two envelope flaps. Carefully slide one envelope into the other until the tops of the envelopes meet. Burnish to ensure adhesion.
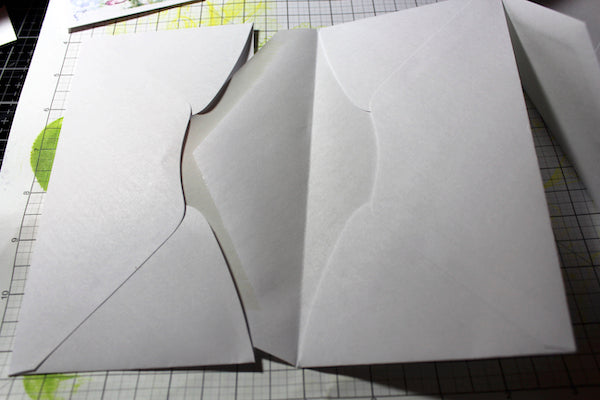
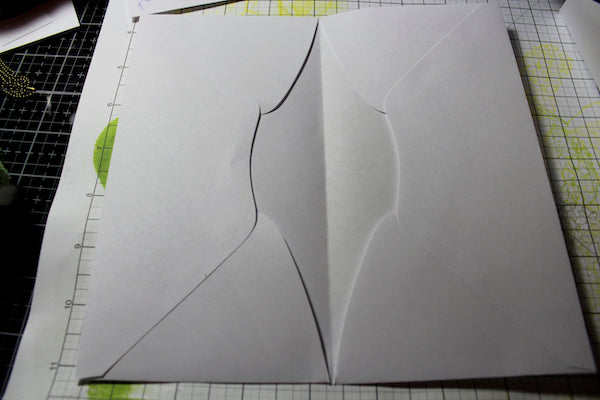
Repeat with the remaining two envelopes. The envelopes will become the front and back signatures of the album.
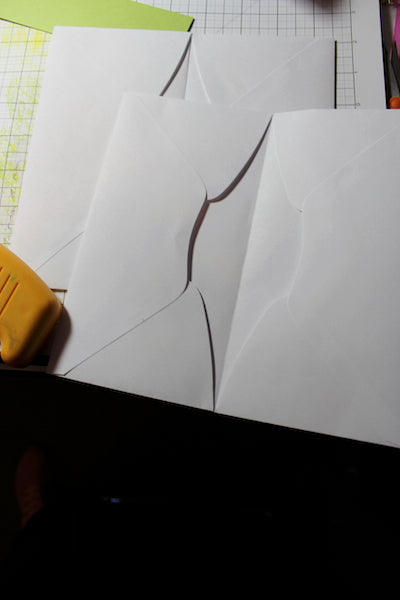
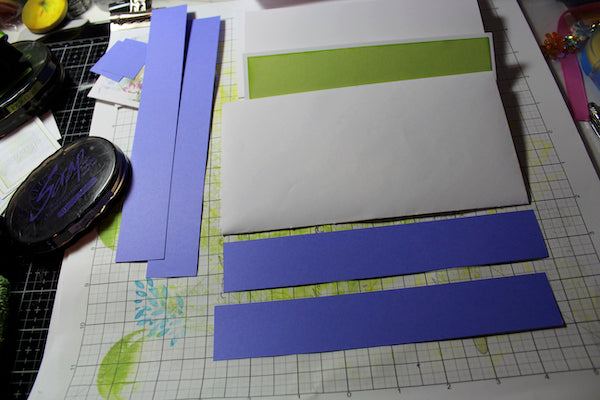
Trim two Purple belly band panels horizontally at 7-1/2".
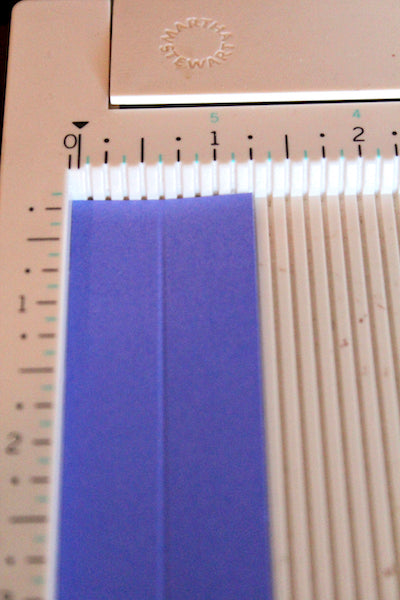
Score each band vertically in half at 5/8".
Apply Bookbinding Glue dispensed with a Needle-tipped Applicator to the inside of the Purple panels.
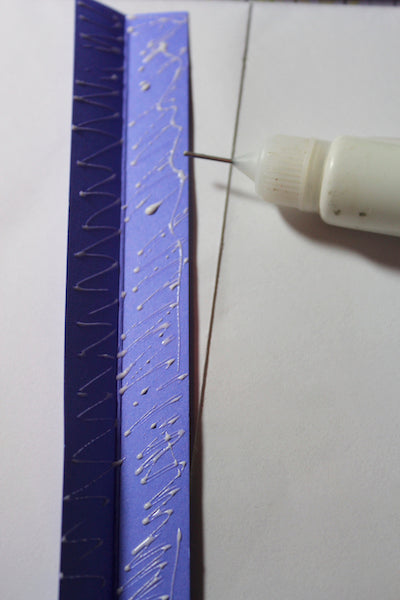
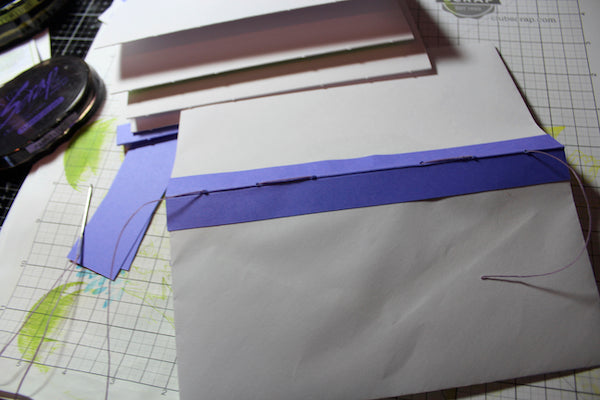
Slide the scored strip onto the outside fold of the prepared envelope signatures to strengthen the spine.
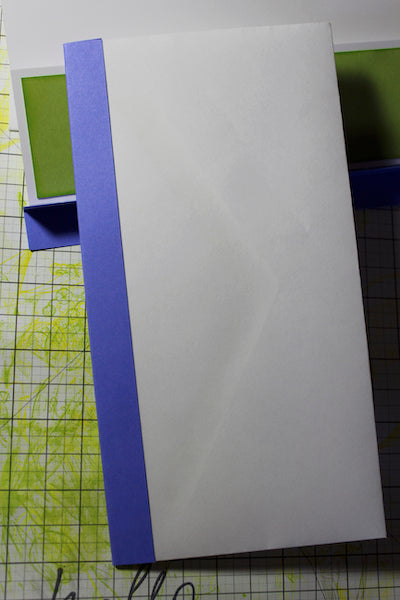
How to prepare the signatures for stitching:
Lay an envelope signature into a stitching cradle and pierce holes along the fold at 3/4, 1-3/4, 2-3/4, 4-3/4, 5-3/4, and 6-3/4". Note: I used a French Link Album template as a guide centered along the fold.
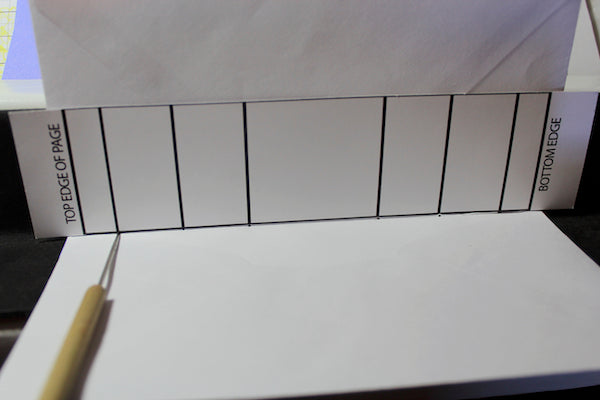
Pierce two of the folded White card bases along the crease of the short
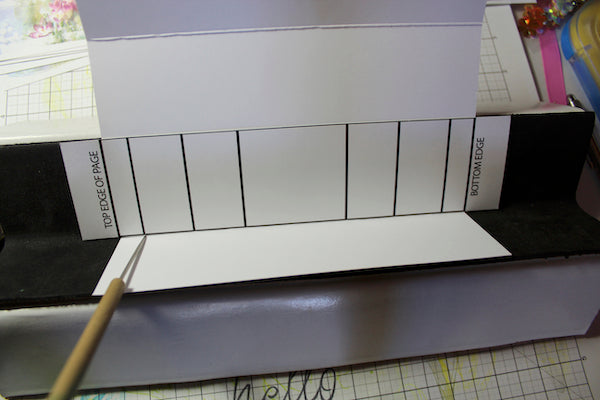
Pierce crease of the large gate fold flap on the two remaining White card bases.
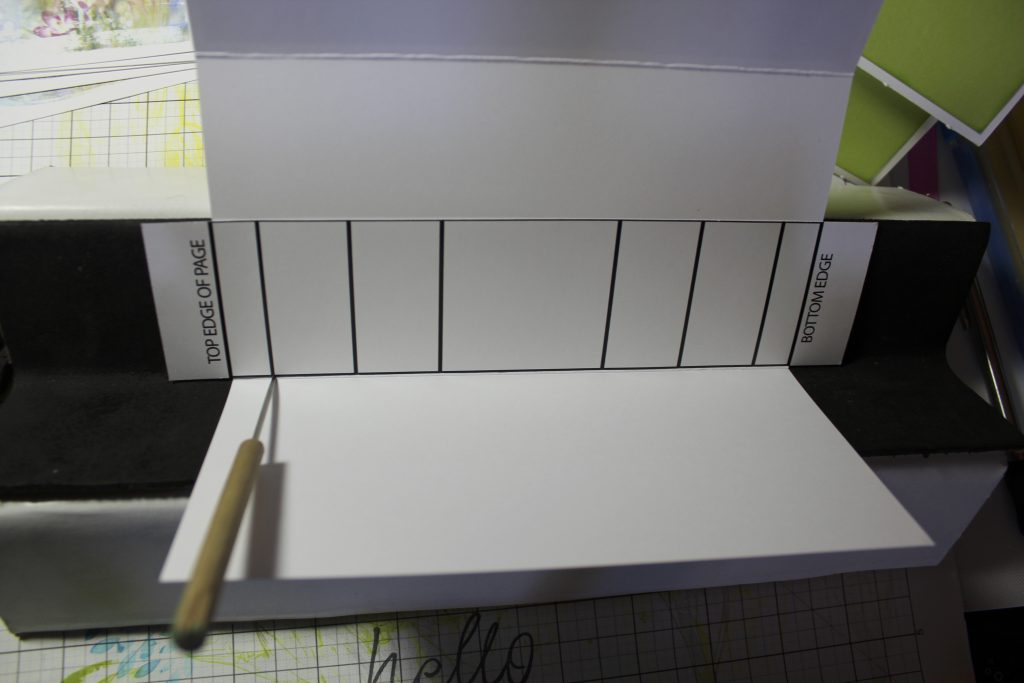
How to assemble the book:
Adhere the Green panels to the card bases.
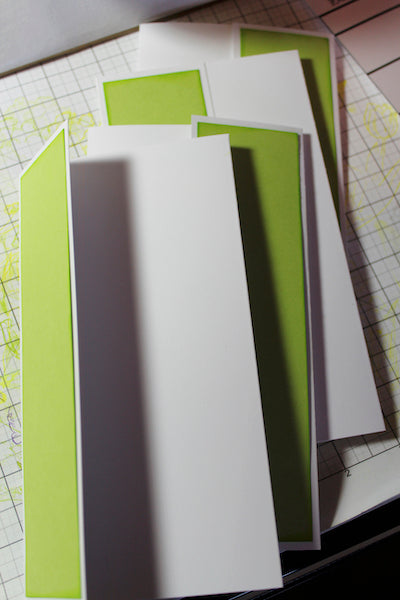
Gather the Pink panels and die cut for added interest.
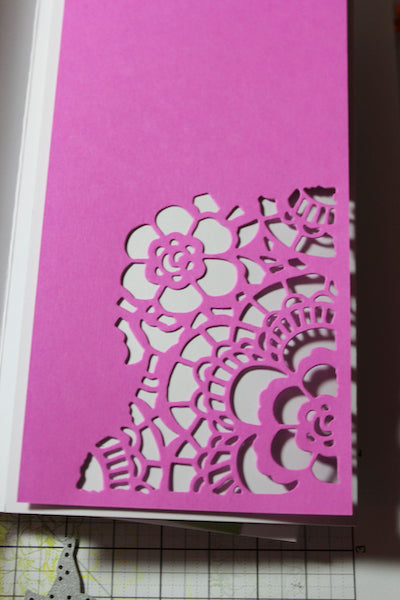
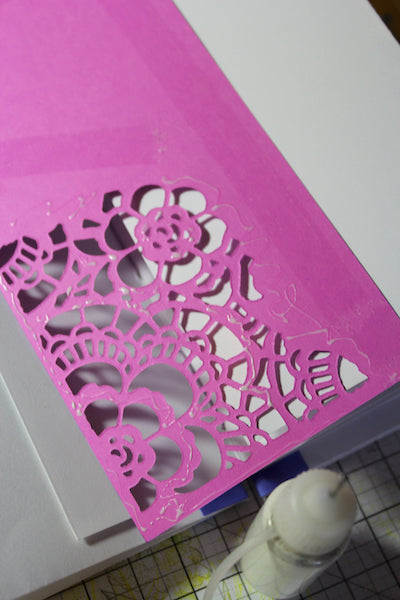
Apply Bookbinding Glue with a Needle-tipped Applicator to the back of the Pink Panels and adhere to the White card bases.
Gather two yards of waxed linen thread and a tapestry needle.
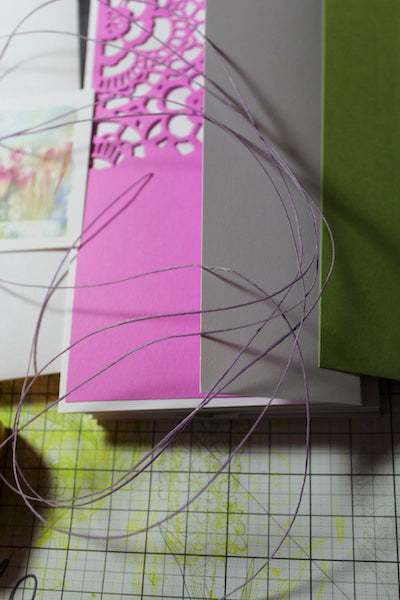
Begin stitching from the outside of the signature. Connect the card base signatures together with a stitch binding technique. End with the remaining envelope signature.
For helpful stitching tips, review Tricia’s (ancient) Craft TV Weekly video at the 7-minute mark.
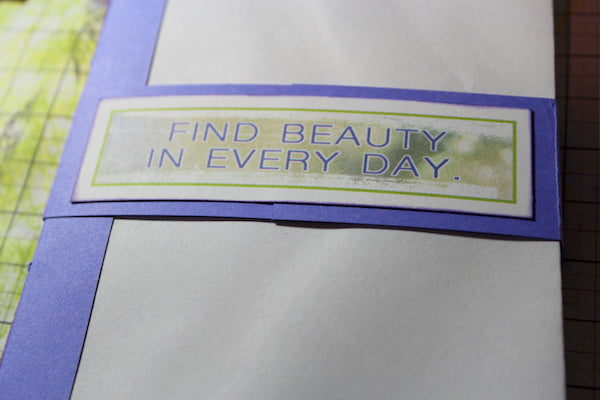
Wrap a Purple belly band panel around the finished book and adhere the ends together with Bookbinding Glue. Embellish with a cutapart.
Decorate the front and back covers with cut parts and embellishments in the kit.

Add any remaining cutaparts to the inside of the book.
I hope you enjoyed this tutorial, Happy Crafting!
Julie
