
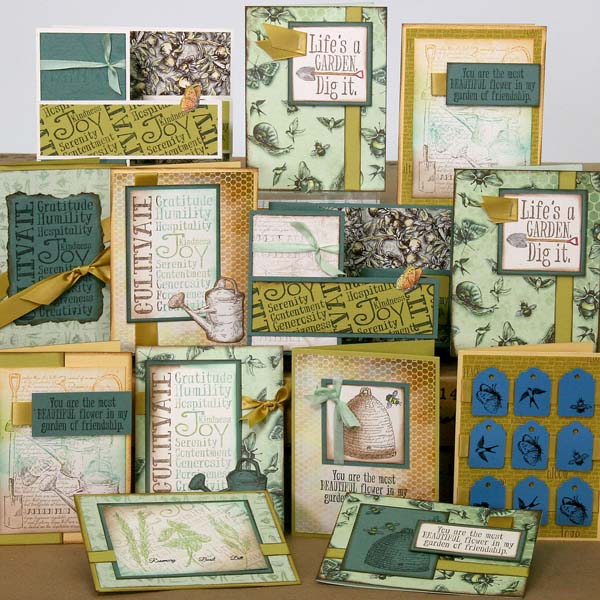
The final installment of the Garden Shed collection ships today. The Club Stamp kit is absolutely beautiful, and I was able to harvest thirteen cards from its contents!
Click the link below to download the paper trimming instructions and get a start on your Garden Shed cards.
Garden Shed Club Stamp Instructions
Take a closer look at the details of each card below.
GARDEN SHED CLUB STAMP KIT
CARD 1

Cut two ribbons long enough to go across the card at an angle; tape ends onto the back of the panel. Tear and ink the edges of the stamped Teal panel and slide beneath one ribbon. Tie a small piece of ribbon onto the bottom angled ribbon and trim ends at an angle. (It's my favorite "fake/easy bow" technique.)

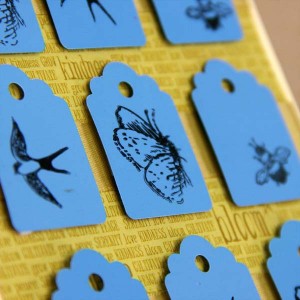
CARD 2
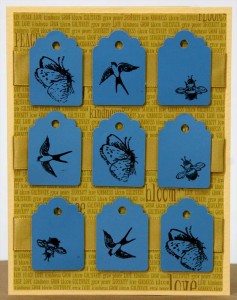
With the help of a 2x8" CS® Grid Ruler, adhere three evenly-spaced satin ribbons to the card panel. Tape the ends onto the back. Stamp the tags with StazOn ink and attach with Foam Adhesive Circles.
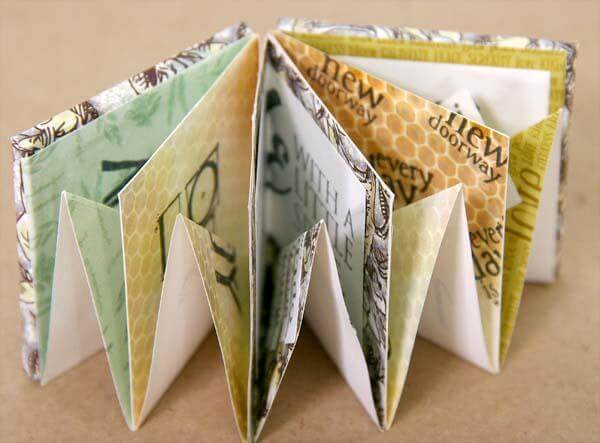
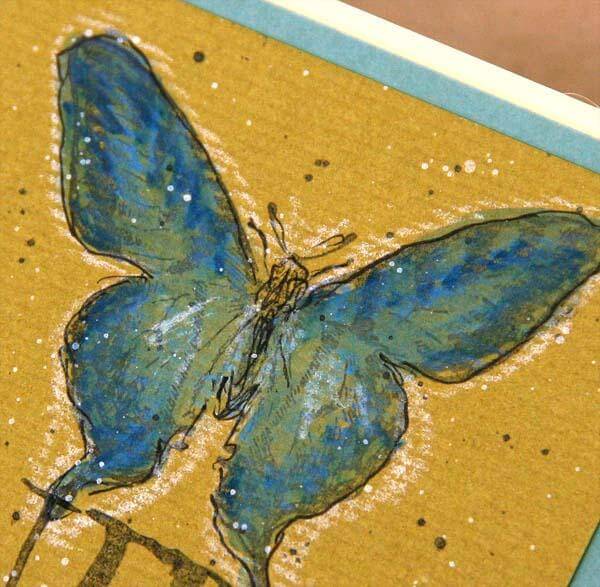
CARDS 3 & 4
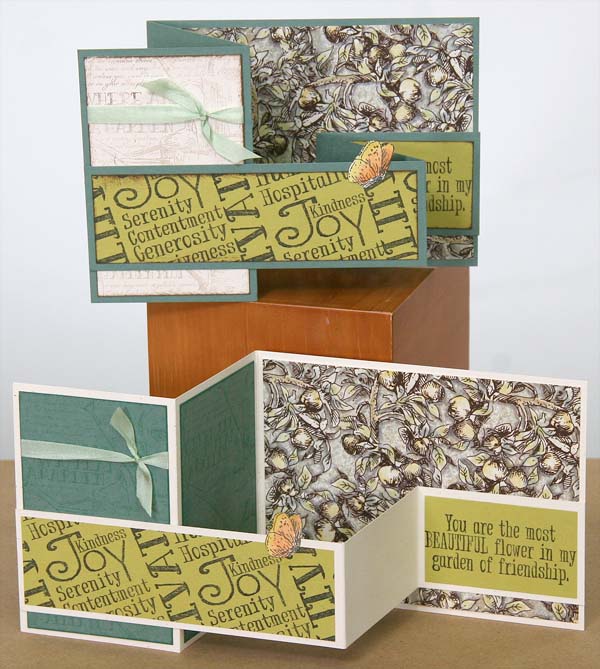
Adhere the panels to the Z-fold card base and 1.75x11" connector strip. Use caution when adhering the strip to the card, making sure the adhesive does not extend into areas that would prevent the card from opening. Stamp the small butterfly onto a scrap of white paper, add watercolors and trim. Adhere to the edge of the connector strip with a CS® Glue Pen.

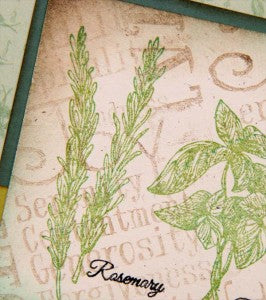
CARDS 5-7
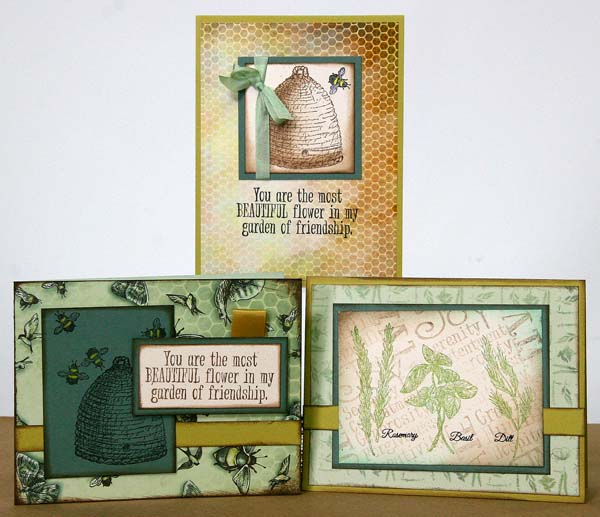
Ink the UM text image with Earth Ink, stamp onto a piece of scrap paper, and stamp onto the panel to create a soft background "noise." Ink the herbs with a combination of Leaf and Ocean inks; color the names of the herbs with a black brush tip marker.
CARDS 8 & 9
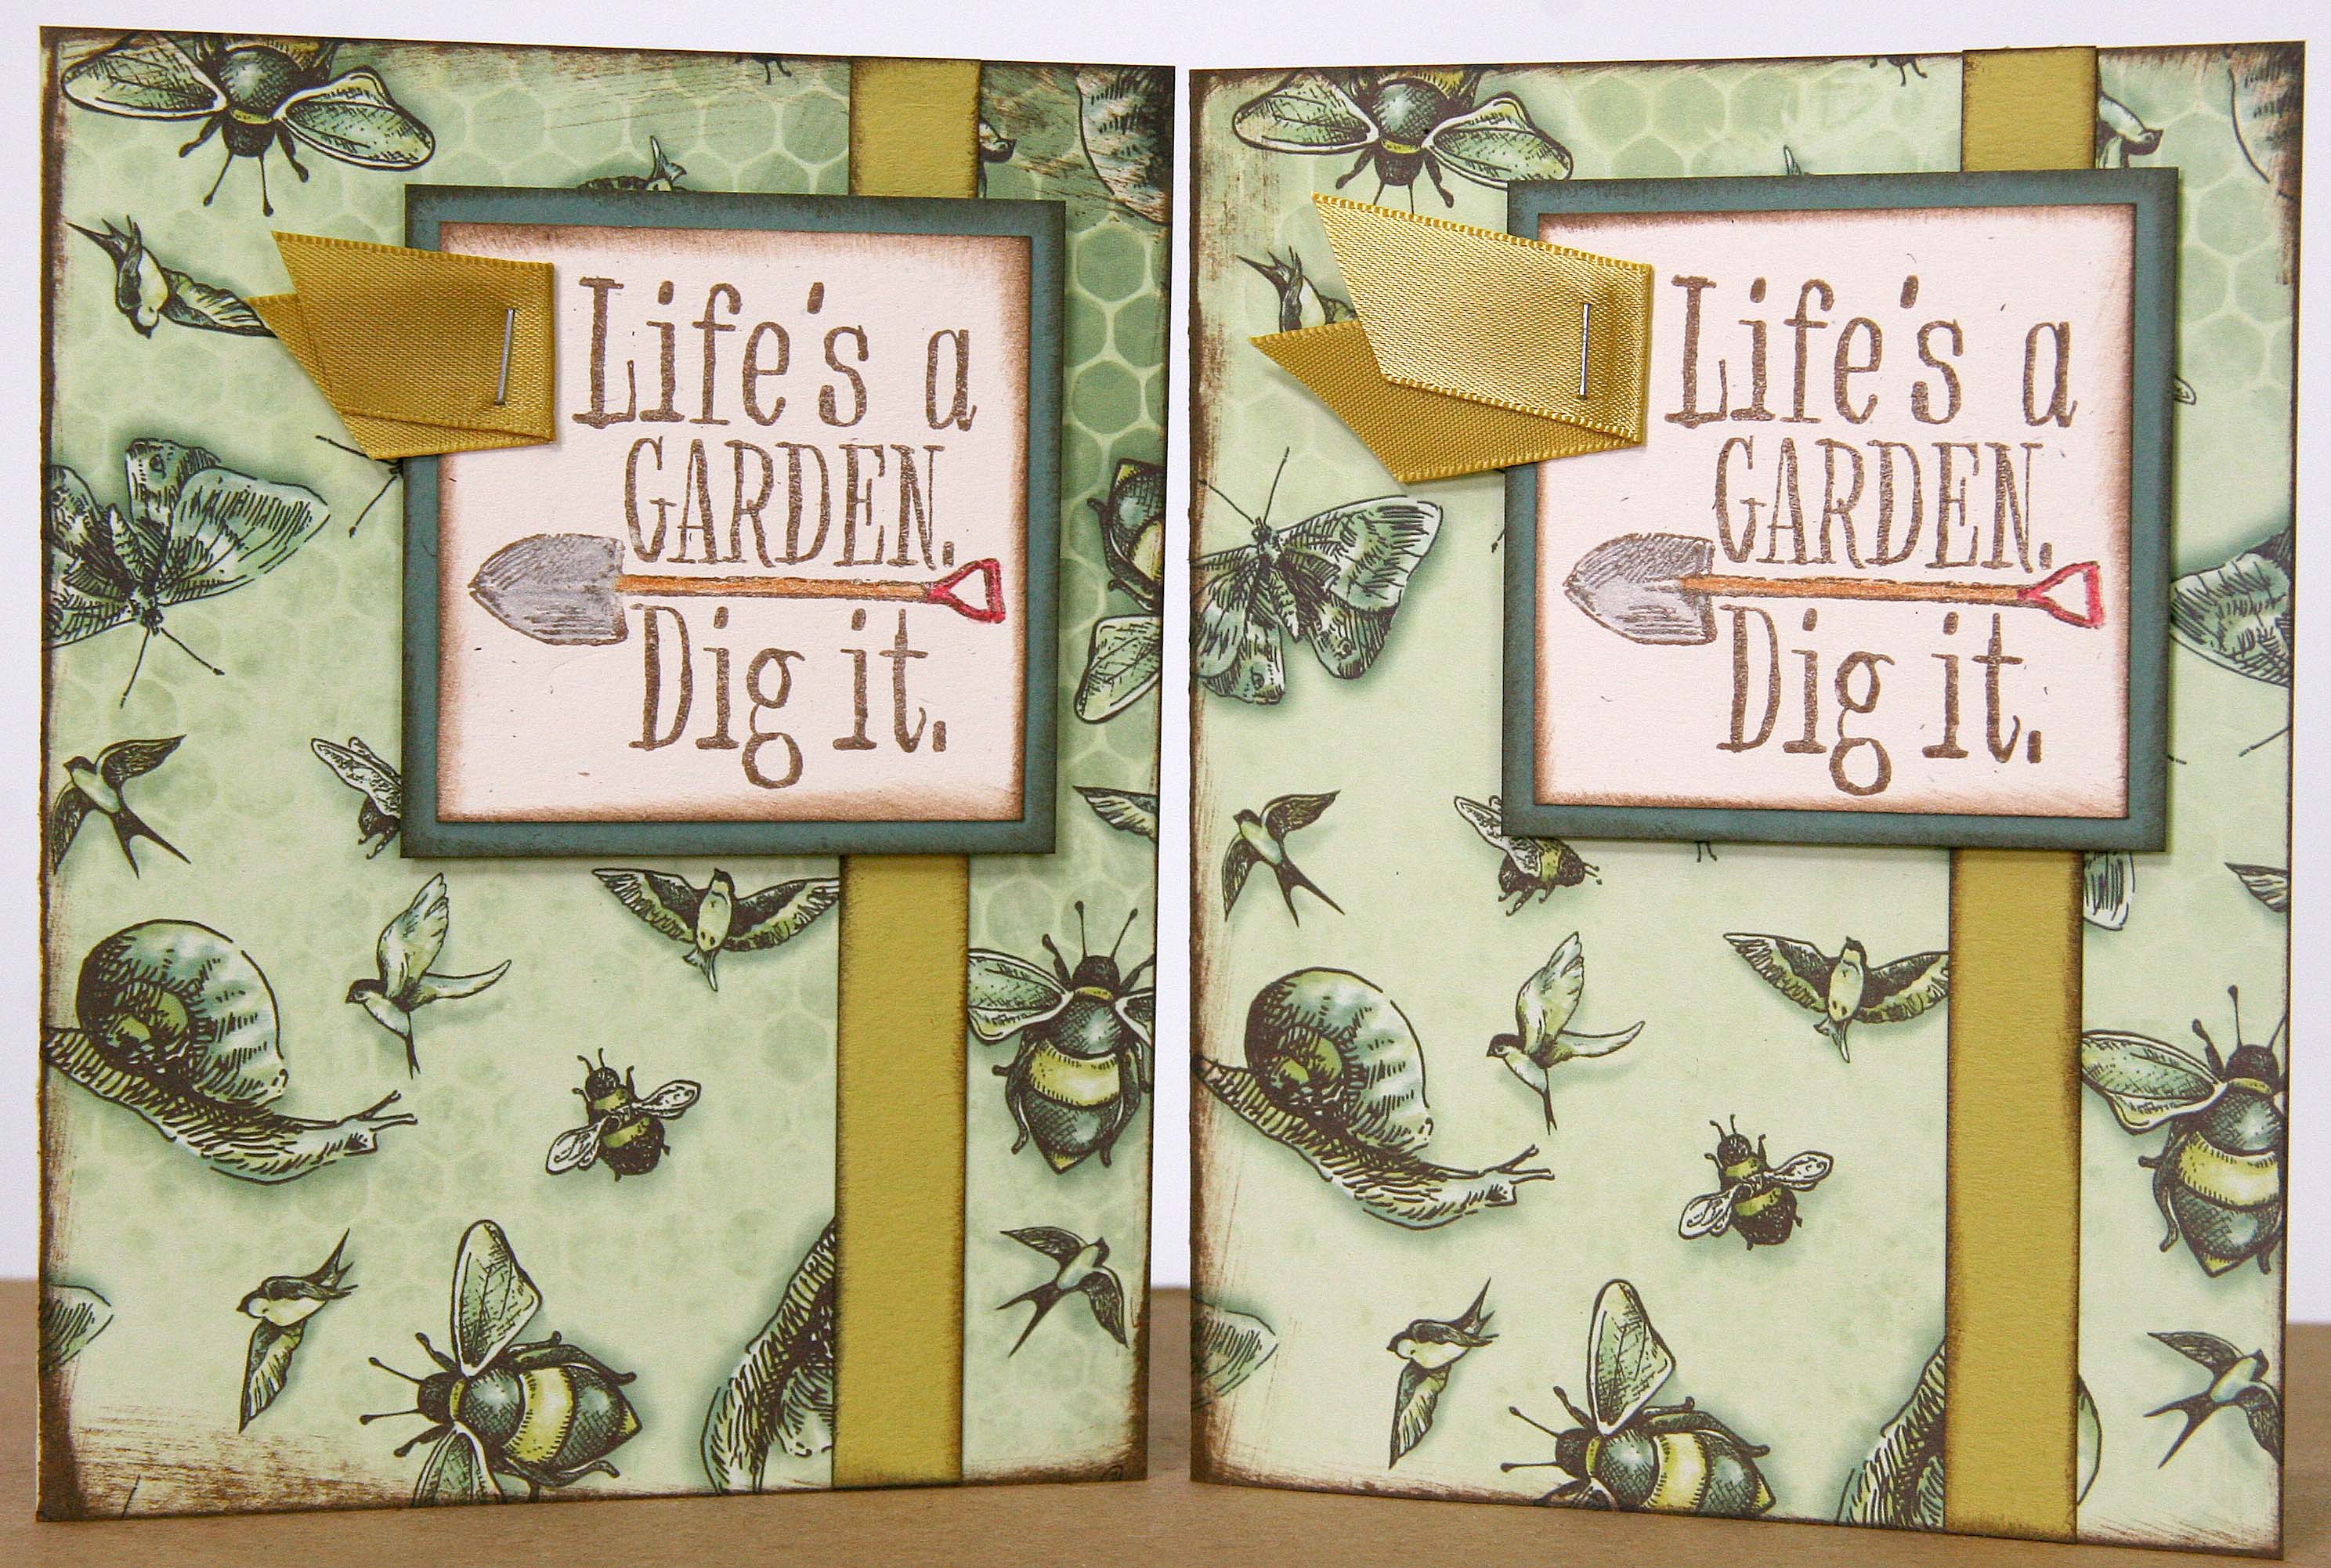
Cut a 2" length of satin ribbon, fold in half, and staple to the left edge of the panel. Color the shovel with colored pencils.

CARDS 10 & 11
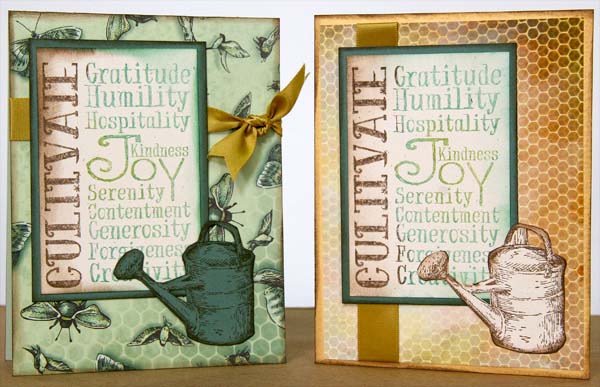
Cut the watering can images from the 2.5x3" White and Teal panels with a craft knife and scissors. Ink edges and adhere to the card.

Add ink to the text image in zones, starting with the lightest color first. Ink the "kindness/joy" area with Leaf. Add Ocean ink to the words above and below. Ink "cultivate" with Earth.

CARDS 12 & 13
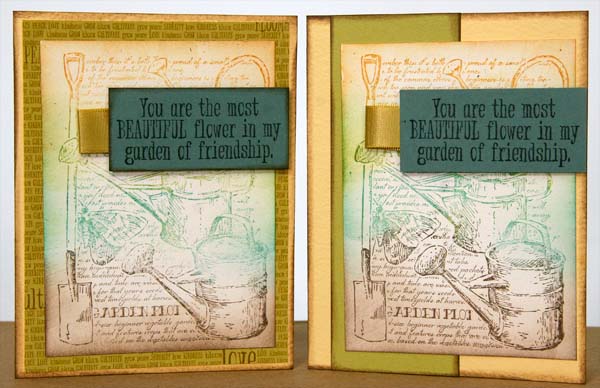
Ink the UM collage image with Tangerine, Leaf, Ocean and Earth. Apply the same corresponding ink colors to the edges of the panel with a CS® Ink Applicator. Fold a 2" length of satin ribbon in half and tape the ends to the back of the stamped Teal panel. Adhere the sentiment with Foam Adhesive Circles.

If you are more of a visual learner, watch my card formula in action in this handy video tutorial:
The Garden Shed Club Stamp kit makes a beautiful set of cards. They are a very small crop of the potential you'll find with these stamps!
Tricia