
When I first discovered we'd be doing a Garden Shed theme this year, I was tickled to say the least. For those who've been following me for a while, you know I love to garden ALMOST as much as I love to play with paper.
Before starting the Garden Shed Greetings to Go cards, I purchased and downloaded the Garden Shed Digital kit. I printed each of the pre-designed art sheets onto plain white card stock on my home printer. From there, I used a combination of Embellishment Cutaparts, UM stamps and digi hybrid elements to embellish my cards.
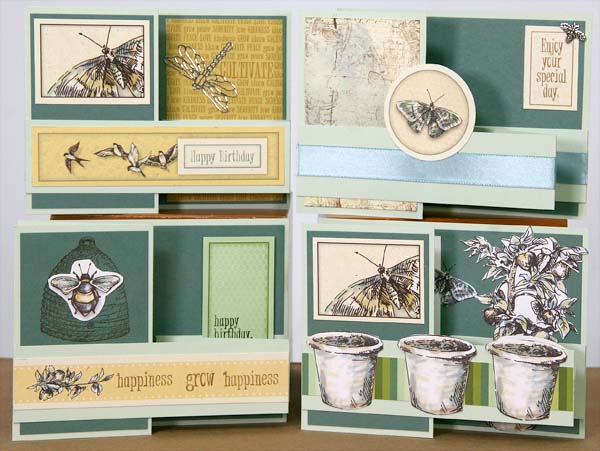
SET A: 4¼x5½” DOUBLE Z-FOLD CARDS

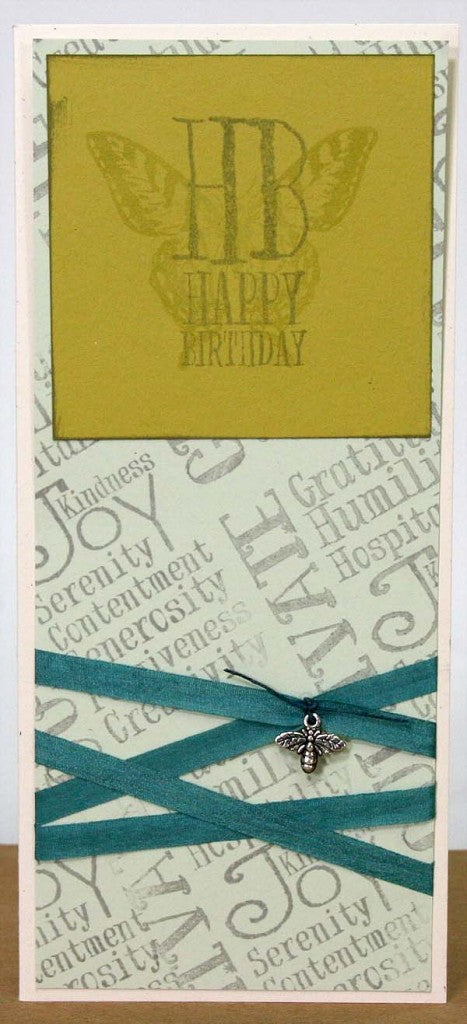
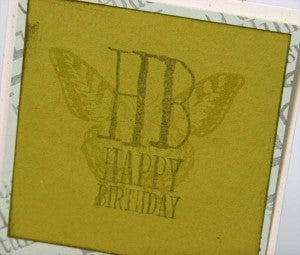
Stamp the large collage image from Jumbo UM in Earth hybrid ink onto an orphaned ivory panel (mine was left over from experimenting with Gelato watercoloring techniques). Add a length of blue ribbon to center of the Z-fold strip. Use 2-inch circle punch to remove butterfly image from digi hybrid printable. Stamp HB (Greeting UM) on inside teal panel. Add Cutapart sentiment and Silver Bumble Bee Charm.
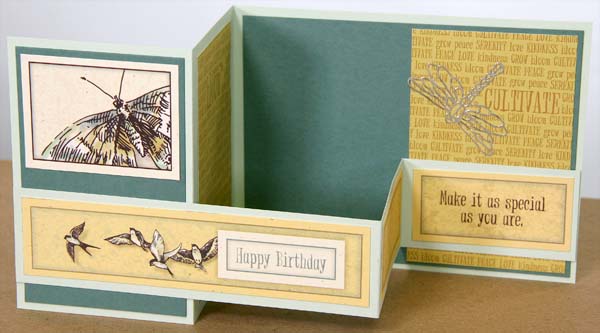
Both printed panels on the inside of this card were trimmed from the digi hybrid quad printable. Silver dragonfly dazzle sticker from my stash.

Stamp bee skep image (Jumbo UM) onto front teal panel with Earth Hybrid ink. Fussy-cut bee image from digi printable and add glitter glue to wings. Add Cutaparts to embellish inside back panel and Z-fold strip. (The inside ivory panel is leftover from the Gelato/stamped collage image piece from the first card.)
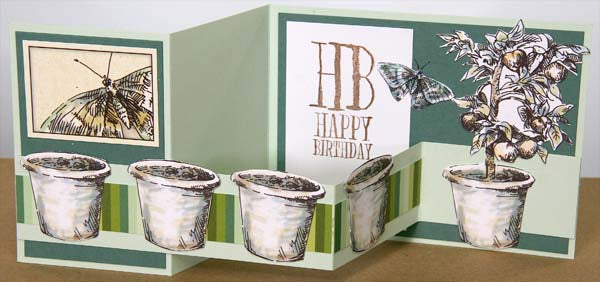
I had some big fun playing with the digi kit for this card. I copied the potted plant image from the printable, then did a bit of digi magic to remove the citrus tree. I copied and pasted multiple "pot" images onto a new document, printed, then fussy cut the pots to add to the Z-fold strip. The full potted plant digi image was fussy cut and adhered to the back panel. Finally, I added a butterfly Cutapart and HB stamped panel.
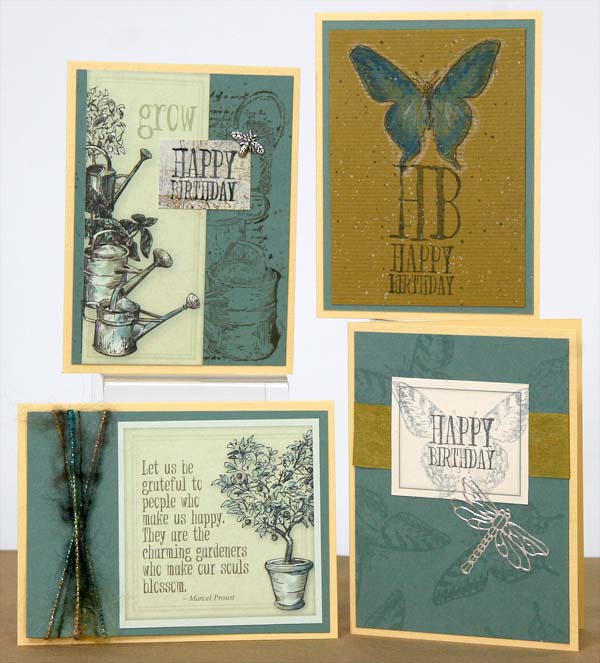
SET B: 3¾x5” BUTTER CARDS
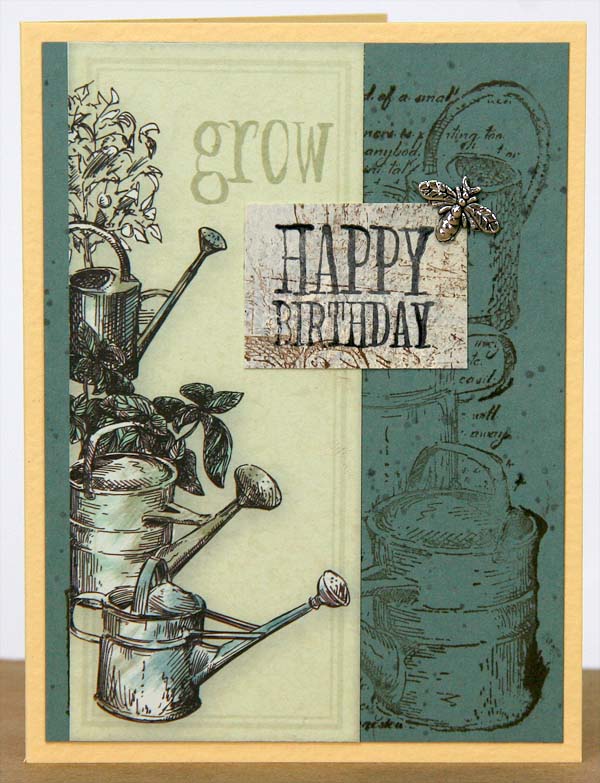
Stamp watering can collage image (Jumbo UM) onto teal panel with Earth Hybrid ink. Stamp "Happy Birthday" (Greeting UM) in India ink onto ivory art panel (leftover from first card). Trim "grow" artwork from the Embellishment Cutaparts.
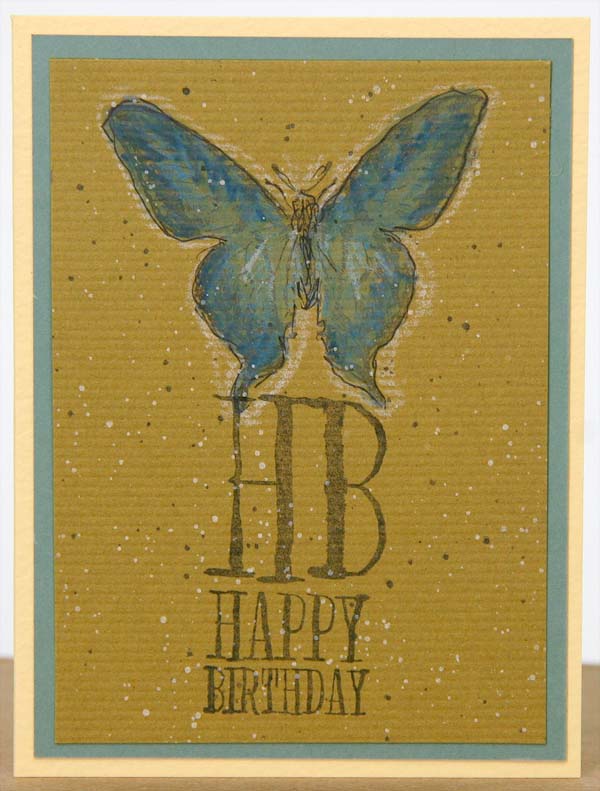
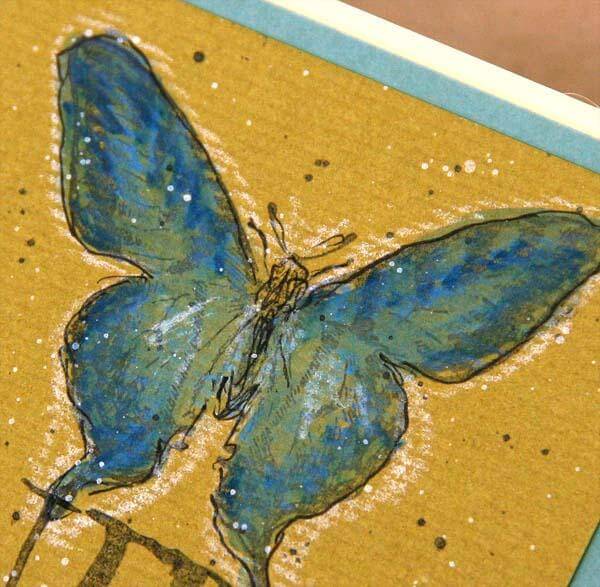
Stamp butterfly image (Art Nouveau UM) and HB greeting onto trimmed citron panel with India ink. Color butterfly with various shades of blue watercolor pencil.

Trace image with black fine-tip marker and add highlights with white watercolor pencil. Use a waterbrush to add flecks of black and white watercolor to entire panel.

Stamp butterfly image (Art Nouveau UM) onto teal panel with CS Watermark ink to create background. Stamp butterfly in Ash and sentiment in India ink onto framed Cutapart. Embellish with dragonfly dazzle sticker.
To create this simple card, add Embellishment Cutapart to teal panel, then wrap several layers of multicolor fiber to embellish.
SET C: 3¾x8½” WHITE CARDS
To create the next two cards, use Photoshop Elements to crop and resize the fruit and bee hive prints from the digi hybrid quad printable to 3.25 x 8". Copy and paste onto a new blank document for printing, like this:

Once printed, use trimmer to cut panels to desired size.
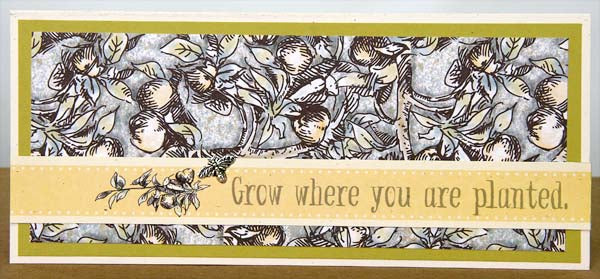
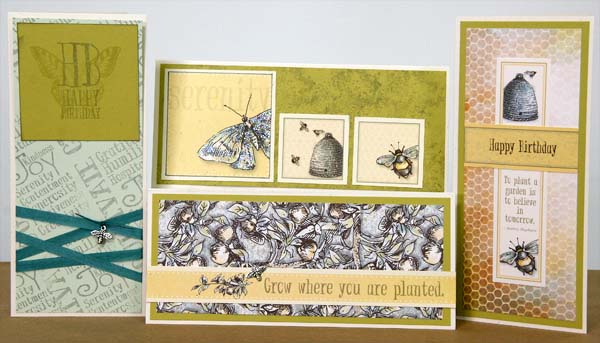
Nest fruit print panel onto citron panel. Add Embellishment Cutapart and Silver Bumble Bee Charm.
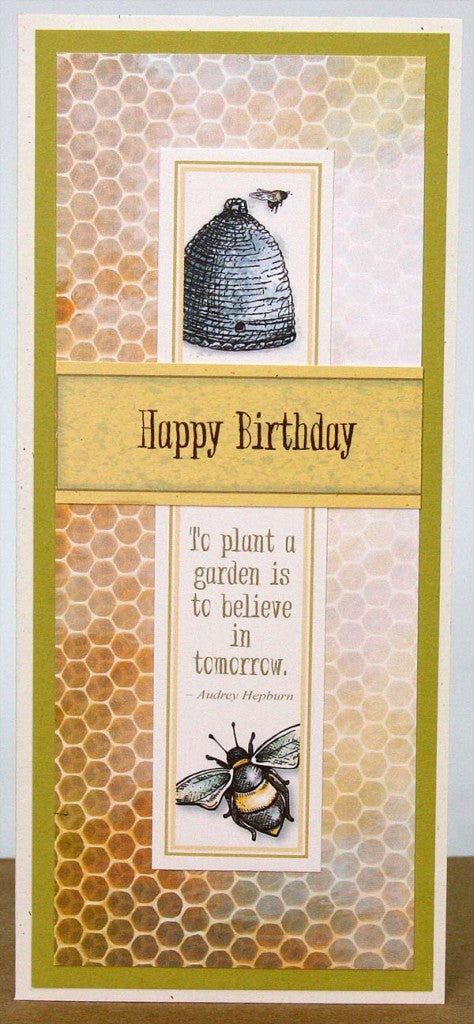
Center bee hive panel onto citron panel. Add long narrow sentiment from the digi hybrid printable and "Happy Birthday" Cutapart greeting.
Stamp word collage (Jumbo UM) in Ash hybrid ink onto mint panel to create background. Wrap panel with teal ribbon and embellish with Silver Bumble Bee Charm tied with blue waxed linen thread.
Use CS Watermark ink to stamp butterfly image onto citron, then over-stamp with "HB" greeting in Ash.
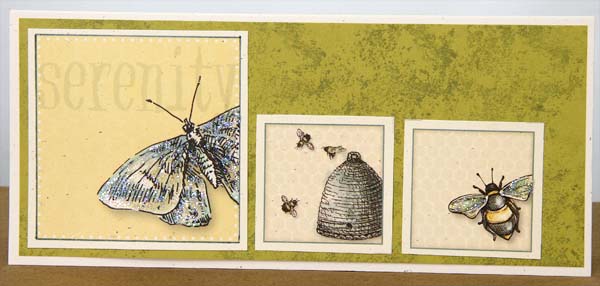
Stamp noise image (April 2004 Friendship WM) with Ash hybrid ink to create background. Use grid ruler and blue fine-tip marker to trace border around "serenity" Embellishment Cutapart to mimic the frame on the two smaller Cutaparts. Decorate butterfly with glitter glue. Adhere to panel.
I think the new digital kit format makes an excellent companion to our card clubs, especially Greetings to Go (no stamping!) Digital club members pay $2.95 per month, and non-members can pick up the new digi hybrid kits for just $4.95.
If you've been nervous about trying digital in the past, now's the time to go for it. The new format couldn't be easier for the novice user, while still offering huge creative potential for experienced users. Why not give it a try?
Happy crafting!