The Farm Critters card Guest Artist is club member, Jennifer Rodgers. Enjoy a tour of the twelve cards she made using the June card kit , hybrid kit and stamps.
I'm honored to be guest artist this month. I enjoy a challenge, and I'm pretty happy with the results. If you have specific questions about any of the cards please feel free to ask!
SET A: RED SHUTTER CARDS
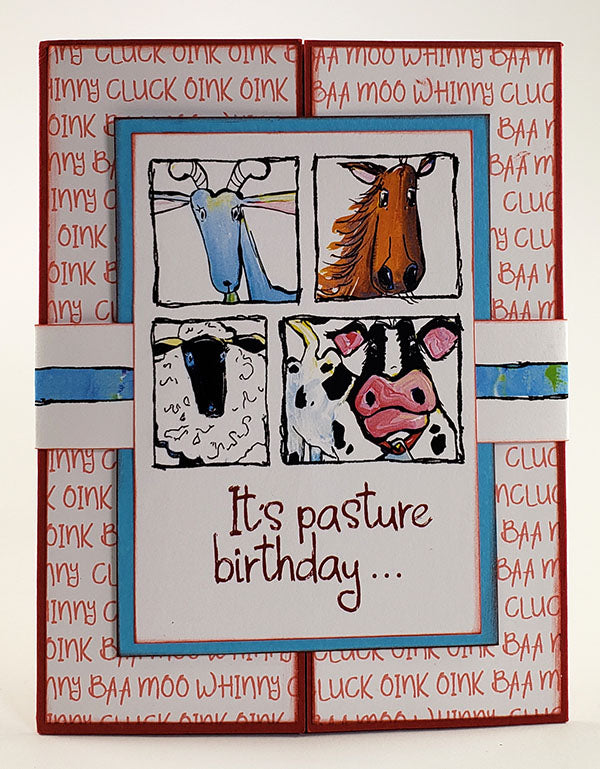
Follow Tricia’s ‘s instructions to create a shutter card. I admit I struggled a bit, so my mechanism doesn’t work perfectly. Create the front panel by printing artwork from the hybrid kit.
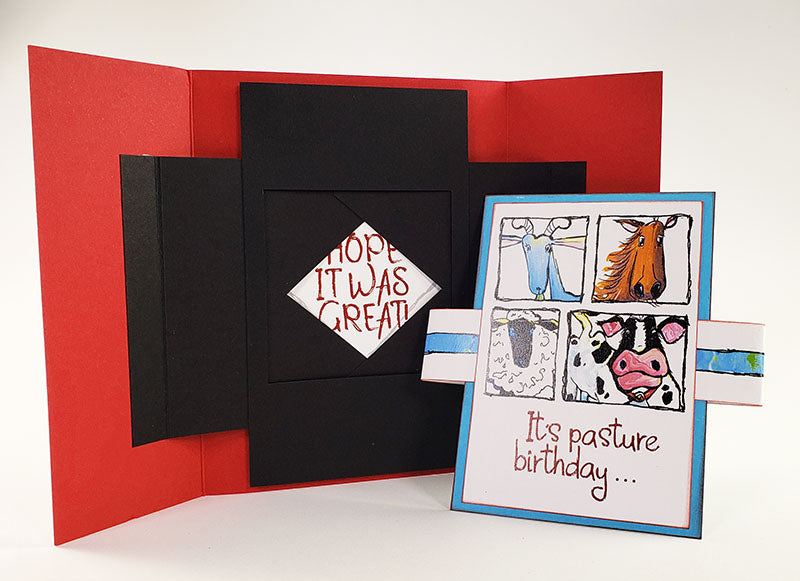
Since I had some trouble with the shutter mechanism, I decided to go with a simple fold for the remaining three cards.
Apply black ink onto a red panel using the It's a Plaid, Plaid World stencil, then add accents with an opaque white pen.
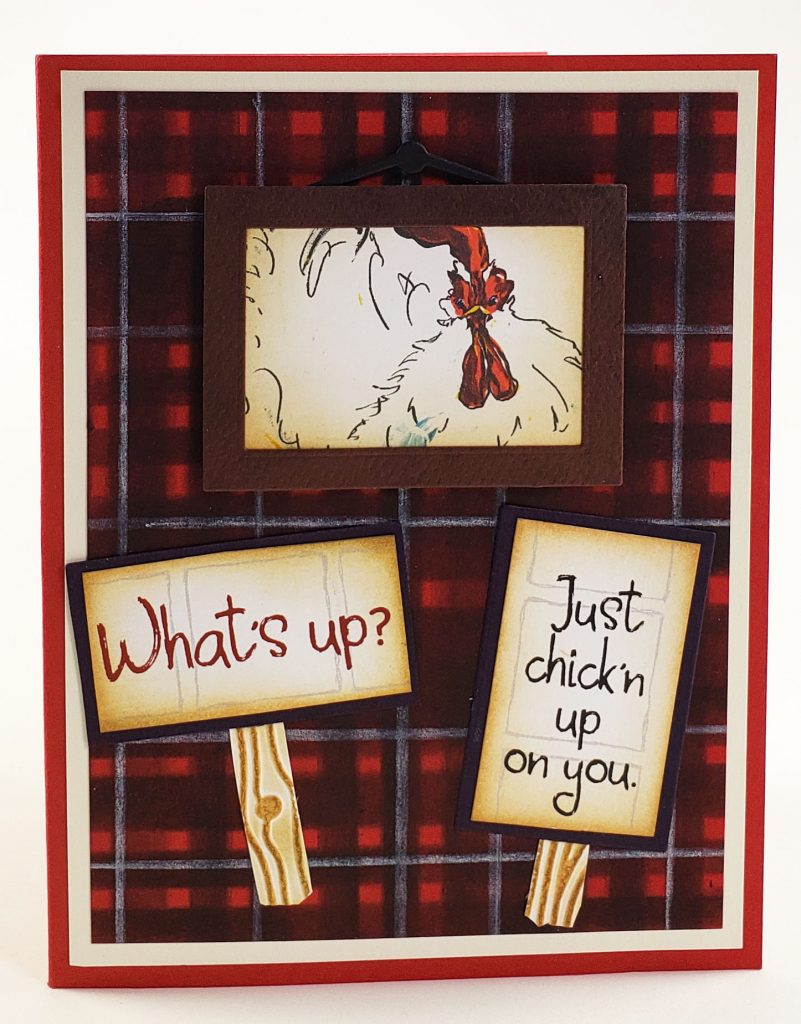
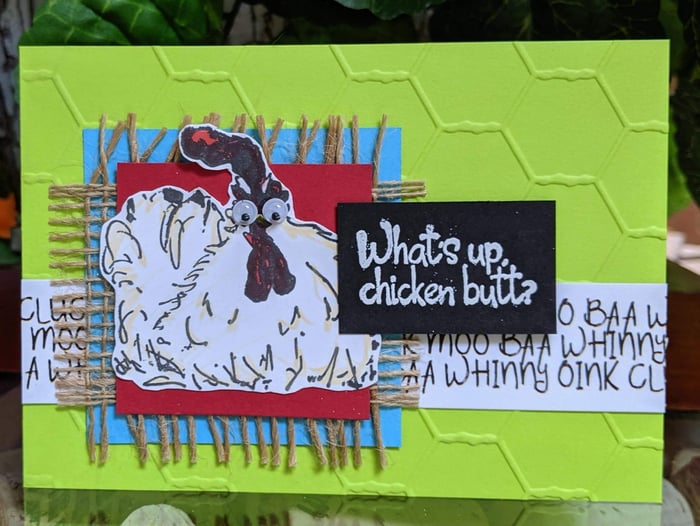
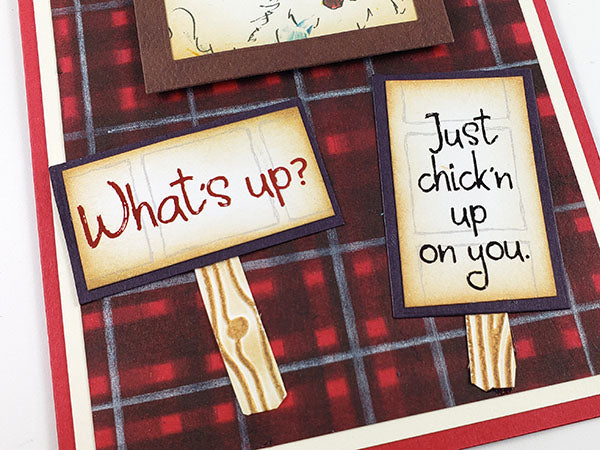
Frame the chicken artwork using a die. Create the "wood" posts using an embossing folder, cutting the shapes by hand.
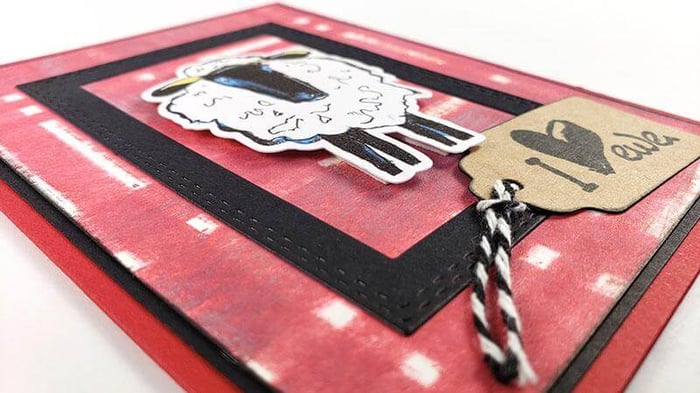
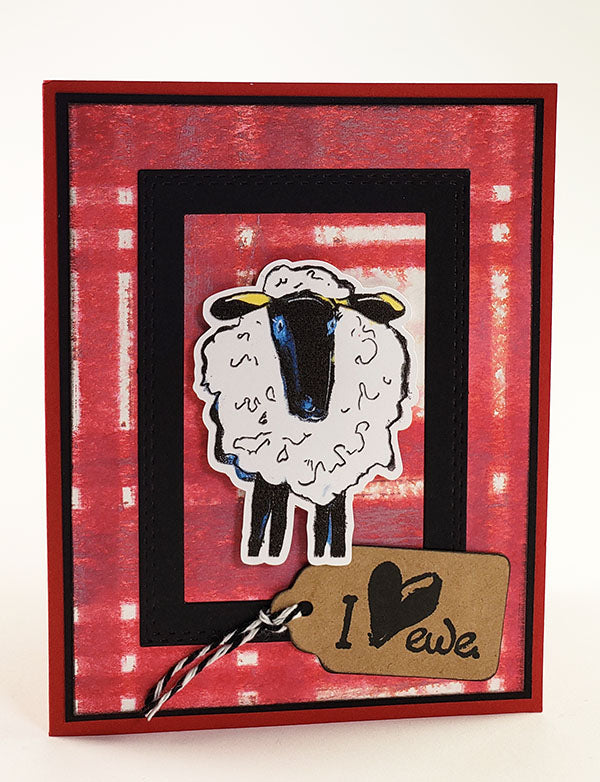
I also used the plaid stencil on this card. To create the background panel, combine red ink with the plaid stencil. Once the desired pattern is achieved, spritz with water. Allow to dry. Add die cut frame and tag. I used the print and cut feature on my Silhouette to create the sheep.
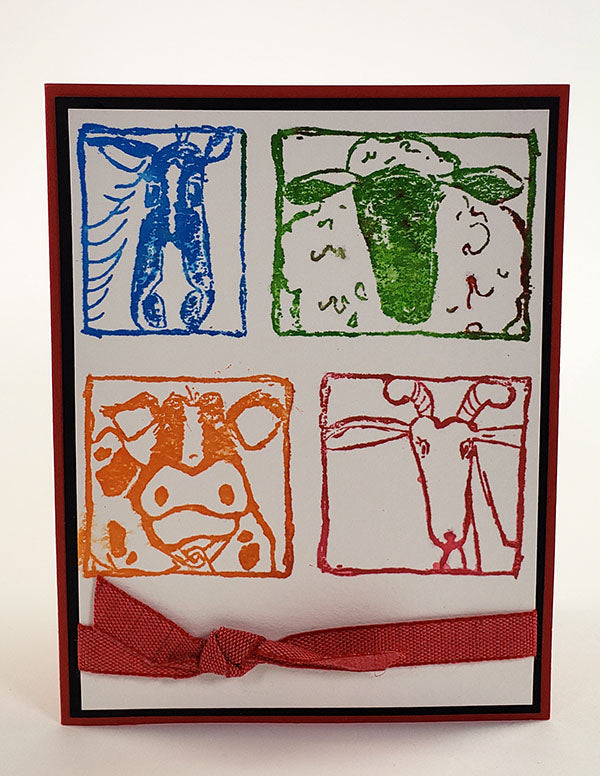
Stamp the critters onto watercolor paper using distress ink. Lightly spritz with water and allow to dry. Tie ribbon onto panel and mat with black.
SET B: GREEN STANDING BOX CARDS
I followed the standing box card instructions for three of the four cards.

Add texture to the card base and blue panel using embossing folders. Use dies to create the sun, cloud and fence.
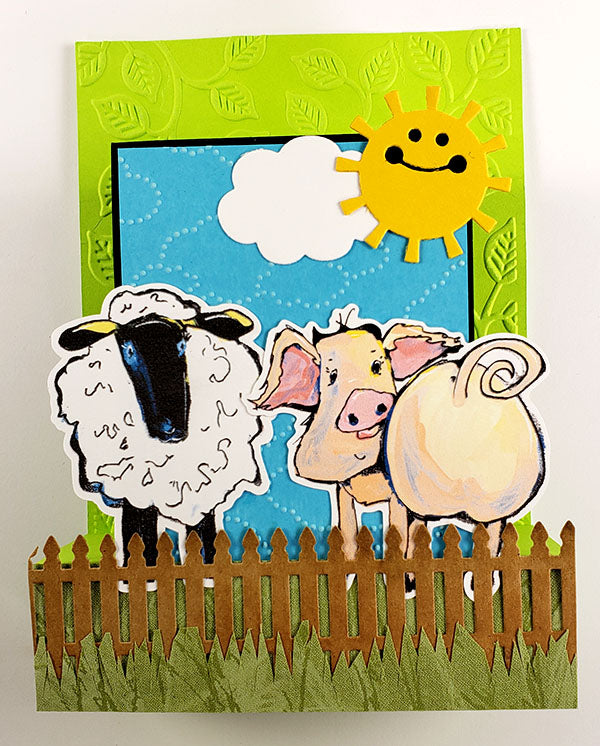
Trim green fabric (from Painted Desert) with fringe scissors to make the grass. I printed and cut the sheep and pig hybrid artwork on my Silhouette.

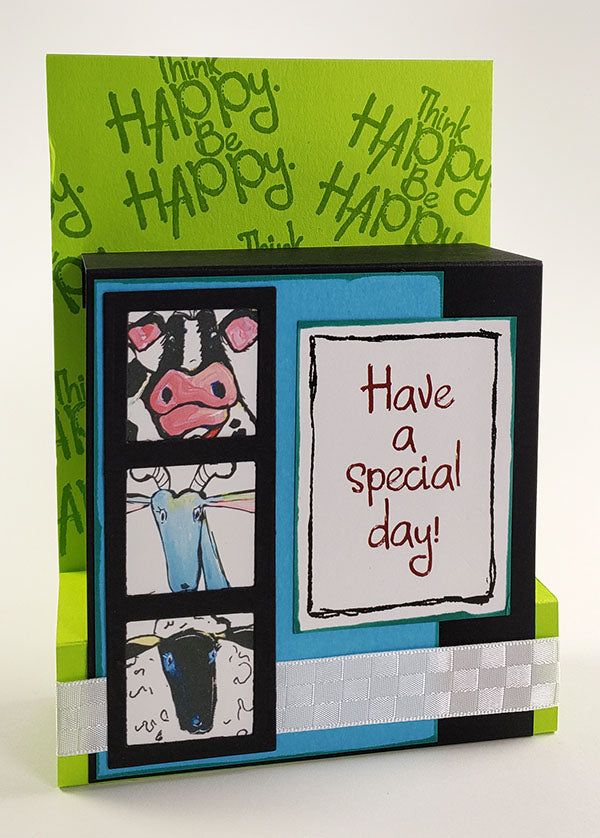
Stamp sentiment repeatedly onto green card base. Die cut filmstrip frame from black, adding stamped critters to window openings.
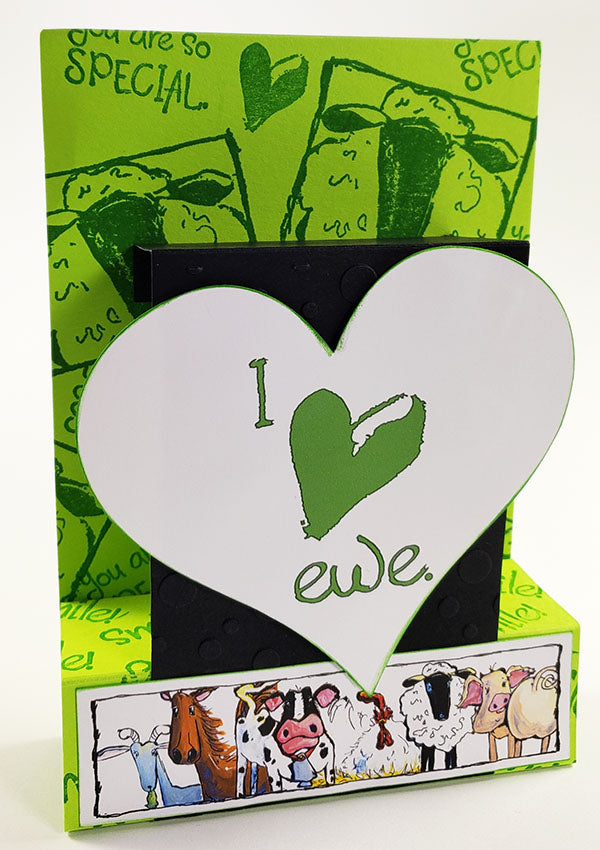
Stamp sheep image and sentiments onto green card base. Print "I {heart} ewe" onto white card stock (using the hybrid kit), die cut with a heart-shaped die. Add texture to black panel using an embossing folder.
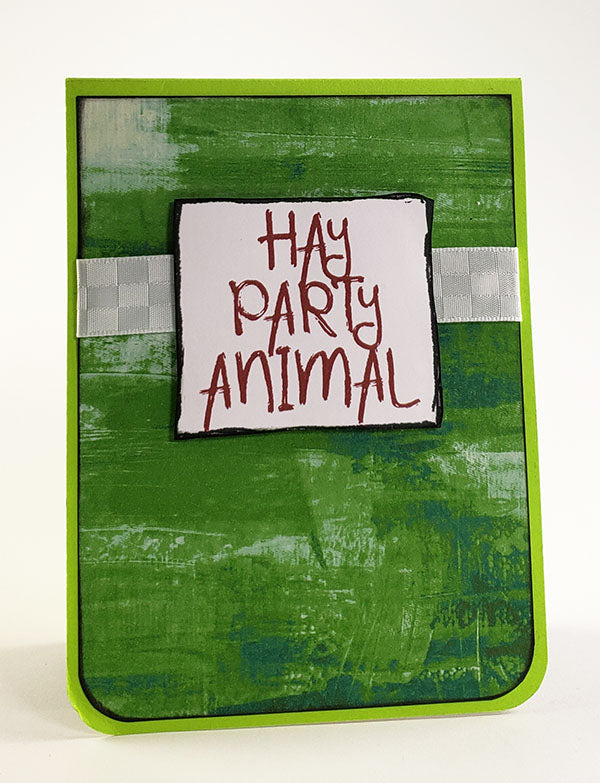
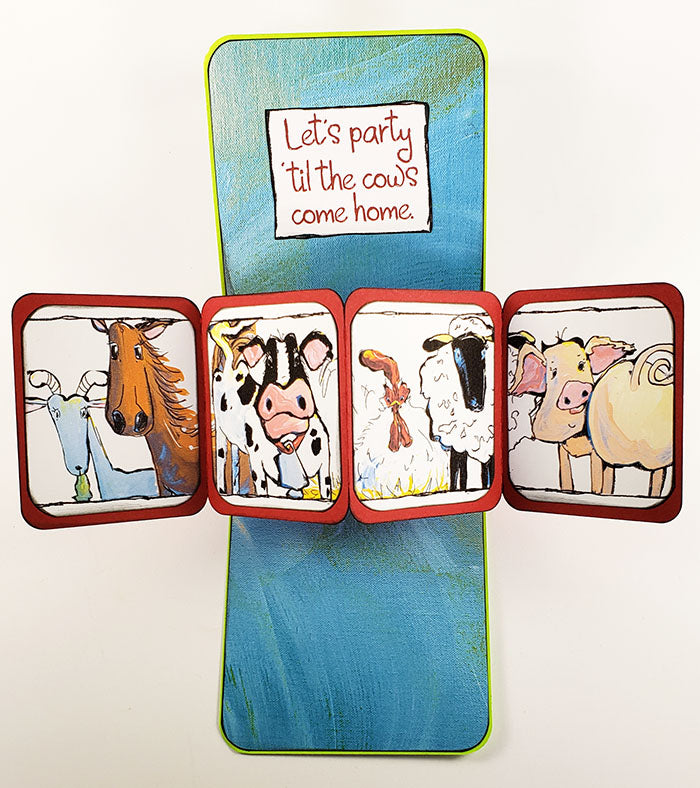
For the final card, I created a pop-up greeting inside. The mechanism was made using my Silhouette. The front and inside panels are prints available in the hybrid kit.
The long critter image is from the hybrid kit: Print, trim into four sections, and adhere to the pop-up inside.
SET C: WHITE CARDS
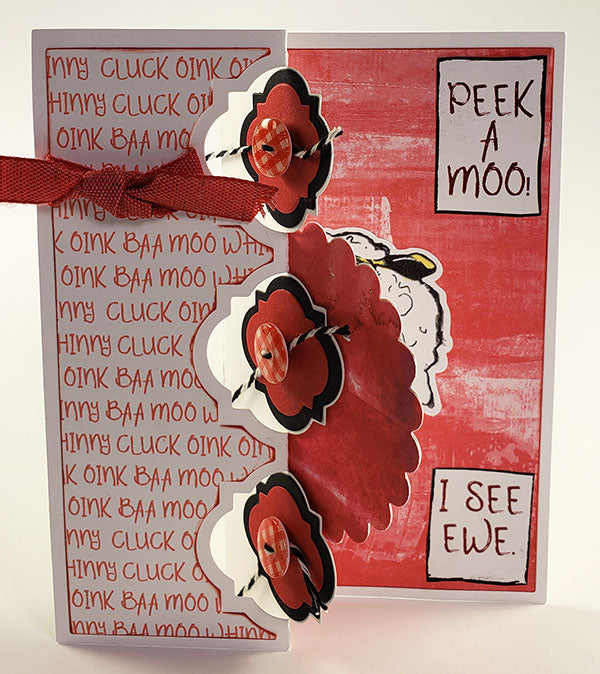
Inspired by the sentiment, I made a "peek a boo" card. The white card base was cut using a "flip it" card die. I used my Silhouette to print and cut the sheep image. Both the front and inside card panels are prints from the hybrid kit. The scalloped circle was die cut from one of my plaid stencil "fails". Add red gingham buttons, baker's twine and additional die cut embellishments to complete the card.

Use Distress Oxide inks to create the "sky" and "grass" background panel.
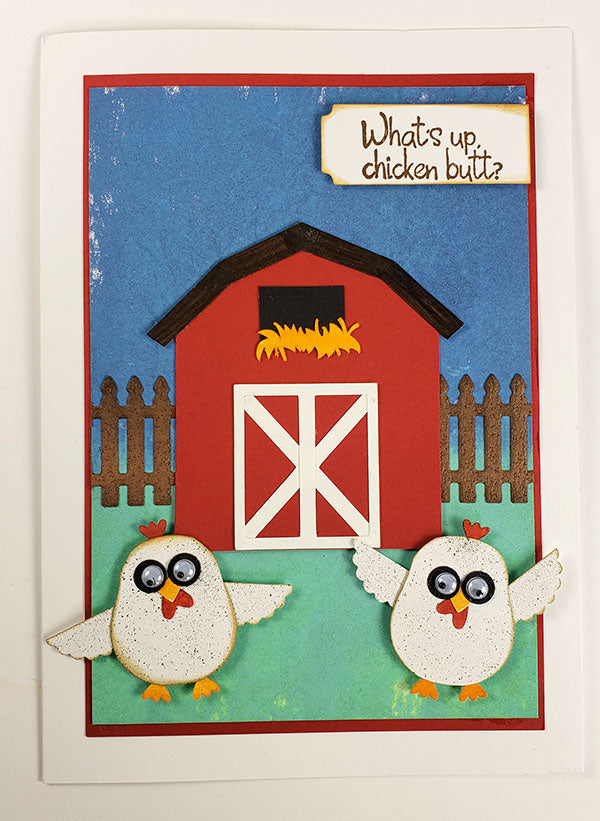
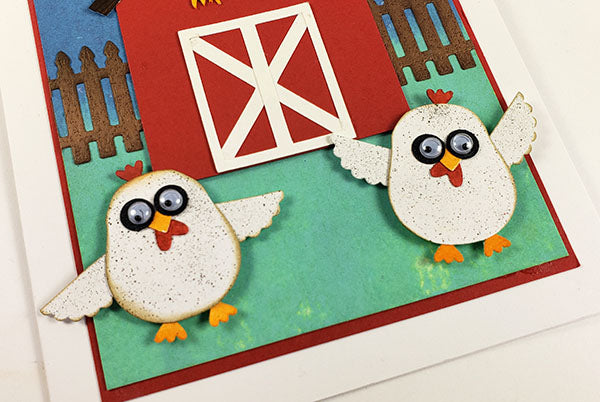
I cut the fence using a die, and paper pieced the chickens using various punches. The barn was cut with my Silhouette.
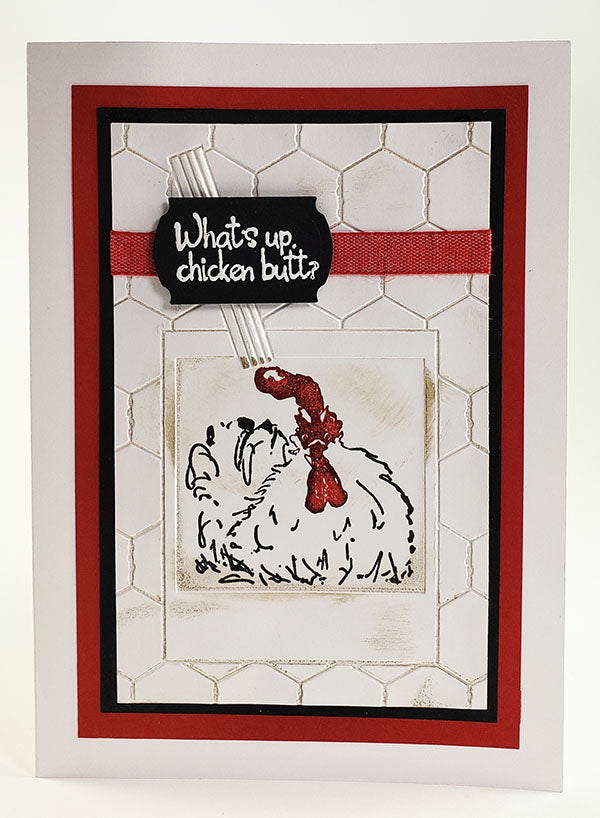
Apply brown ink to the raised areas of an embossing folder. Place white panel inside and run through machine. Stamp the chicken image in two colors (red and black) using a stamp press.
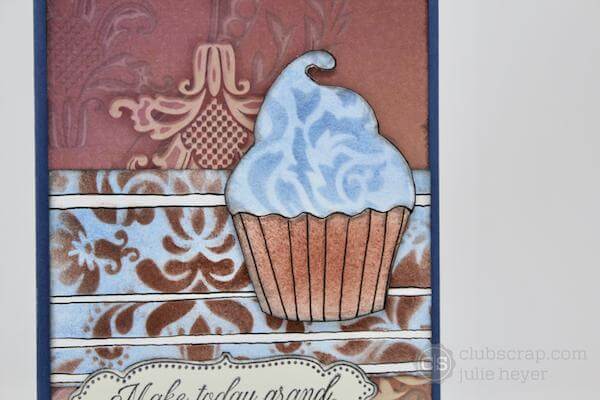
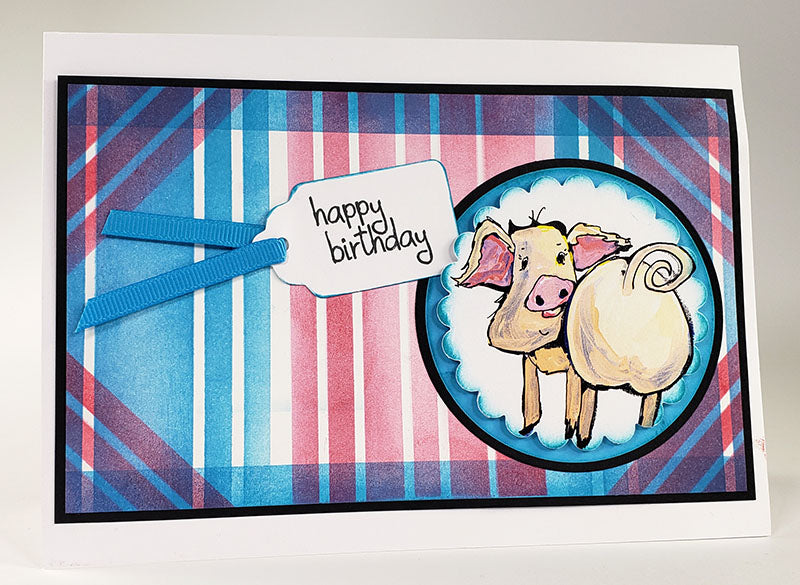
This card was born as a result of practicing a new technique. After watching a YouTube video by Jennifer McGuire, I created the pink and blue background panel using the Plaid stencil. After playing around a bit, I realized that the colors went perfectly with my piggy! Scallop, circles and tag were all created using dies.
I had fun being the Farm Critters guest artist. I hope my cards inspire you as you create your own!
