
Create a gorgeous card featuring a fun layered stencils technique. I have a plethora of stencils in my stash and am always trying to find unique ways to use them.

Layered Stencils Technique
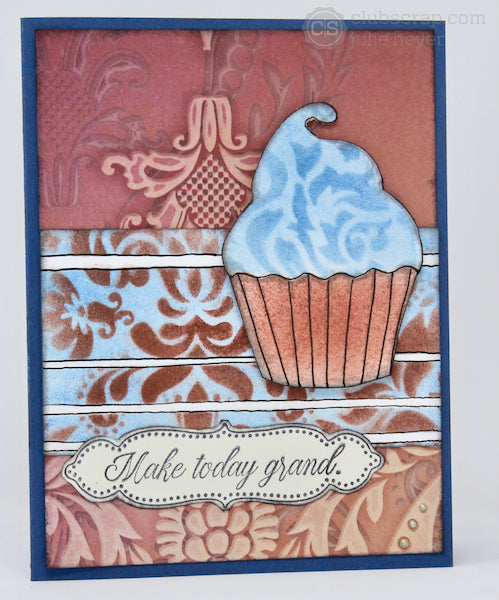
Lay a white panel on your work surface and place the It's a Plaid, Plaid World stencil over it. Apply a light amount of Sapphire Hybrid Ink with a makeup brush.

Lay the Damask Filigree stencil on top of the first stencil and add Mahogany ink to the panel.

Continue to move the stencils adding ink layers until the desired look is achieved.

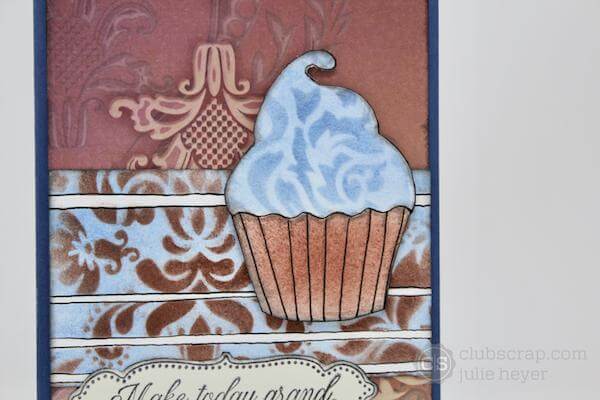
Lay another white panel onto your work surface and apply Sapphire ink through the Surprise Cupcake Stencil.

Repeat the layered stencils process with the Damask Filigree stencil and additional Sapphire ink for a two-toned effect.


Make the bottom of the cupcake with Mahogany ink.

Add an outline and cupcake liner details with a black fine tip journaling pen.


Fussy cut the cupcake with scissors.

Stamp the Damask sentiment and frame onto an Ivory strip and fussy cut with scissors.

Adhere the layered stencil pieces to the front of a card created with the Damask Collection. Add Foam Adhesive Circles to the back of the cupcake for added dimension.
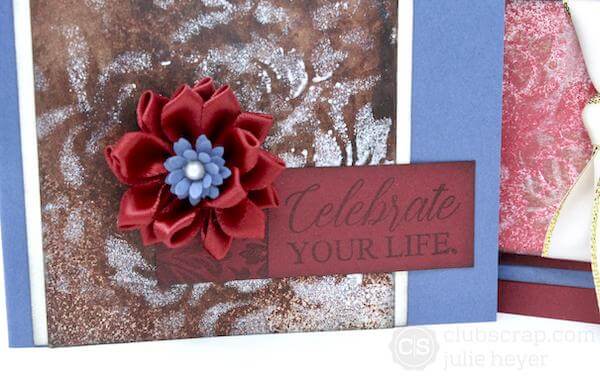
Let's take a look at the completed card.
Visit the shop to get your stencils while supplies last!

Happy Crafting, Julie.