The Falling Leaves Card Kit will provide you with a set of twelve impressive greetings that are incredibly easy to assemble. Is your kit on its way? (If not, we will happily arrange it!)

Combine the pretty papers, ribbon, twill, garland and silk leaves in creative ways when you follow the helpful instructions and video tutorial.
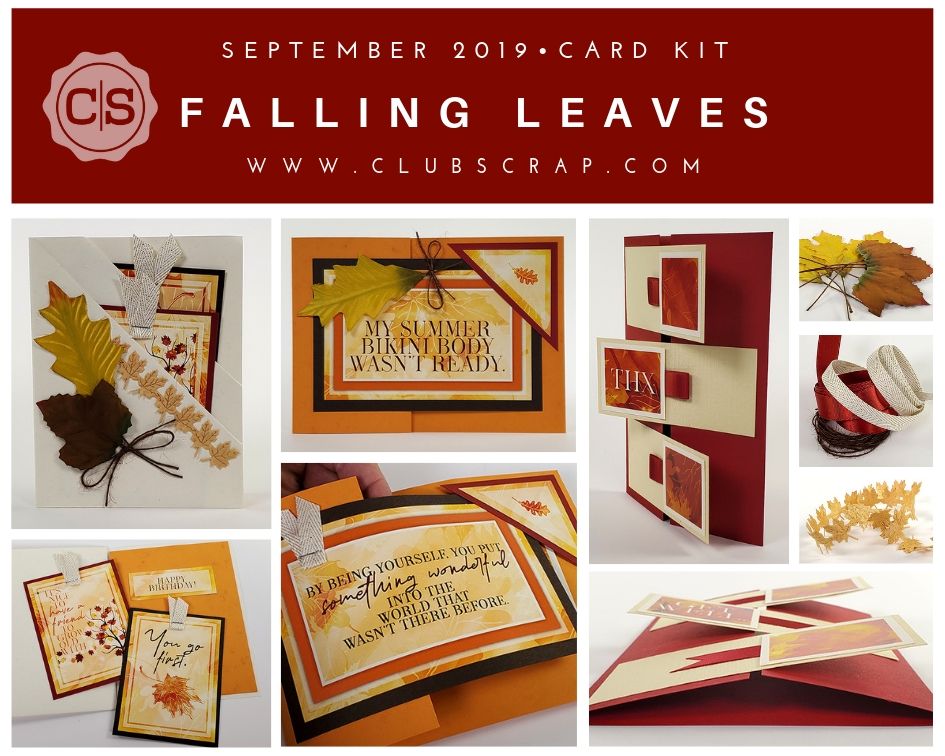
Take a minute to see the card kit in action! The collection includes printable instructions and a full length video tutorial to quell any uncertainty you may have about how to create each card.
Read on for more information about the fun card styles featured in the Falling Leaves Card Kit.
Card Set A

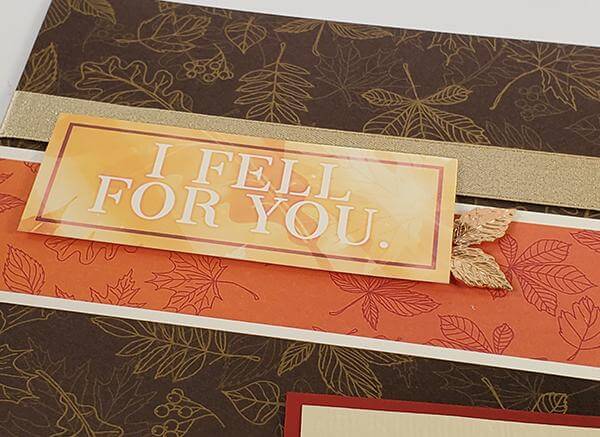
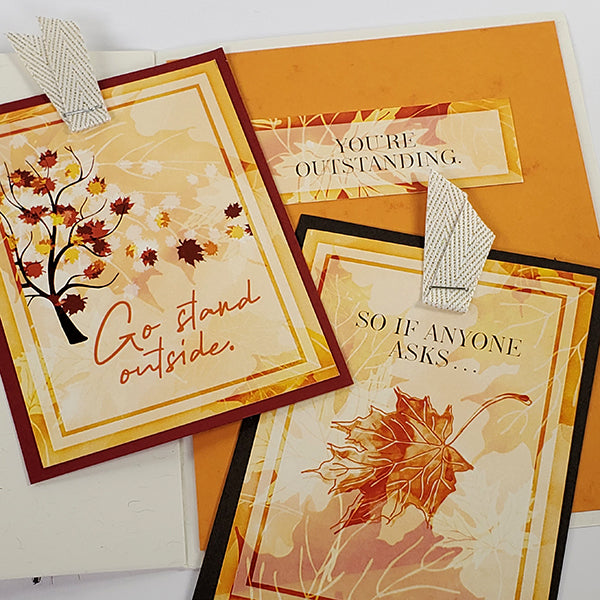
Add tons of dimension to the double pocket card with the addition of items that don't add a lot of bulk. Staple folded twill to the pocket inserts, adhere the maple leaf garland with bookbinding glue, and add the silk leaves with Glue Lines.

Each pocket contains a portion of the card's message. What an outstanding idea!
Card Set B

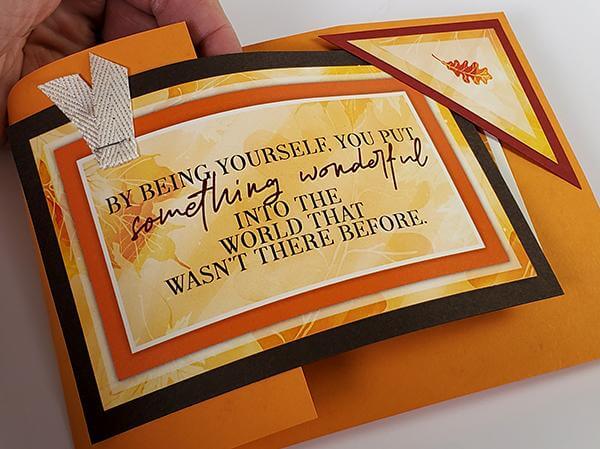
Adhere the nested triangles to the upper right corner of the Orange card base. Be sure to leave the angled area completely free of adhesive. This will allow the left card flap to tuck into the pocket .

The card base cleverly uses less paper than a typical 4.5x6.25" card by having a shorter front flap. Keep this structure in mind if you're making cards from a limited amount of paper.

Card Set C

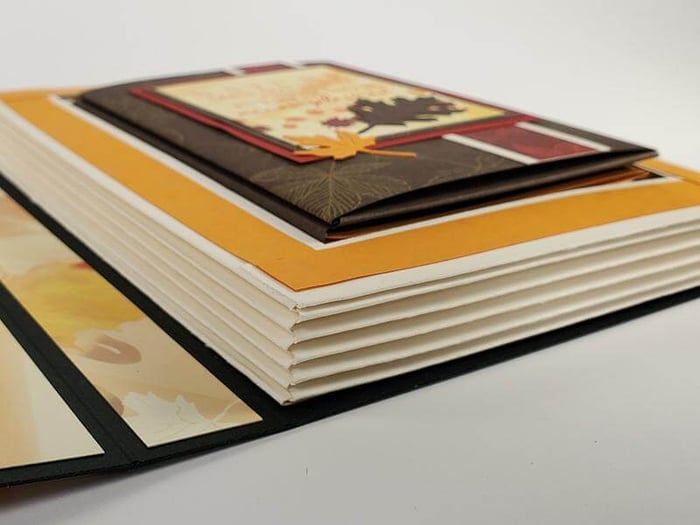
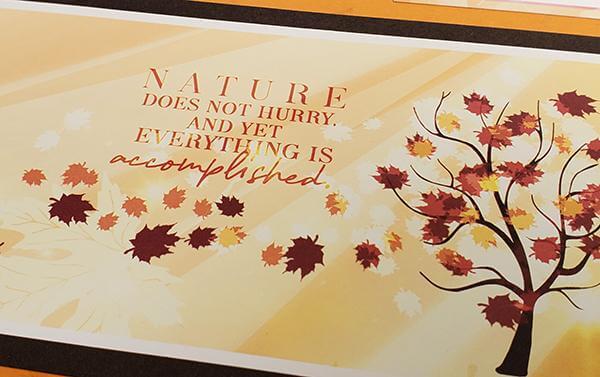
Make a unique gate fold card by attaching narrow panels to alternating flaps. Add ribbon and a cutapart to each strip to finish the card in just a few minutes.

We hope you "fall" for this gorgeous set of cards. I know these won't last long in my stash! To learn more about the rest of the Falling Leaves collection, visit Tuesday's blog.
I hope you rake up lots of ideas this month. It's going to be inspiring!
