
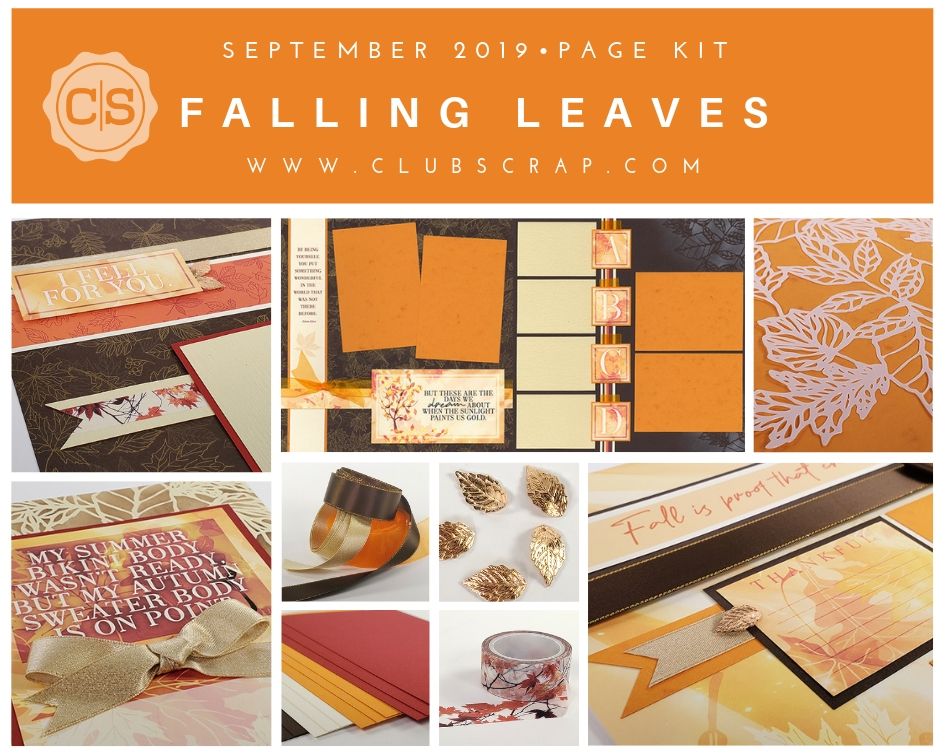
The Falling Leaves Page Kit got a late start this month with the timing of Labor Day. We hope you had a safe and enjoyable weekend. For those in the path of hurricane Dorian, you have been in our thoughts as you plan for your safety through the storm.

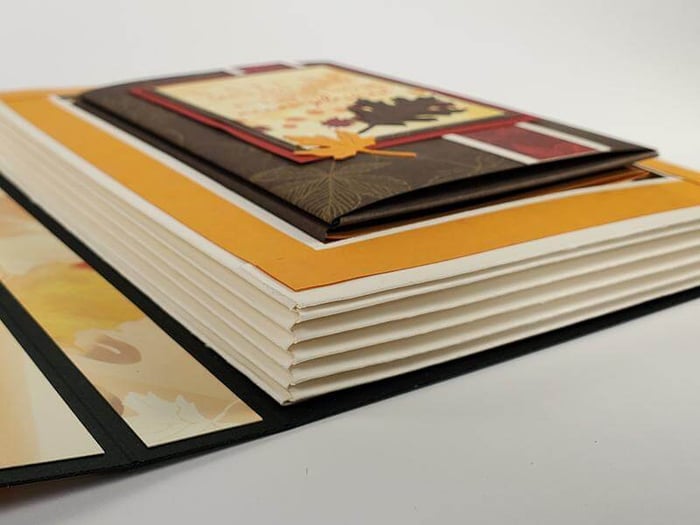
The page kit includes a versatile leaf collage masking stencil, elegant ribbon, and a roll of leafy washi tape. If you choose to follow the page assembly instructions, you'll be amazed by how easily it all comes together in eight marvelous pages!
If you haven't had a chance, take sixty seconds to preview the page kit in action. And, to peek at the rest of the Falling Leaves collection, visit yesterday's post.
Read further to learn a few helpful assembly tips about each double page spread in the set.
Layouts 1 & 2

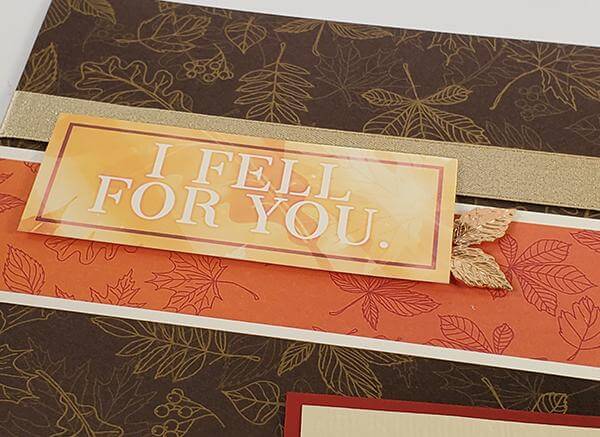
There will be only one 1.25x2.25" scrap after making eight pages! The other "would-be" scraps are cleverly used to make sweet page embellishments. Cut a "v" into one edge of the Orange strip and nest with a piece of metallic gold ribbon. Tuck behind the nested journaling prompt and top with a rose gold leaf charm.

Skip to 32:30 on the page kit video tutorial to learn how to make a beautiful three-part bow. The flat, bulk-free bow is perfect for cards and layouts. Once you master the easy steps, you'll make them all the time!

Layouts 3 & 4

Speaking of bows . . . proceed to 24:20 in the video to view a simple way to create this pretty adornment, especially if you consider yourself to be "bow-challenged."

The right side of the Cream Texture base page is enhanced with the help of the masking stencil, ink applicator brush, and Earth ink. It's quick and easy work with fabulous results. Apply the ink in a light, circular motion while firmly holding the stencil in place with your other hand.

Layouts 5 & 6

I kept things simple on Layouts 5 & 6 and was able to incorporate the beautiful washi tape on each page. Add the nested horizontal border strips with the help of a grid ruler to keep them level. Then, stretch the tape directly above each strip; wrap the ends around to the back of the page.

Layouts 7 & 8

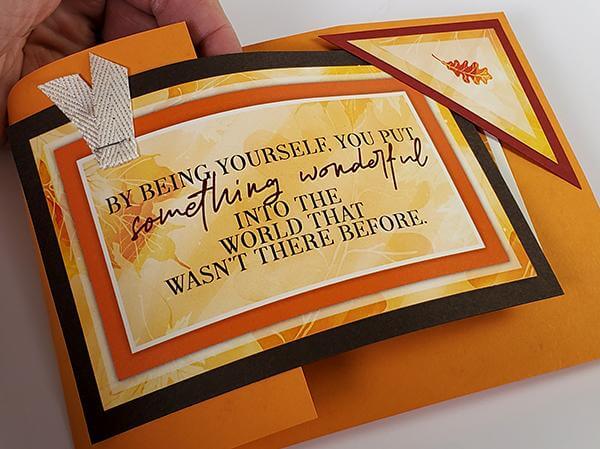
Well, this is where we had a bit of a "human moment" in our kit production. Be sure to replace the original border strip from the cutapart sheet used on page seven with the replacement piece included in your kit. It corrects a common typographical error missed by our entire team during the production process. I had been working with the kit for days before I finally saw the error. If you look carefully, you'll see it for "youself." Our sincere apologies for the error!

Add a touch of art to the upper and lower right corners of page eight with the stencil and White Pigment ink. Use the same gentle circular motion with the applicator brush to achieve beautiful results.

There you have it! The above tips will get you started, but be sure to watch the full-length video tutorial included with your purchase for additional tips and tricks.
If you're not a member but would like to receive this collection, we're here to help. Join online, shop the Falling Leaves Page Kit directly from the online store, or give us a call at 888-634-9100 to set things up. We'd love to have you in the CS® family!
Tricia