Learn how to create a fun and functional Bandana Pocket Calendar for your desk. Read on as Julie shows you how, step by step.
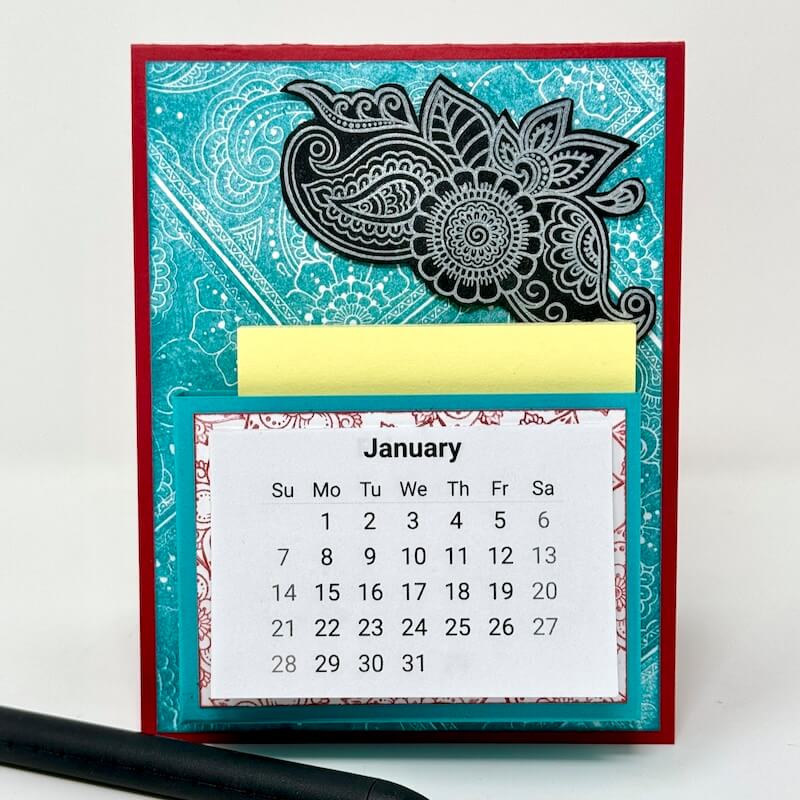
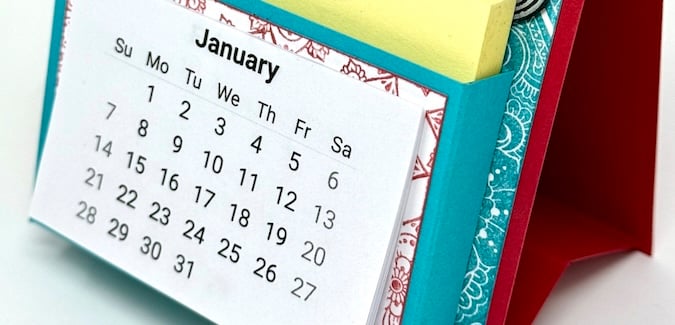
I love to start the new year off on the right foot. Having a calendar on my desk not only inspires me but keeps me organized, too. The pocket holds square sticky notes and a pen for note taking. If you are more of a visual learner like me, be sure to check out this video tutorial when making this project.
Bandana Pocket Calendar
Gather a 4-1/4x11" piece of Red paper. Score horizontally in half at 5-1/2".
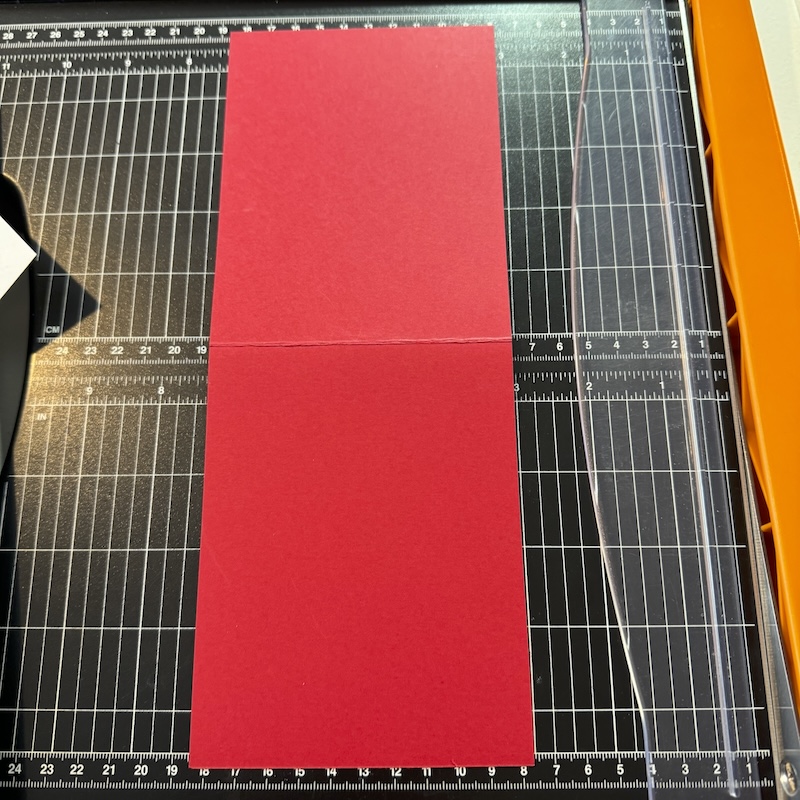
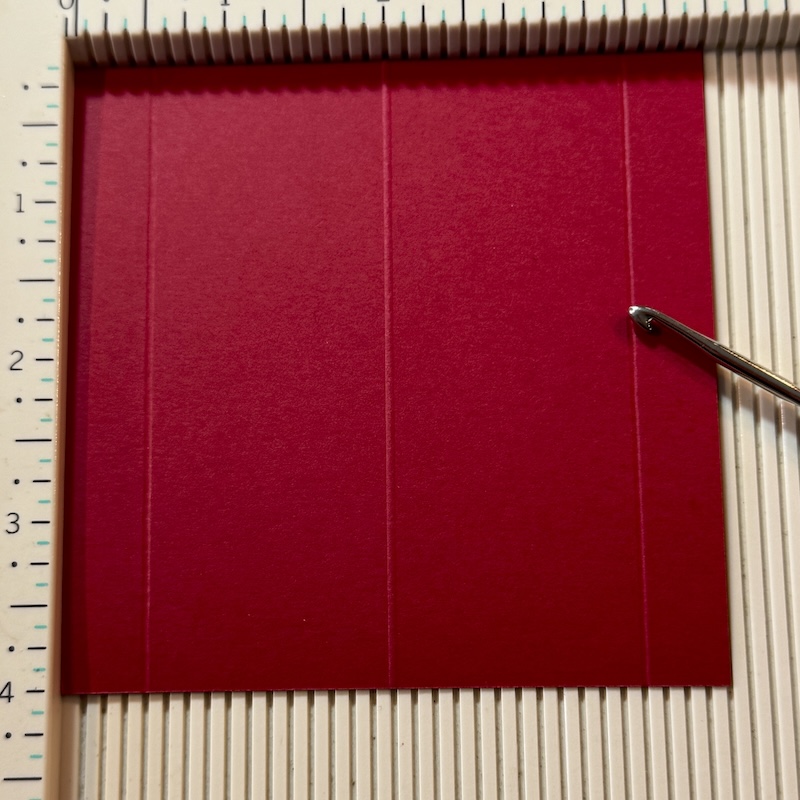
Score a 4x4 Red panel at 2". Flip the panel top to bottom and score at 1/2 and 3-1/2".
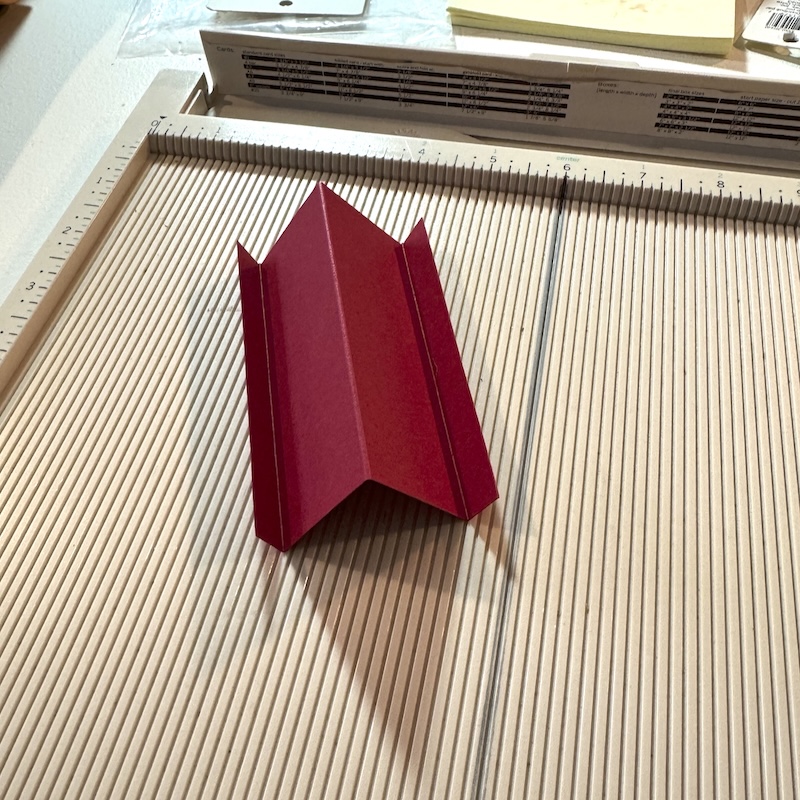
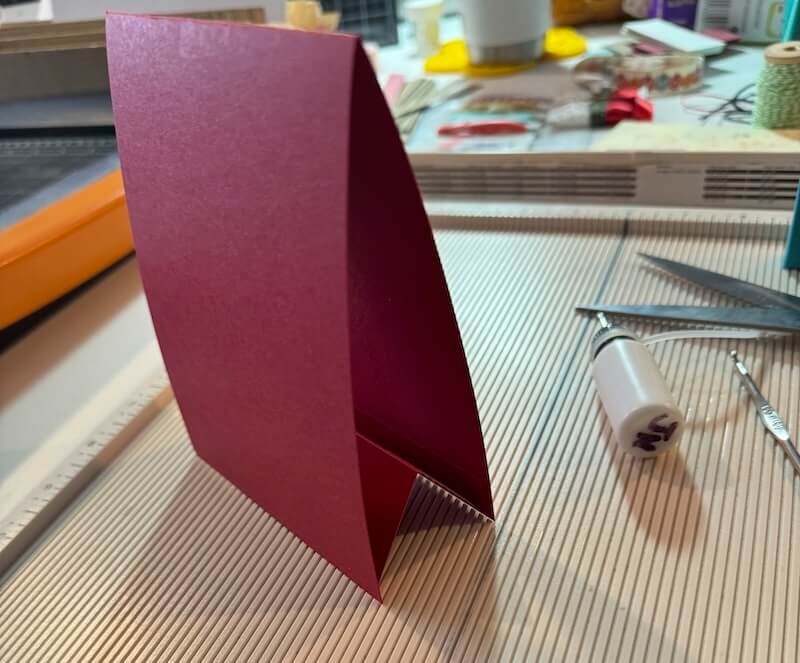
Fold along the score lines to form the easel mechanism. (Don't forget to "bury the bump"!)
Apply Bookbinding Glue (dispensed from Needle-tipped Applicator) to the front of the 1/2" scored area.
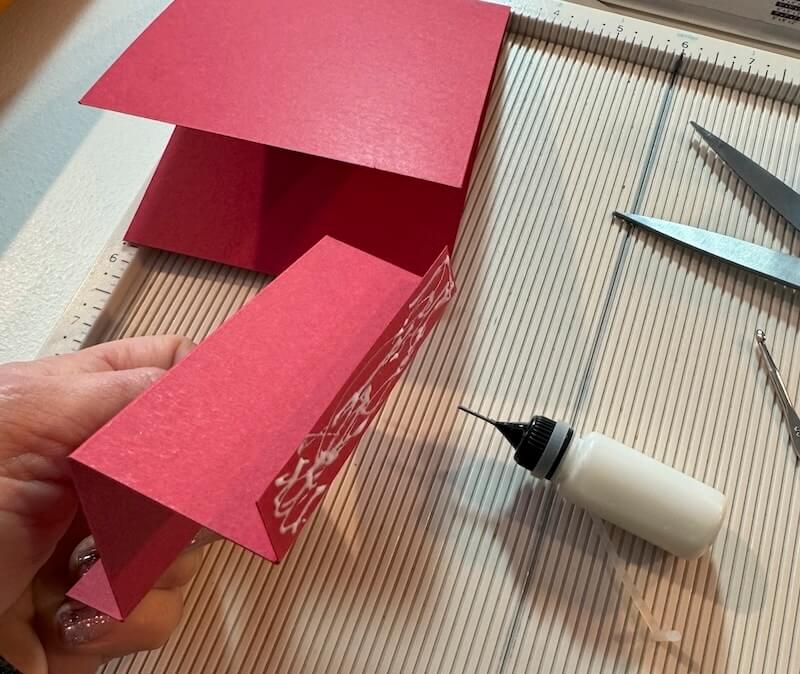
Center onto the bottom (short side) of the open card. Make sure to leave an 1/8" reveal along the two sides and bottom edge of the card base.
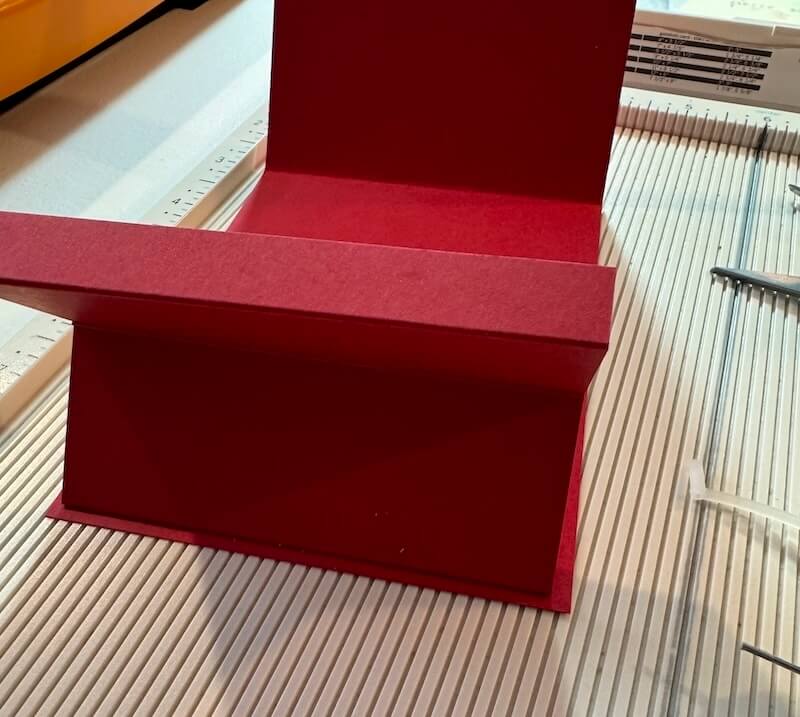
Fold the hinge mechanism to flatten. Apply glue to the second 1/2" scored area.
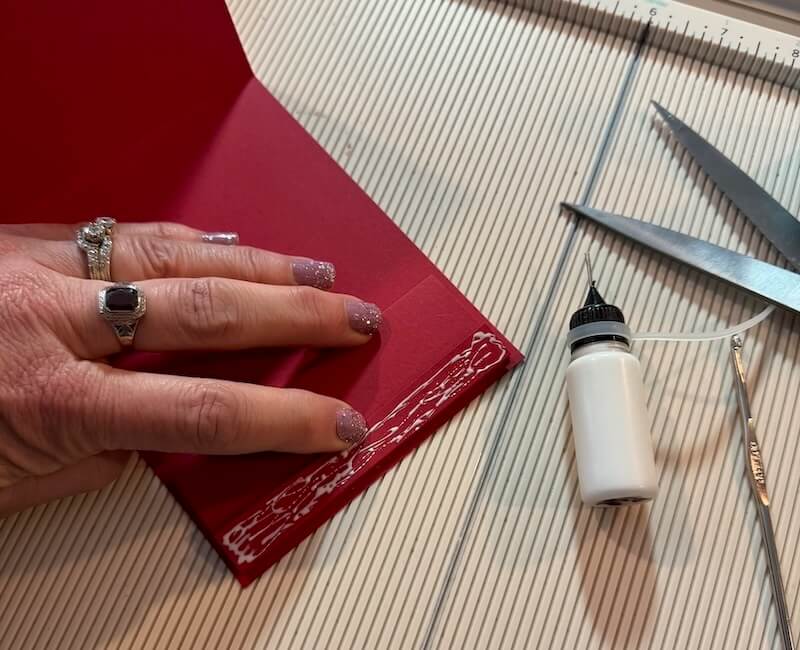
Fold the card base to enclose the easel mechanism inside, holding it in place until the glue is set.
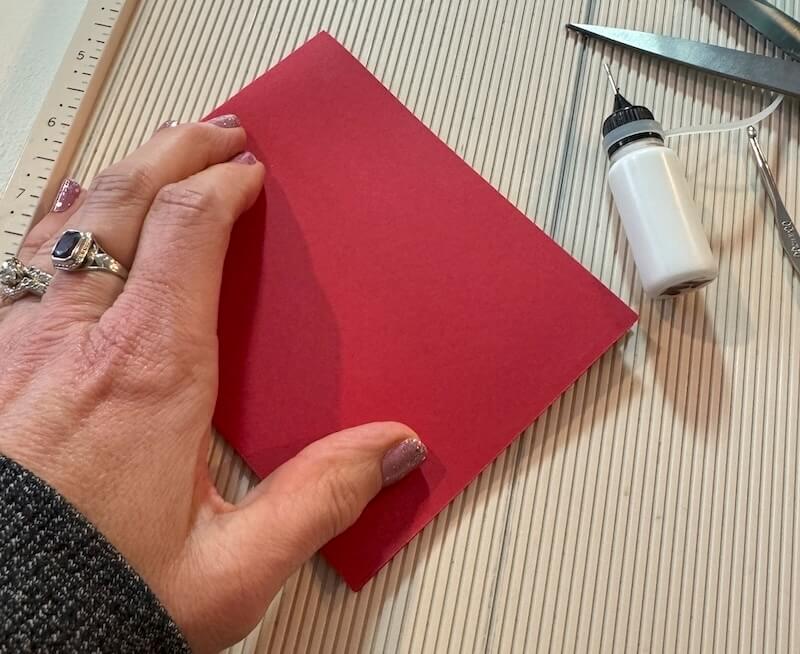
Once dry, the "card" becomes the base of the calendar structure.
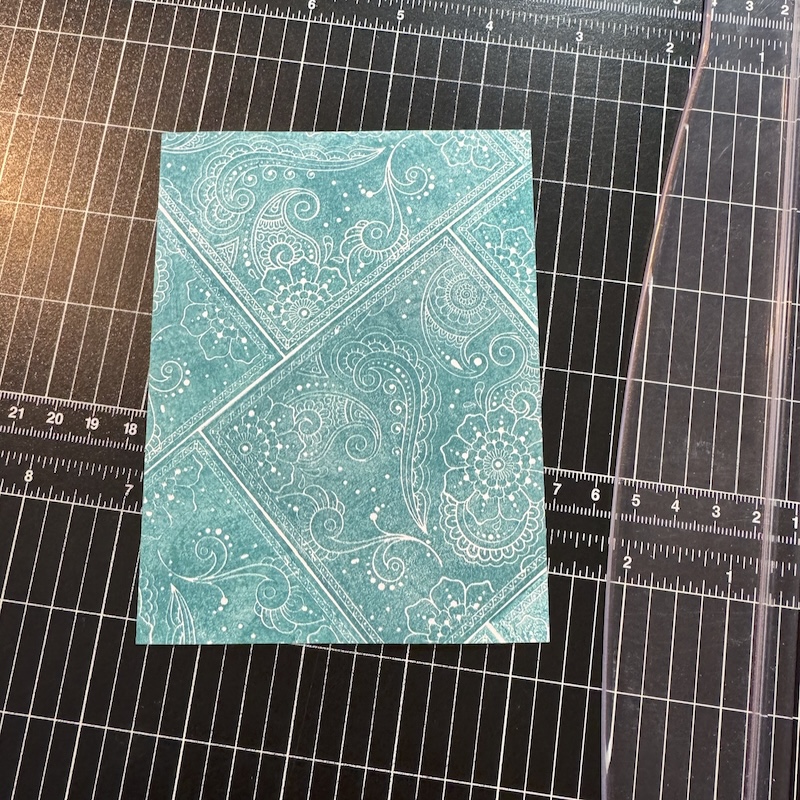
Decorate a 4x5-1/4" white panel with the large square stamp and Ocean Ink.
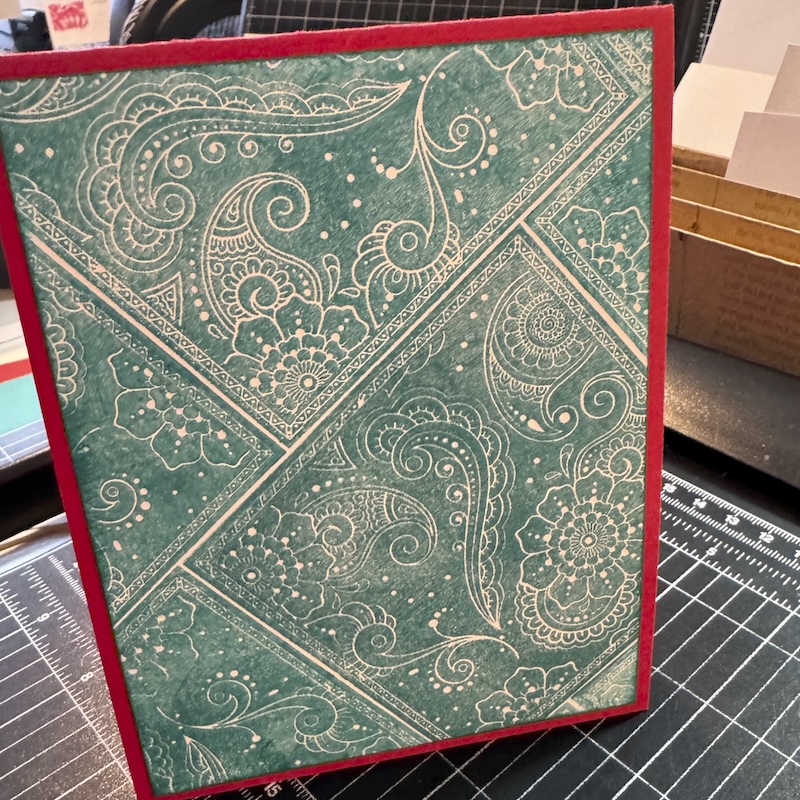
Adhere to the front of the calendar base.
Score a piece of 5-1/2x4-1/2" Aqua paper horizontally at 2-1/2 and 3".
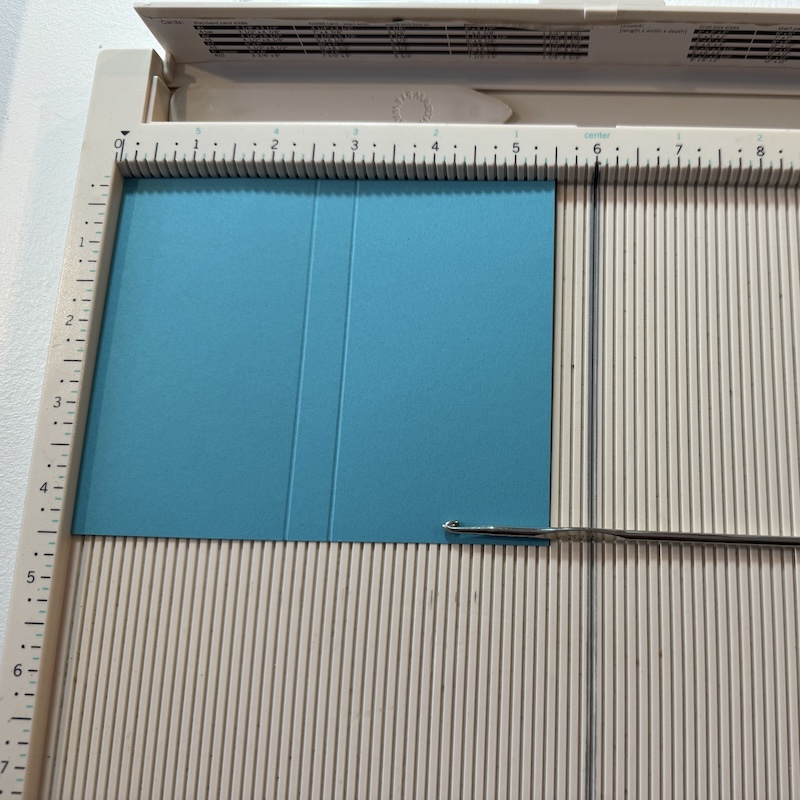
Rotate the paper 90 degrees and score vertically at 1/2 and 4".
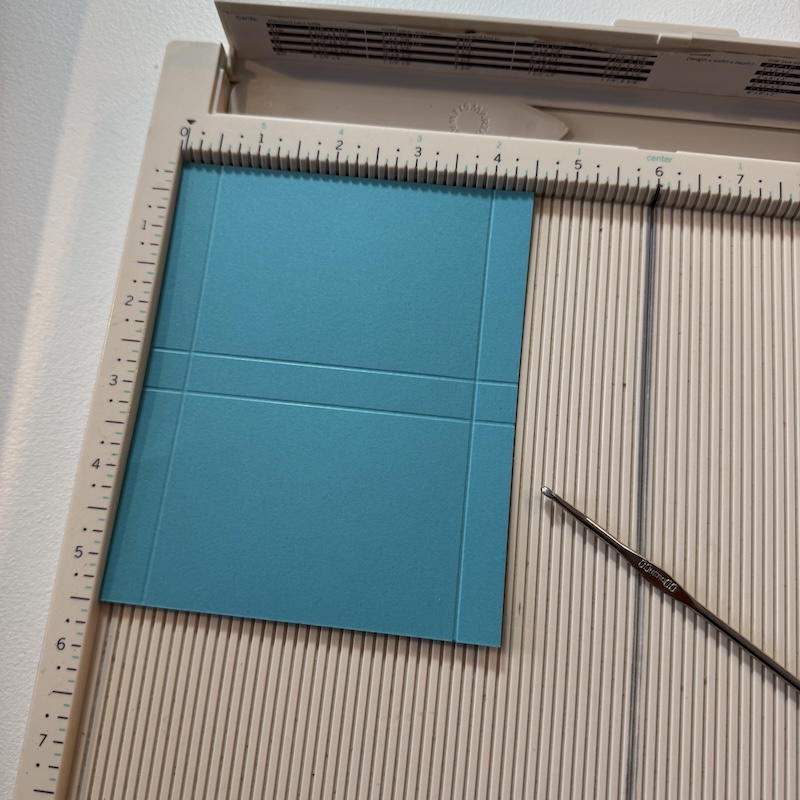
Cut tiny triangle darts to remove the score lines as shown.
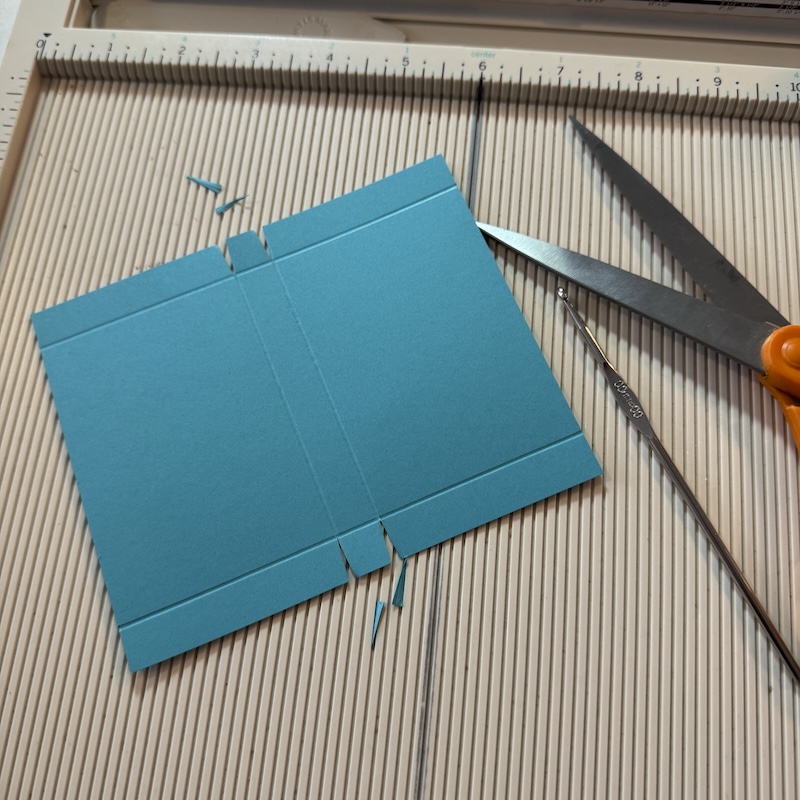
Fold along the score lines, remembering to "bury the bump" inside each fold. Apply glue to one tab and one long flap.
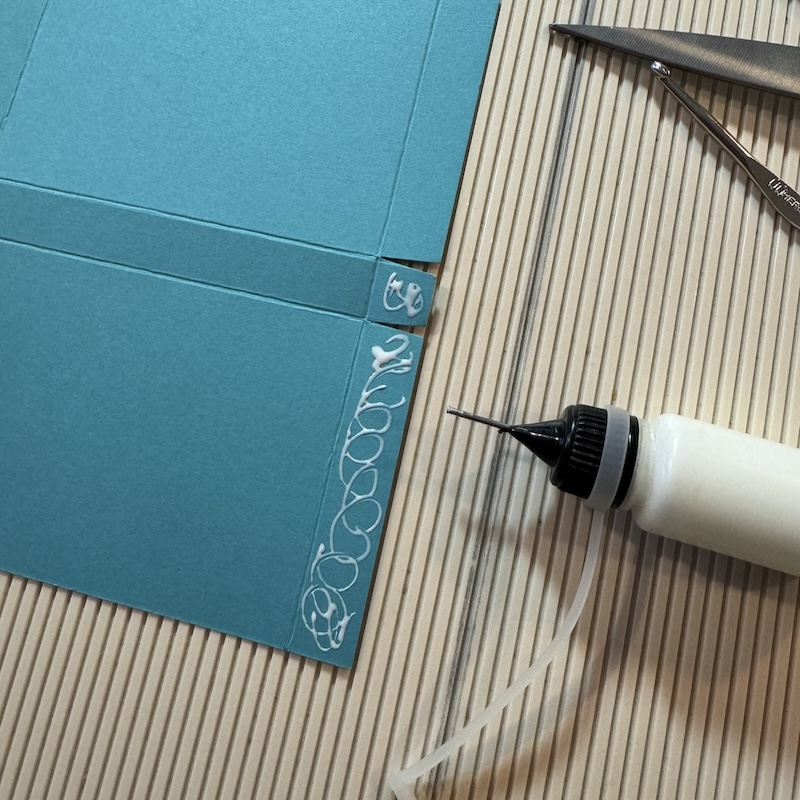
Fold the first tab in as shown.
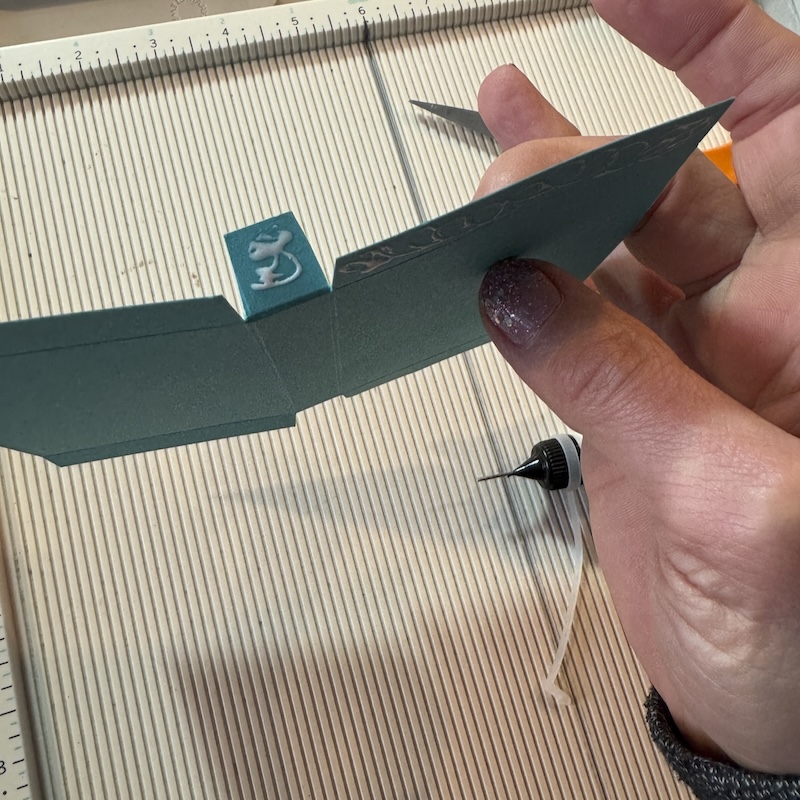
Fold the long flap over the tab.
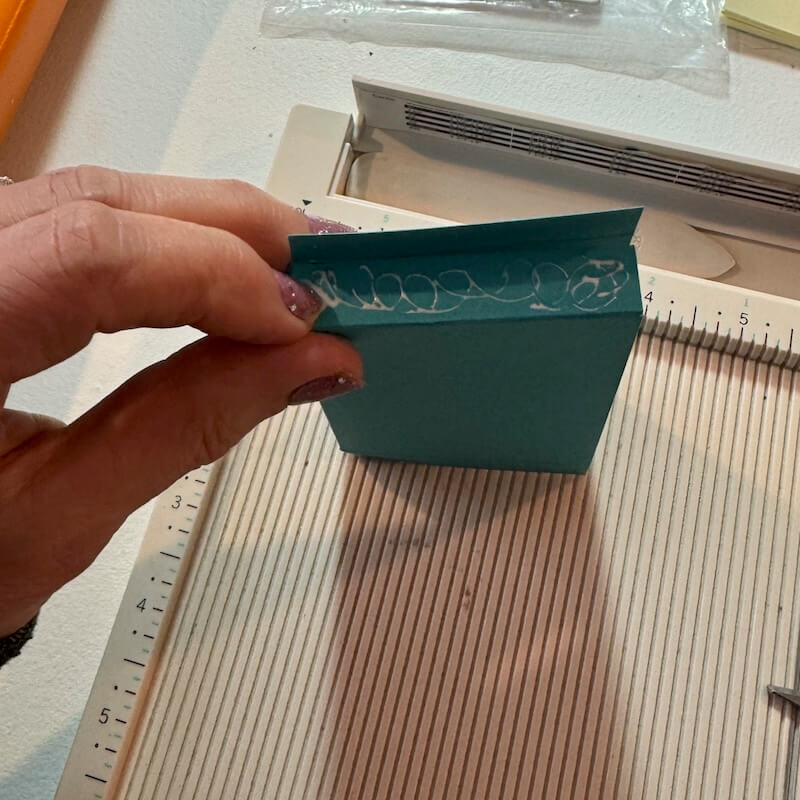
Finally, wrap the second flap over the first to adhere.
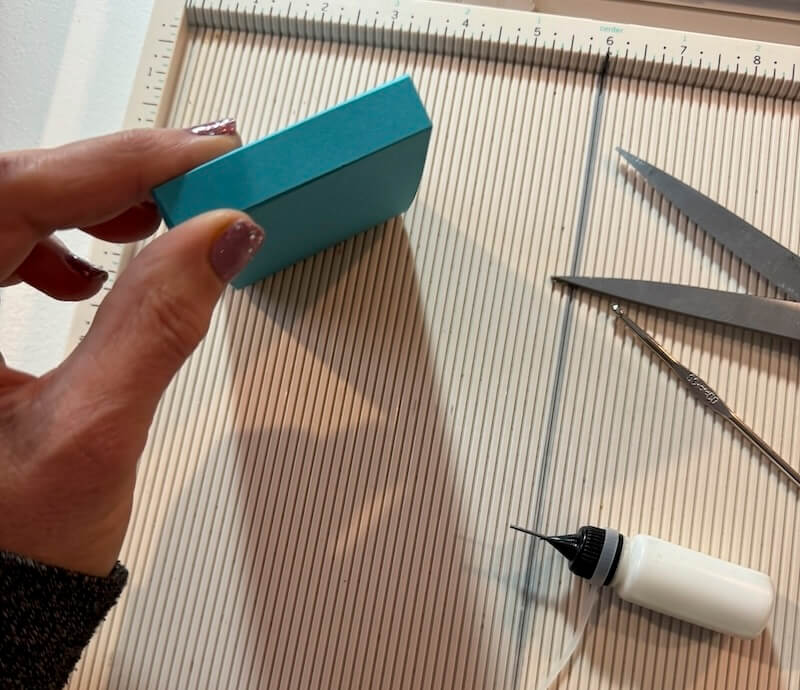
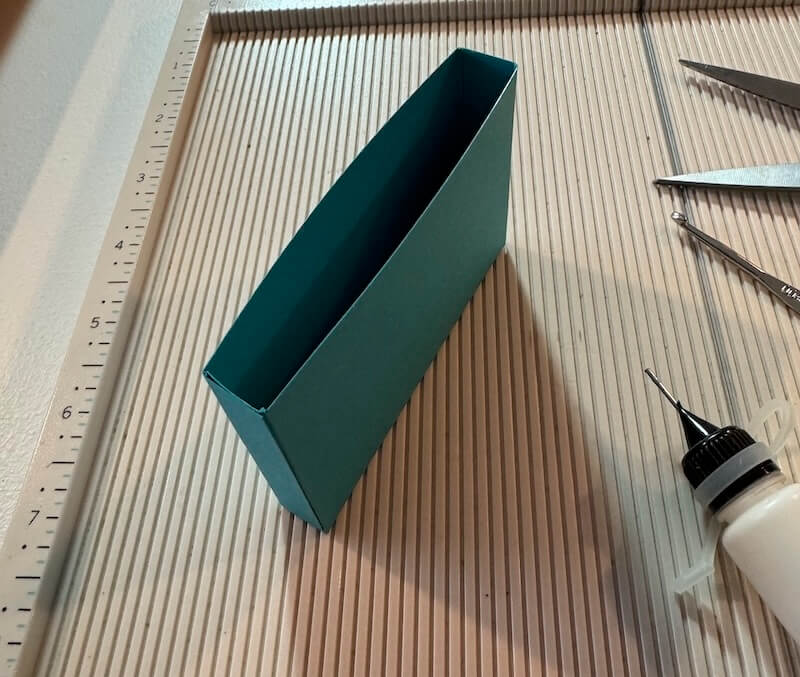
Repeat this process for the other side to complete the pocket construction.
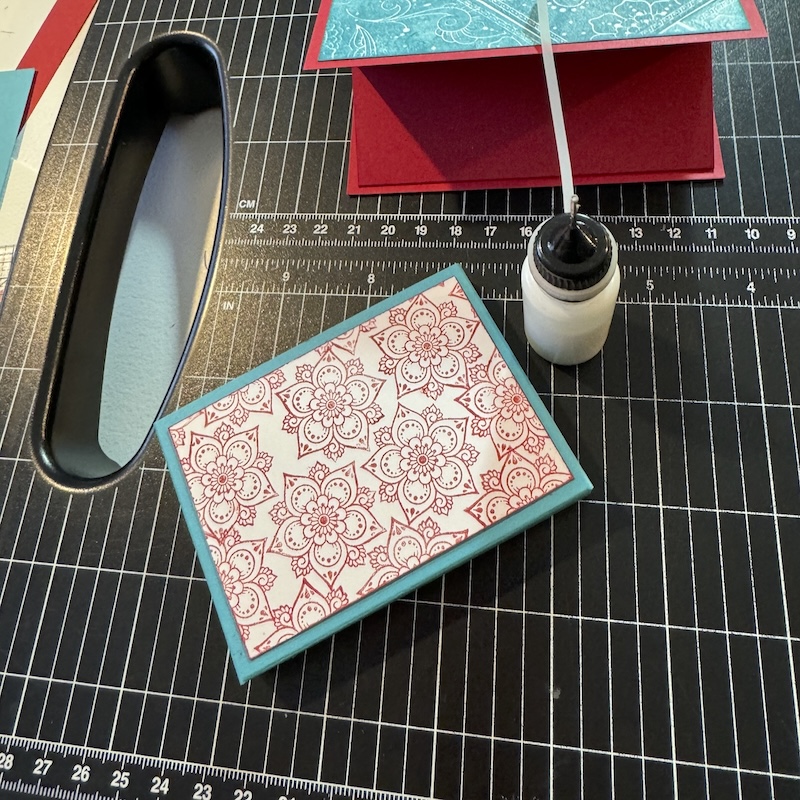
Stamp a 2-1/4x3-1/4" white panel with flower images and Red Ink. Center onto the front of the pocket and adhere into place.
Stack twelve 2x3" calendar pages and clamp together with binder clips. (You can find free "printable" calendars online.)
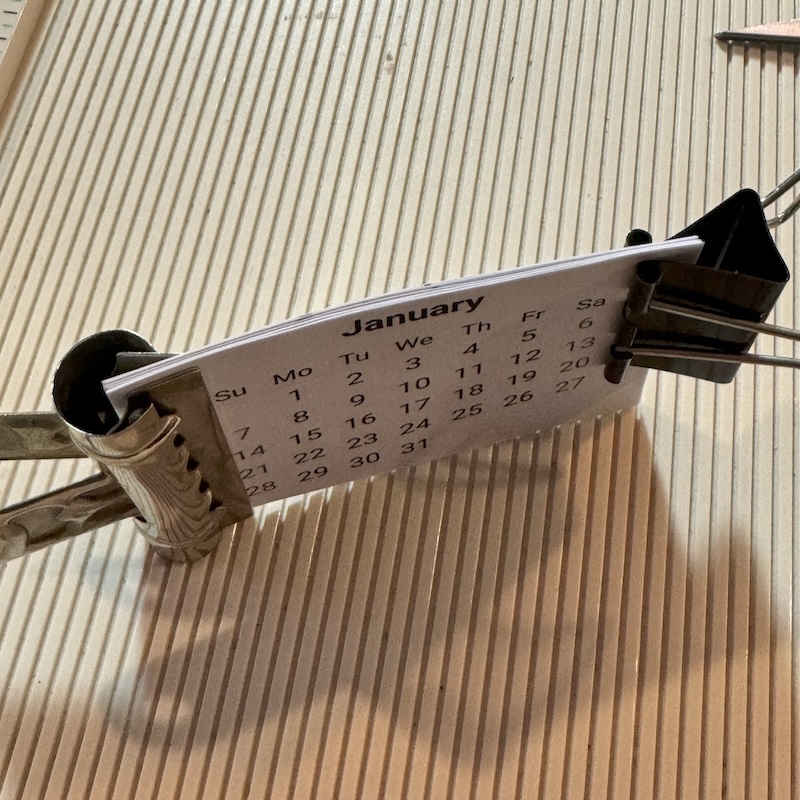
Run a bead of Bookbinding Glue along the top edge of the stack. Once the first layer is dry, apply one or two more layers of BBG to create a "pad" of calendar pages. Set aside and allow to dry completely before moving on to the next step.
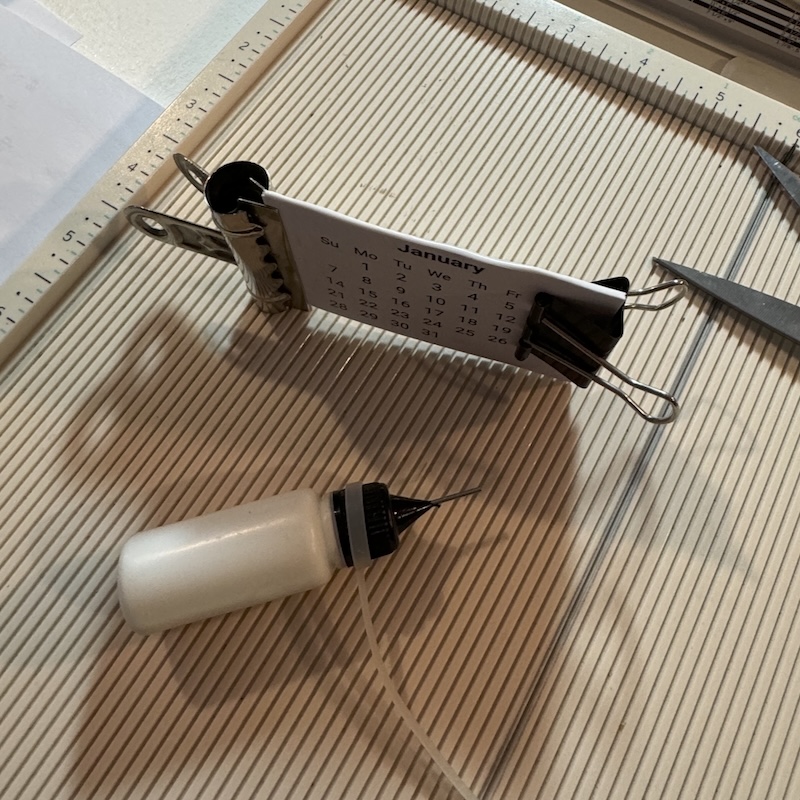
Once the glue is completely dry, remove the clips to reveal a tiny calendar pad. Each page can be torn off as the months change.
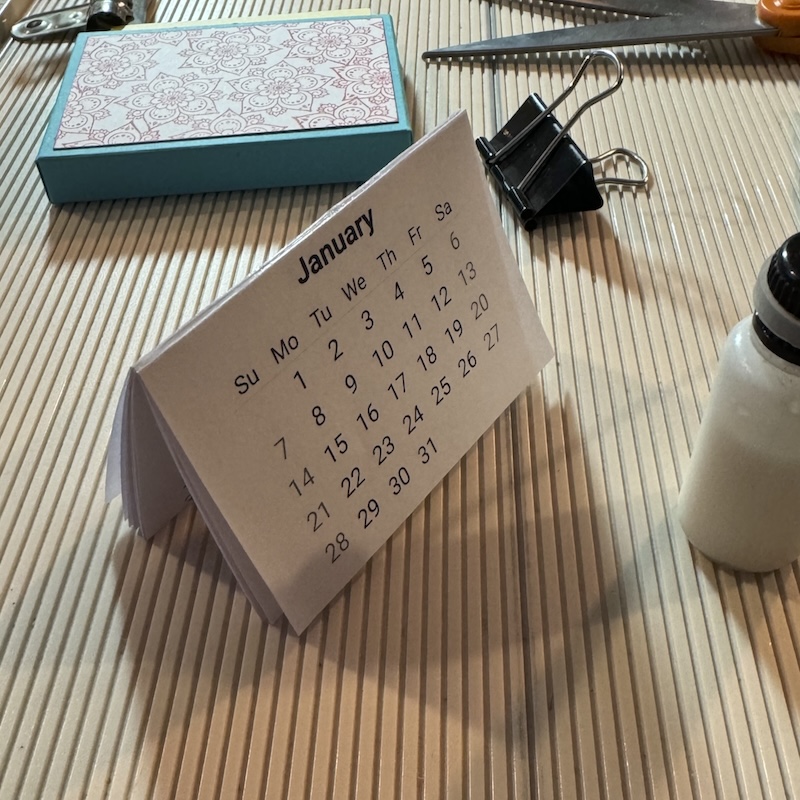
Apply glue to the back of the last page of the stack.
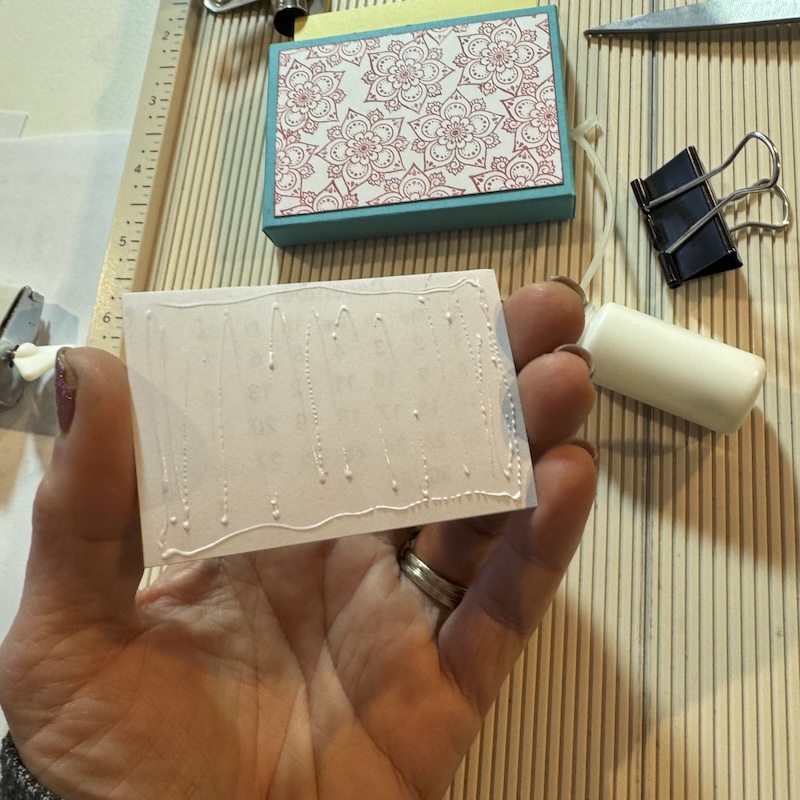
Nest onto the stamped pocket panel. Tip: Place the sticky notes inside the pocket to provide extra stability during the gluing process.
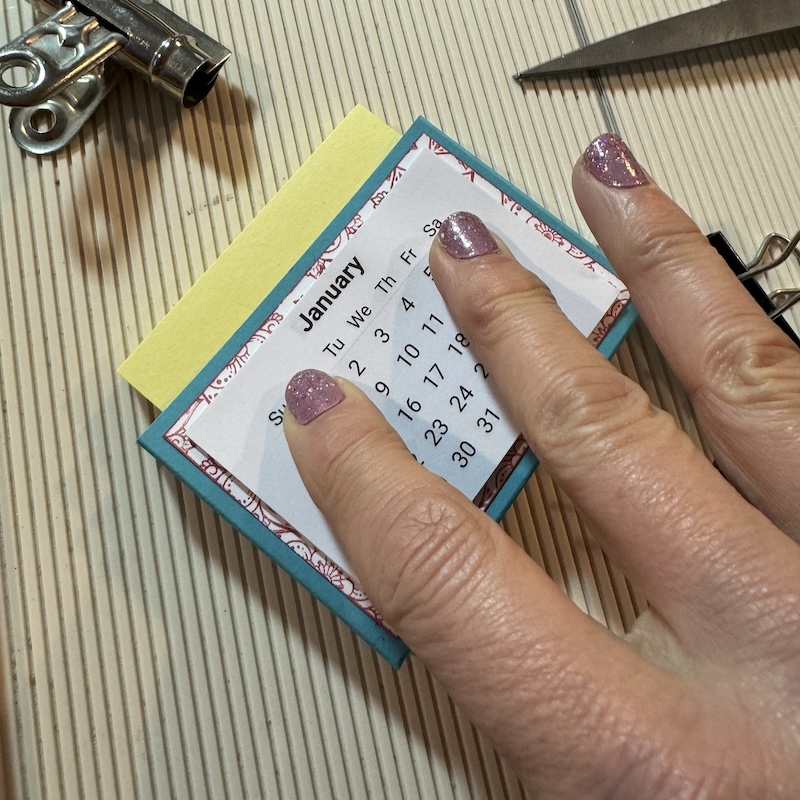
Once the glue on the calendar is fully dry, apply glue to the back of the pocket.
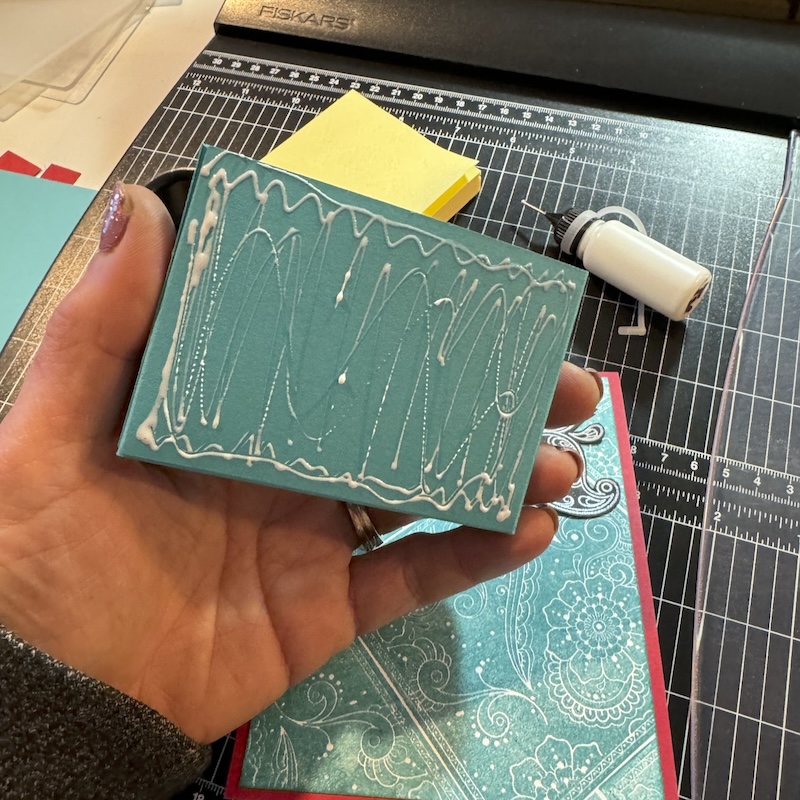
Position the pocket onto the bottom of the calendar base, centering it with an equal reveal on the left, right, and bottom.
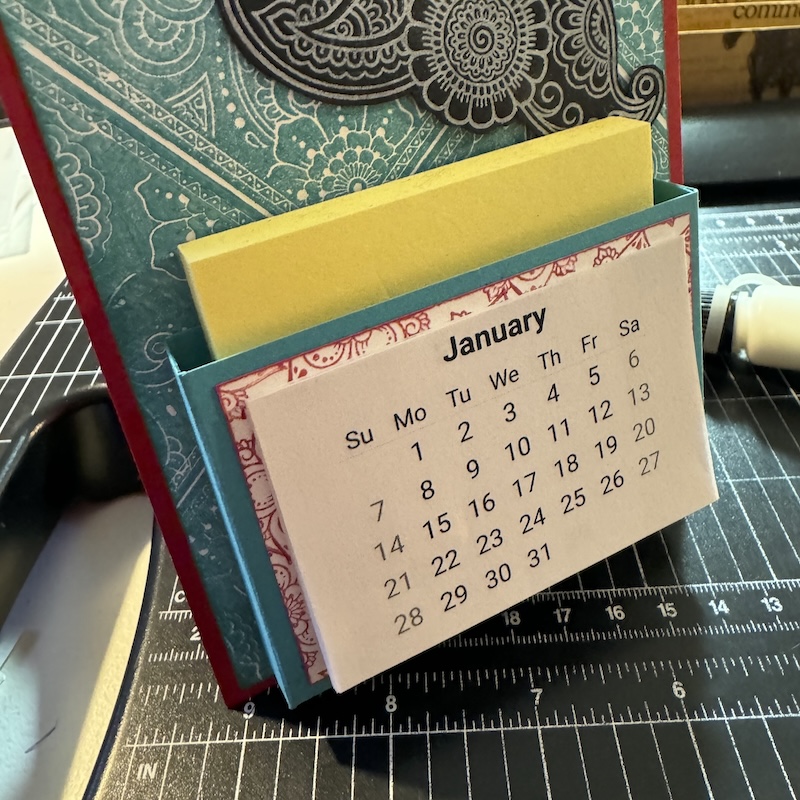
Decorate the calendar base as desired. (I added a fussy-cut stamped image to mine). Let's take another look at the finished project.
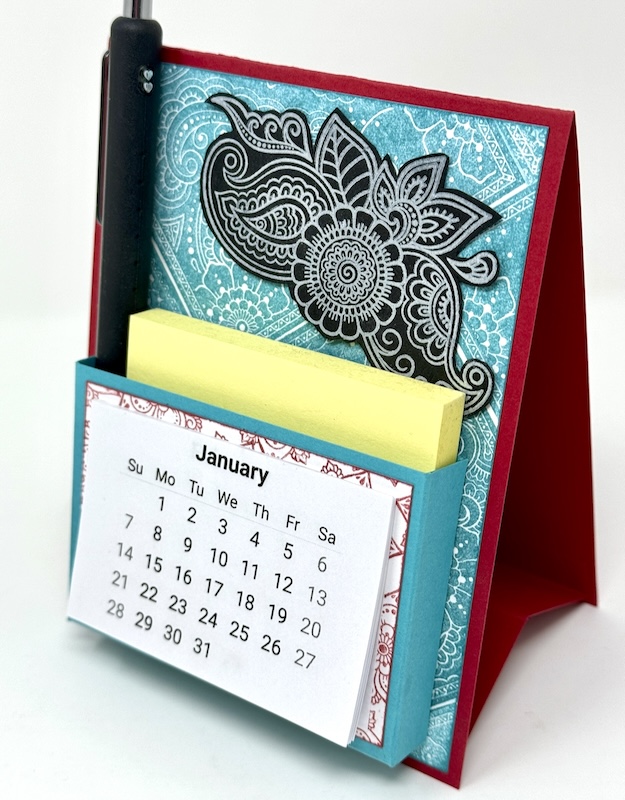
I hope you enjoyed my Bandana Pocket Calendar tutorial. Customize your calendar with papers and stamps from your favorite collection.
Which kit will you choose? We invite you to share your finished projects on our Club Scrap Chat Group on Facebook. Not a member of the group yet? Simply answer a few questions and we'll get your request accepted in no time!
Happy New Year!!
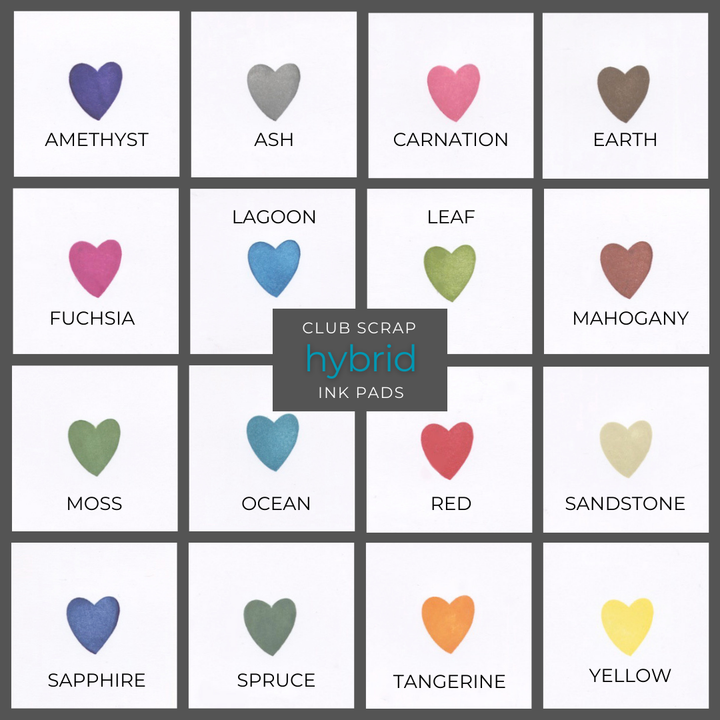
CS Hybrid Ink Pads
$6.35
Exclusively Club Scrap®, this hybrid craft ink combines the most exceptional ingredients of both pigments and dyes for a fine, crisp, fast-drying image! Don't forget to stock up on the coordinating re-inkers. Each ink pad sold separately. Please select the… Read More
