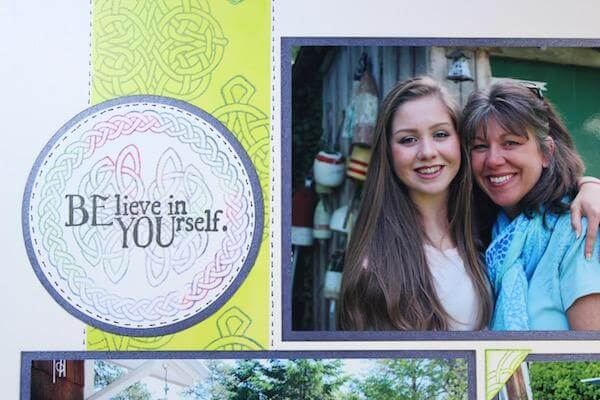
Tricia's Faux Paper Layer Technique blog post inspired this simple page featuring pictures from my daughter's graduation party.
Follow these steps to create a border for a scrapbook layout.
1. Mask the areas to be inked with scrap paper.
2. Swipe Peridot ink from the scrap paper onto the Woven Strands White 12x12 base paper with a CS Ink Applicator.
3. Continue to swipe ink into the masked area until the desired color saturation is reached.
4. Stamp the medallion image from the Woven Strands Collection UM with Sapphire ink.
5. Remove the mask to reveal the faux border.

6. Add black stitching with a ruler and fine-tipped marker.
7. Create photo corners with a square image from the Woven Strands Collection UM. Stamp with Peridot and Moss inks.
8. Trim the corners from the square.
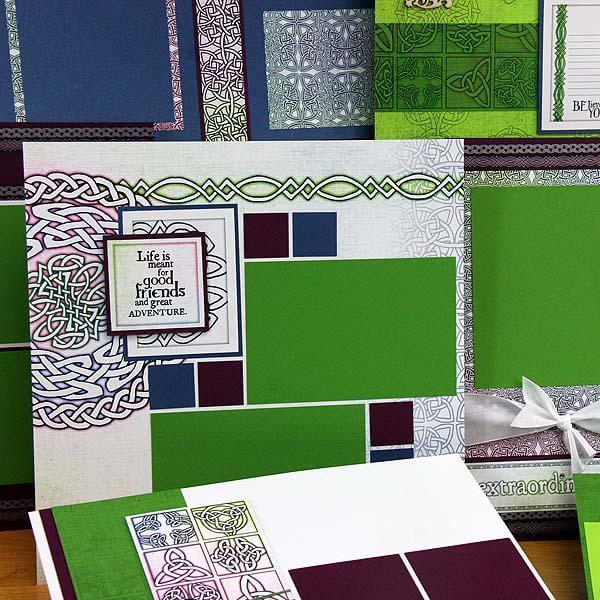
Finish the layout with coordinating papers and stamps from the Woven Strands collection.
The next time you see an interesting technique used on a card, give it a try on a scrapbooking layout, as well!


