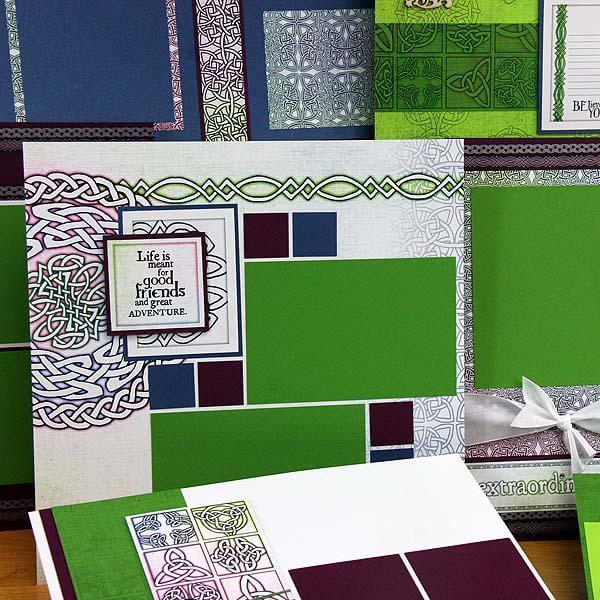
Let's take a quick tour of the layouts and cards featured in the Woven Strands collection.
Woven Strands Deluxe Kit
LAYOUTS 1 & 2
The art element featured on this page is intricately stitched with metallic thread...something you sort of have to see to appreciate. (We've also discovered it works well as a coaster for an espresso cup.)
LAYOUTS 3 & 4
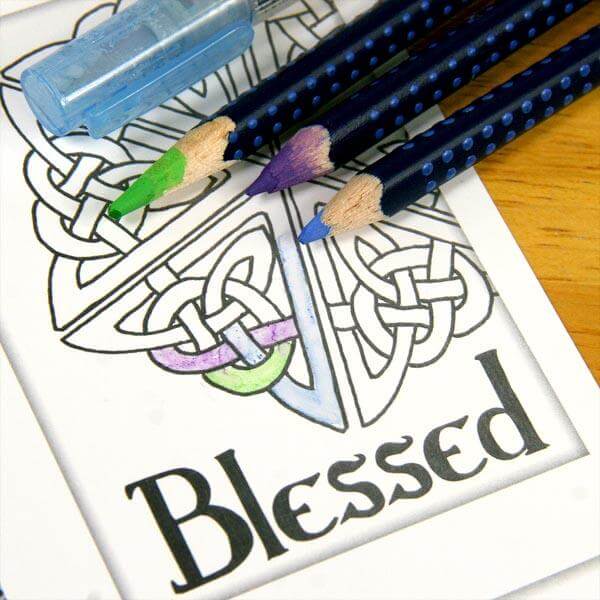
There are two sheets of White printed cutaparts. One has color added, while the other is black and white. You can add your own color if you want. For this layout, I simply outlined the image with an opaque blue marker. Coloring the images is therapeutic and makes you appreciate the cleverness of the Celtic design.
LAYOUTS 5 & 6
For this layout detail, simply place the photo matte on the printed paper and make pencil marks where the matte meets the edges of the design. Set the photo matte aside and use a craft knife to make cuts in the paper between the pencil marks.
The thin wood veneer decorative corners can be painted or used "as is" on any layout or card.
LAYOUTS 7 & 8
The embellishment pack includes plenty of beautiful ribbon and fiber. Wrap the multi-colored green fiber around the cutapart three times and tie ends in a small bow.
LAYOUTS 9 & 10
The kit also includes three very unique clear tags with metallic foil embossing.
LAYOUTS 11 & 12
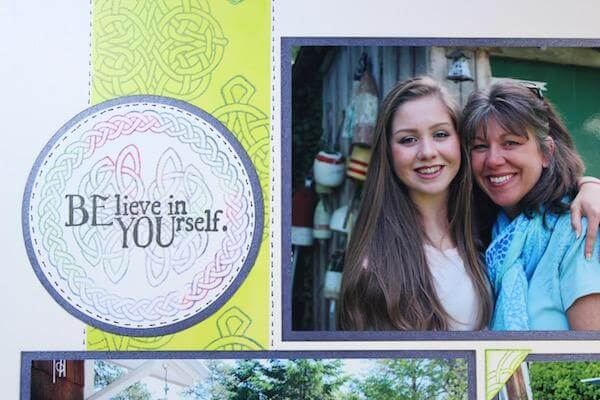
This photo matte/cutapart pairing is accented with a unique silver stitched embellishment. Remember, if you have plenty of photos to go around, cutaparts can act as photo mattes.
LAYOUTS 13 & 14
See the three rhinestones beneath the white cutapart? The collection features a "rhinestone wheel" with tons of different size choices and a useful elbow tweezers for easy application.
Woven Strands Greetings to Go
SET A
The Greetings to Go set includes blue grosgrain ribbon. I like this simple knot tied in the ribbon and stretched across the card panel. The cutapart was trimmed horizontally and the two pieces adhered flush with the left and right edges of the front card panel.
SET B
Use a CS Ink Applicator to color the edges of the White cutaparts and panels to add contrast.
SET C
The "tall" card design has an extra inner flap. Attach a printed cutapart strip onto the inside of the short flap and rest the front flap against the cutapart to form an easel.
Download the free assembly instructions for more details about the layouts and cards. Have fun weaving your memories into this collection!
Tricia


