
The Western Stamps are not only versatile, but they are a necessary part of the crafter's supply stash if you plan to send cards to the guys in your life!

Here's a round-up of cards created during a Saturday morning session. I wish I could have kept going all day!
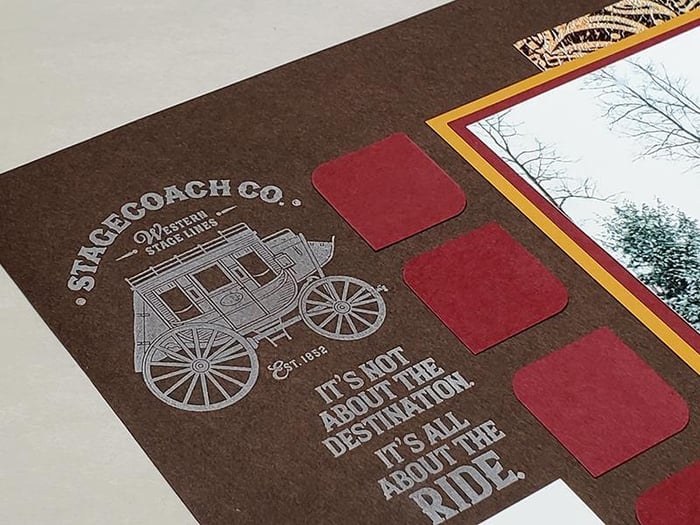
Card #1
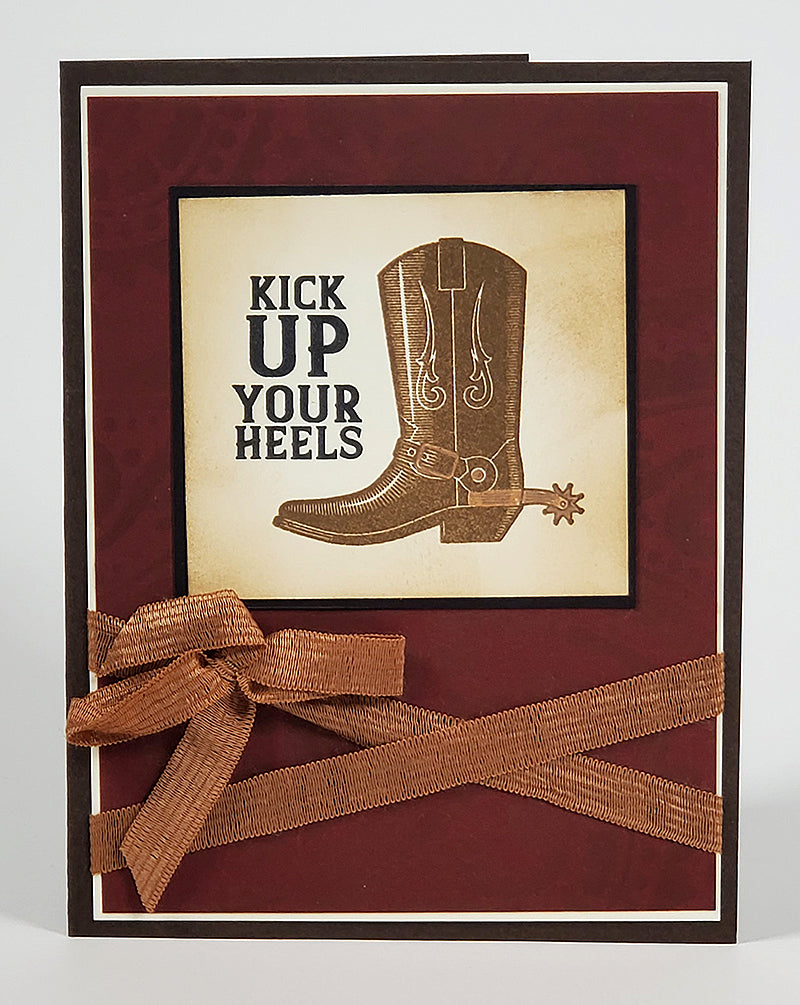
I enjoy working with my MISTI tool, which allows me to stamp repeatedly until the desired color intensity is achieved. The deep shade of Earth ink is just right for the boot. It's very subtle, but I colored in the metal trim on the boot with a metallic copper pencil. Stencil the Burgundy panel with the paisley masking stencil featured in the Western Page Kit and layer onto an Ivory panel and Brown folded card base.

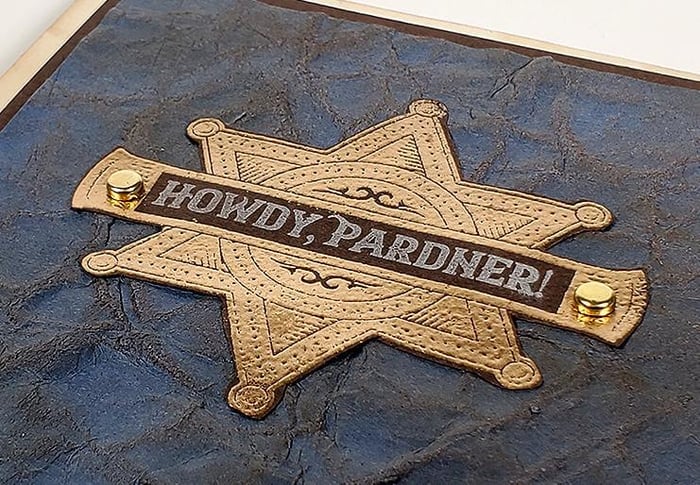
Card #2
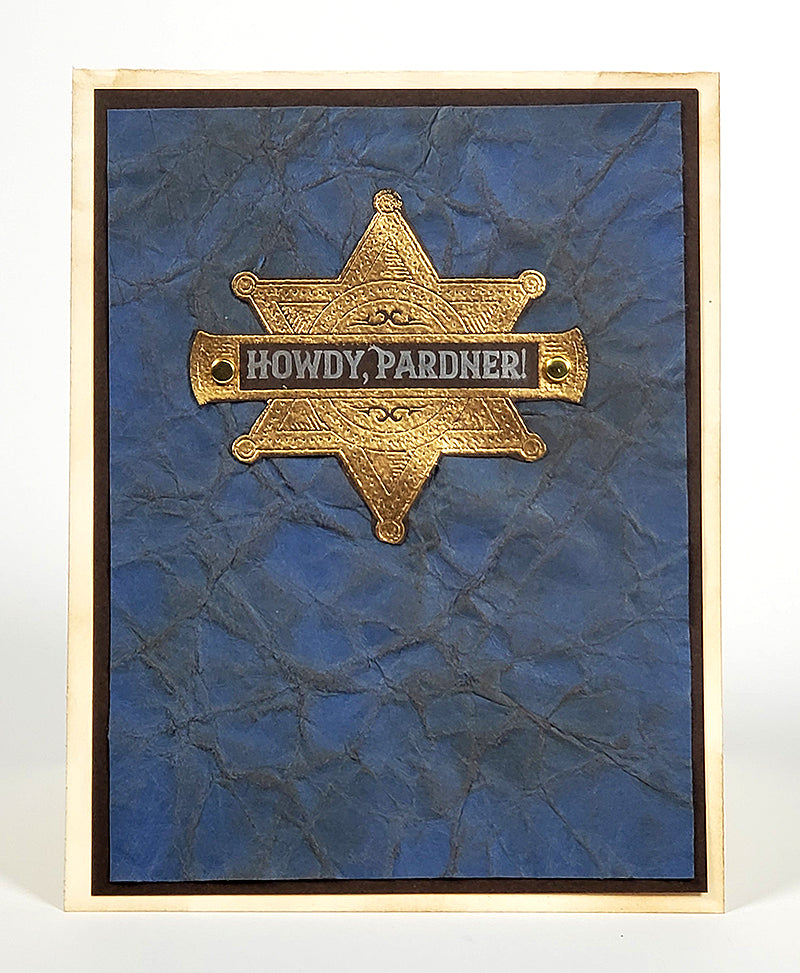
To create a distressed jeans effect, repeatedly crumple and flatten a Blue panel. After flattening, lightly roughen the raised surfaces with sandpaper. Finally, apply Earth ink to the edge and raised surfaces with an ink applicator brush.
Stamp and heat emboss the badge with gold powder, fussy cut the shape, and glue to the blue panel. Finish with mini brads.

Card #3
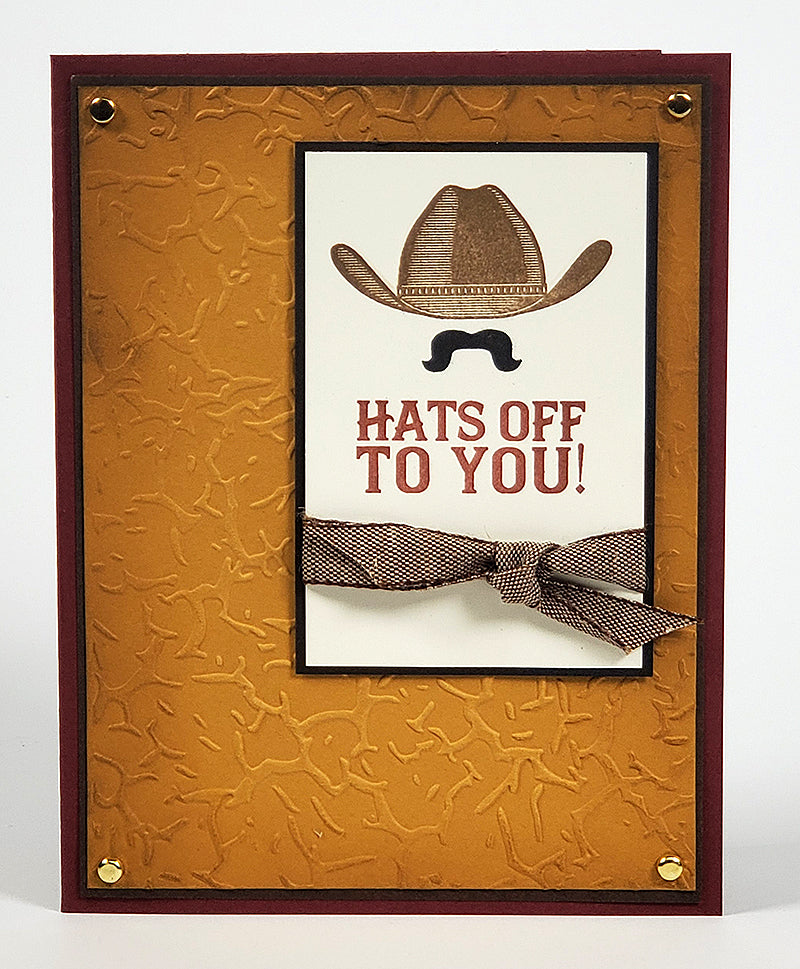
The hat and mustache are one single image on the sheet. Use a MISTI or other positioning tool to stamp in two different colors.
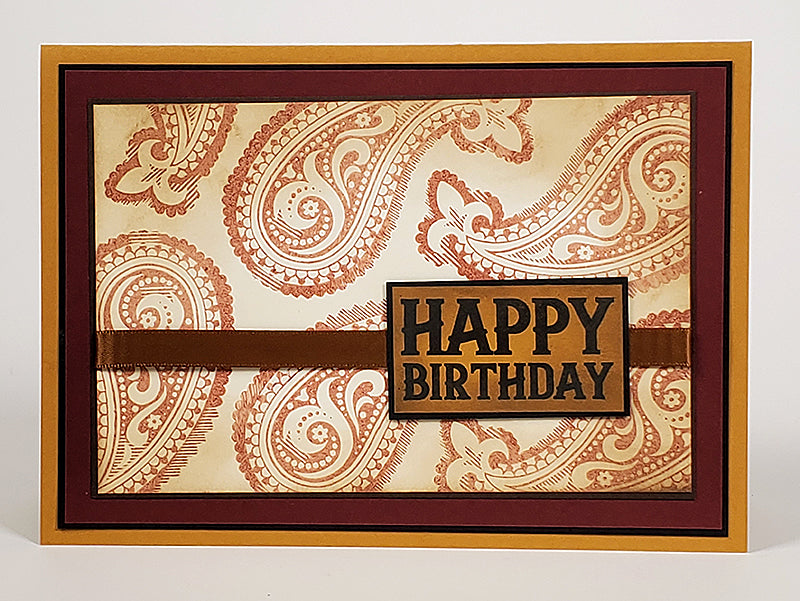
First, ink the hat portion with Earth ink and stamp onto an Ivory panel. (Repeat until desired color intensity is achieved.) Next, cover the hat portion of the stamped image with scrap paper while applying black ink to the mustache. Remove the scrap paper before stamping and repeat, if needed. Finally, add the text to the panel with Mahogany ink. Emboss the Gold panel with a texture folder and layer onto the card with gold mini brads.

Card #4
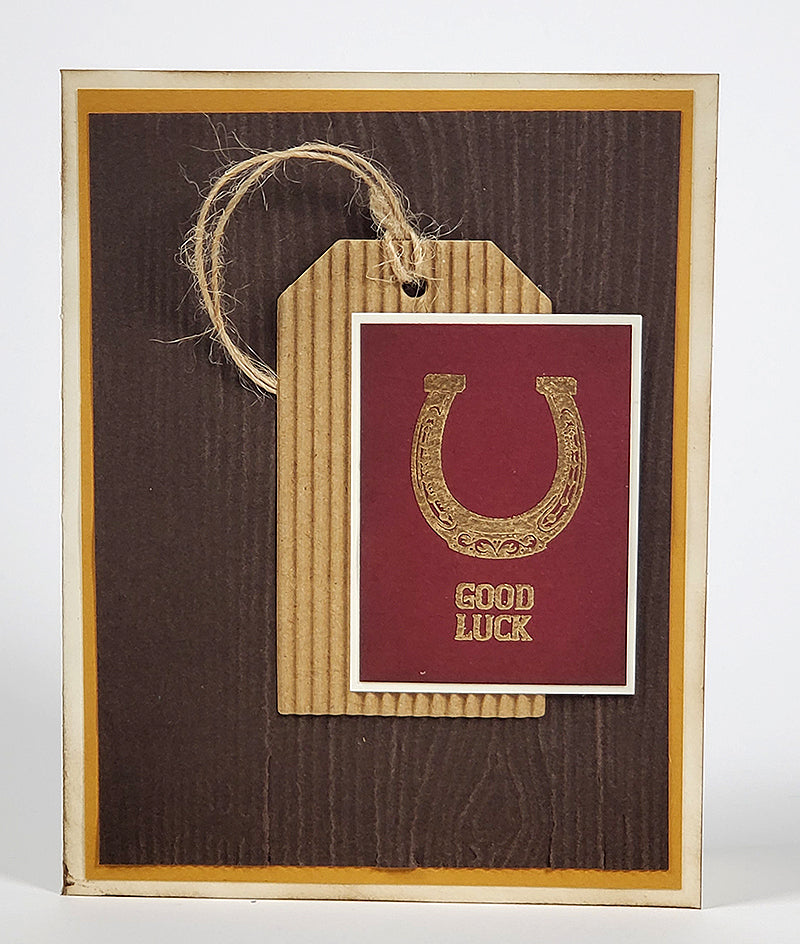
Stamp the horseshoe and "good luck" sentiment onto a Burgundy panel with embossing ink, sprinkle with gold powder, and heat to melt. Layer the art onto a Forest Floor corrugated tag, wood texture embossed Brown panel, Gold panel, and a folded Ivory card base.

Wondering about all those panels? I get mine from our new POP (Pack of Panels). You'll never feel guilty about using them liberally! A POP of coordinating papers measuring approximately 4x6" can be added to your monthly kit for five bucks.

Card #5
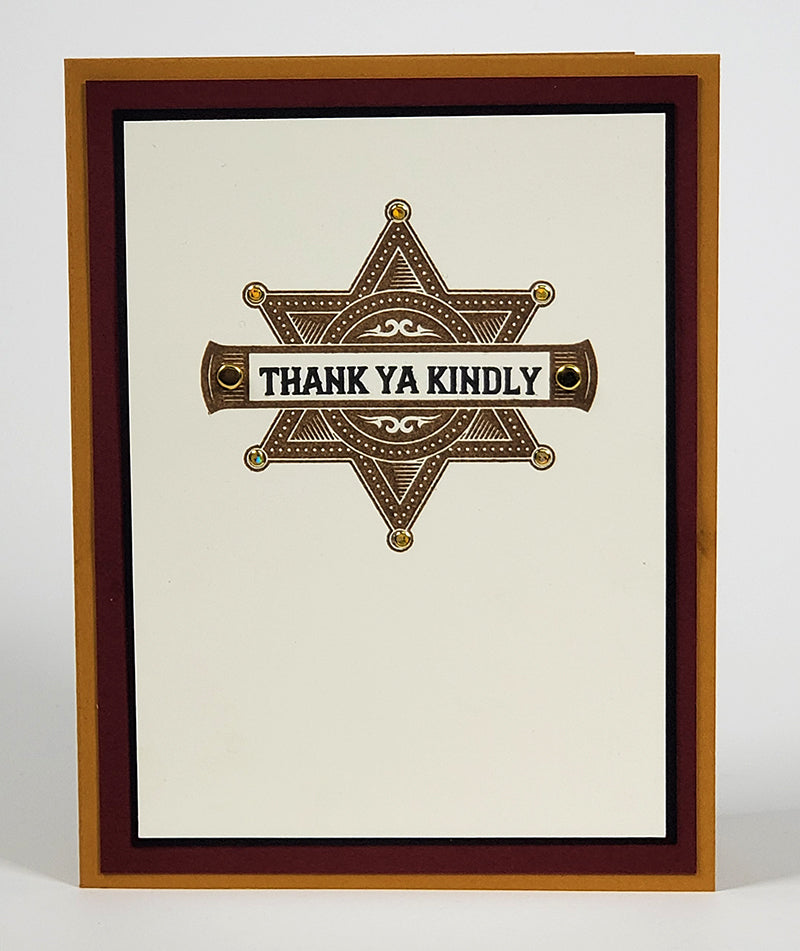
I'm fond of this "clean and simple" look. Just stamp the badge onto an Ivory panel with Earth ink. Stamp the sentiment within the frame, now made easier with our clear stamps, and top it off with two gold brads and Dazzles Jewel Stickers. Mat the panel with Black and Burgundy, and layer onto a Gold folded card base.

Card #6

Turn the single accent stamp image into a border by first drawing a pencil guideline on an Ivory panel. Next, add a "tick mark" in even intervals on the line. Place the stamp on an acrylic mounting block with an etched grid, identifying a specific "intersection" on the block to use as a placement guide. Stamp with Sapphire ink and align each time with the grid to create a perfect border.

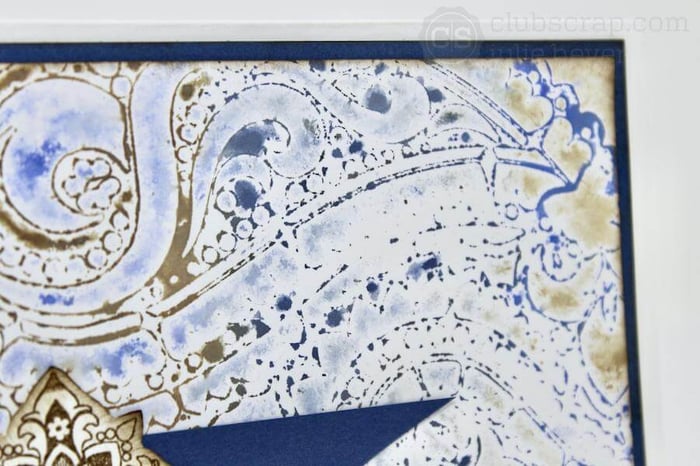
Card #7
Create a beautiful background print with the large paisley image. (This would be wonderful on a 12x12 scrapbook page, as well!) The key to a desirable background is to rotate the stamp each time and to stamp beyond the edge of the panel. Be careful. Stamping on the edge of the paper can create an unsightly line if stamped again without thoroughly re-inking.

And there 'ya have it! I hope you try your hand at making a few cards of your own. Perhaps this will serve as a good starting point of inspiration. Be sure to post your creations to our Facebook Chat Group.
What's that, you say? You're not a member of our chat group? (gasp!) Join us! It's a supportive, fun, on-topic group of crafty friends, and we're ready to say "howdy."
Tricia