Create a gorgeous variety of paisley Gelli prints with the Western Masking Stencil paired with Distress Oxide inks.


Paisley Gelli Prints
Apply rows of Distress Oxide Ink colors to the surface of a Gelli Arts Printing Plate. Press the pads directly onto the plate to add the colors.

Lay the masking stencil onto the inked plate.


Place a sheet of scrap paper over the stencil and plate. Apply firm, even pressure over the entire surface of the plate to remove some of the colors.


Remove the scrap paper and lift the stencil from the plate. Set the inky stencil aside to be used for making an additional print.


Lay a plain white panel onto the Gelli plate. Rub the back of the paper to ensure a good ink color transfer.


Remove the paper to reveal the print.


Lay the inky stencil onto the Gelli plate ink side up.


Spritz the stencil lightly with water to activate any dried Oxide Inks. Lay a second plain white panel over the plate and make the print.


Try other combinations of colors to create even more paisley prints.


Paisley Gelli Print Cards
Trim the prints into panels for cards.


Stamp the Western sentiments onto the empty spaces on the gelli prints.


Layer the panels onto Brown Gelli print panels.


Adhere to folded card bases created with the Western Rope print.


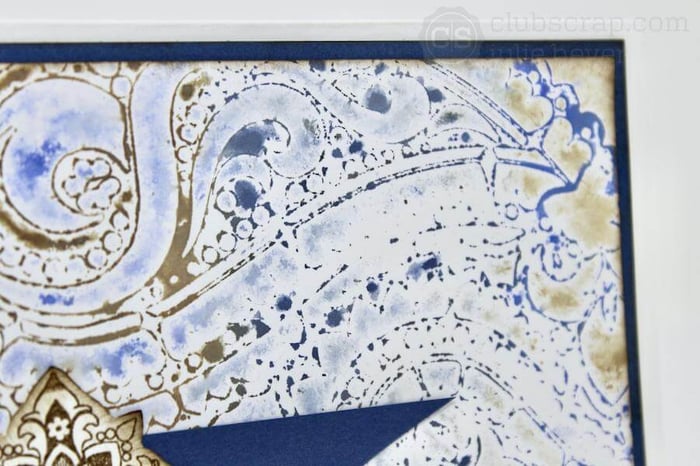
I love this Gelli print created by the stencil when lightly misted with the water. Pair it with a fussy cut stamped decorative square with a banner and sentiment to create a perfect embellishment cluster.


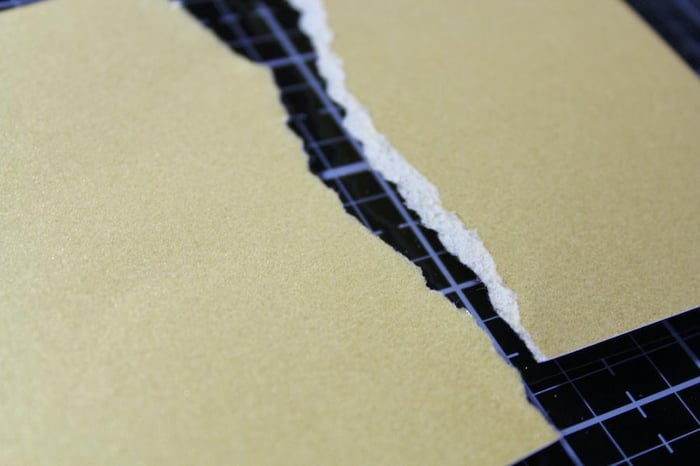
Walnut Distress Oxide Ink applied to the Gelli plate creates this simple paisley background on the Gold panel. The flag strip was a scrap leftover after trimming the Gelli print panel from the card above. I never let anything go to waste!


Be sure to check out some of my favorite Gelli Printing Blog Posts from the Past. Happy Crafting!
Cobblestone Stencil Gelli Prints
 Julie
Julie


