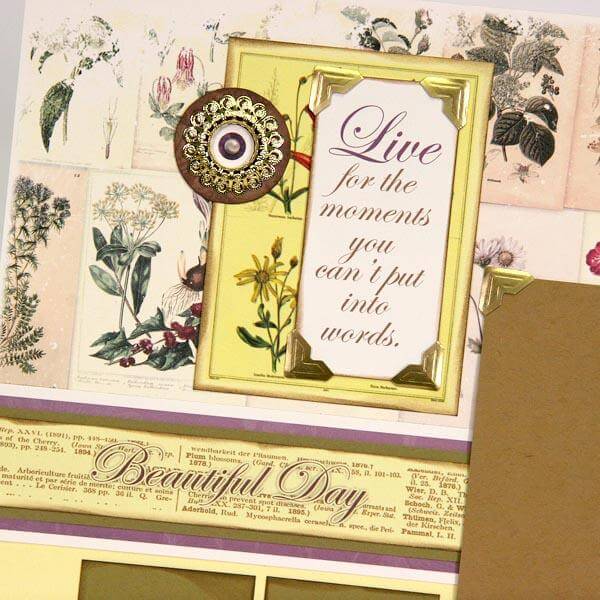
Typically, getting framed isn't a good thing. However, with the Vintage Botany Lite Prints, it is!

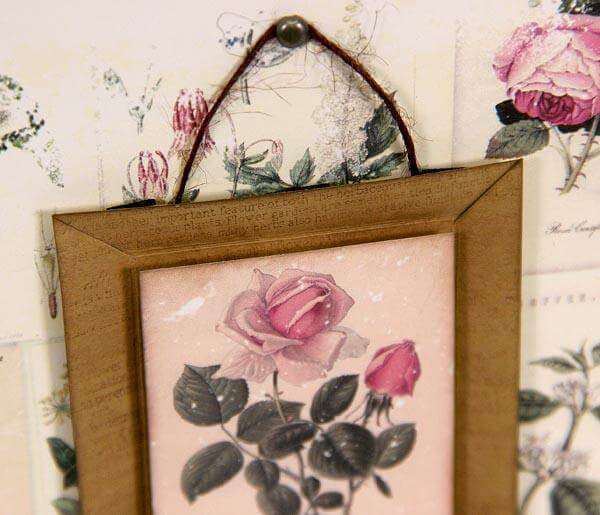
Create a paper frame for a single vintage floral image trimmed from the 12x12" Lite Ivory Print. It makes a lovely embellishment for the front of any card.

Framed Floral Print Tutorial:
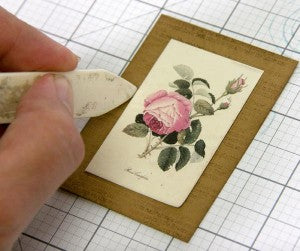
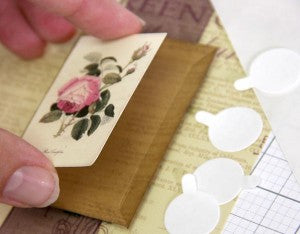
1. Trim one vintage floral image from the Lite 12x12" Ivory Print. Cut a Brown Plain panel larger than floral print leaving a 3/8" reveal around the outside edges.
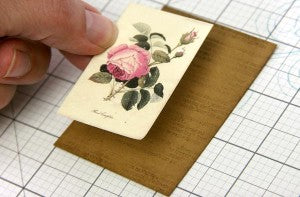
2. Center the floral print onto the Brown Plain and score around the perimeter with a bone folder.
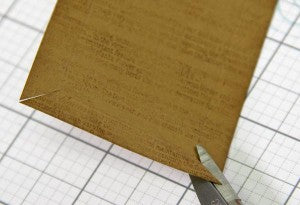
3. Remove the print and set aside. Use scissors or craft knife to make an angled cut from each outside corner to the scored inside corner of the brown plain.
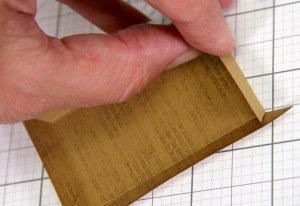
4. Fold along each score line.
5. Attach foam adhesive squares along the folded perimeter on the back side of the frame.
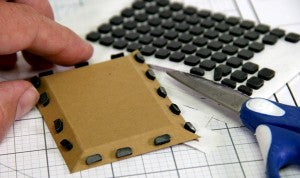
6. Center and adhere the small print inside of the frame with foam adhesive circles for added dimension.

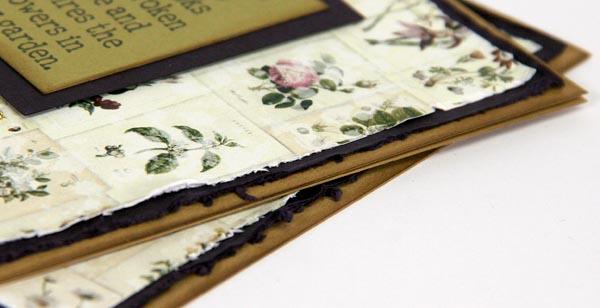
Create another gorgeous card with a stamped a flower cluster from the Vintage Botany Greeting Stamp.

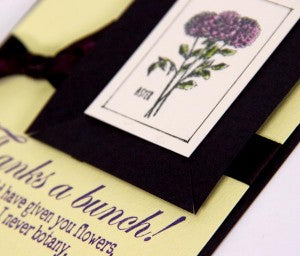
Thanks for stopping to check out my "framed" cards.
Kay