
I completed the Vintage Botany Lite pages prior to leaving for an out-of-town adventure. Now that I'm back and took another look, I'm falling in love with this kit all over again!

Vintage Botany Lite Layout Assembly Tips
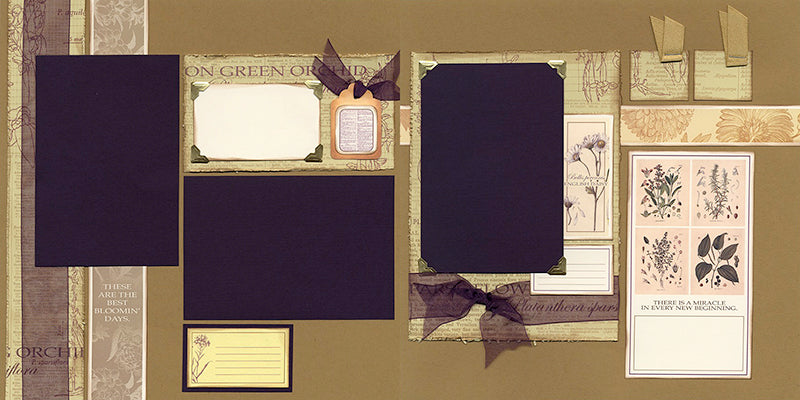
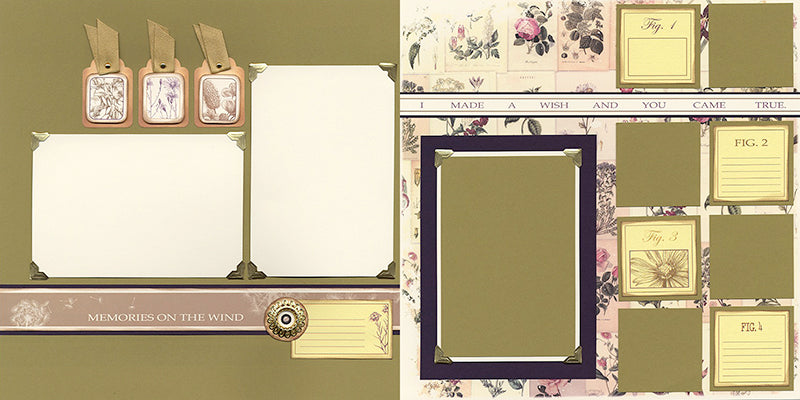
LAYOUTS 1 & 2

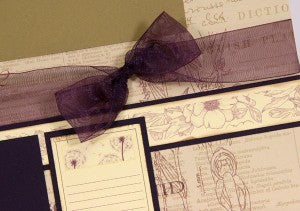
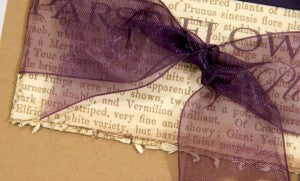
The method to make this purple bow is pretty simple, but I find that I have to look up the steps each time! Save ribbon by taping the ends around the back of the page rather than wrapping all the way around.
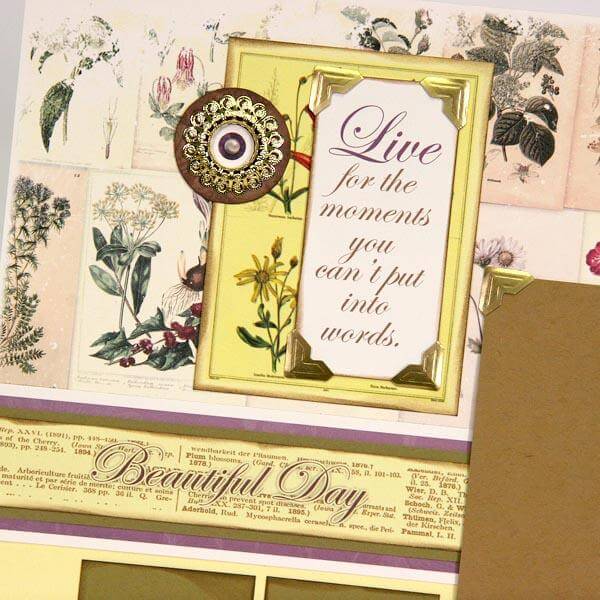
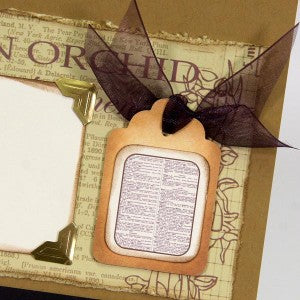
I adore the gold filigree accents. Adhere them to the pre-planned spots on the printed cutaparts with CS® Bookbinding Glue.

LAYOUTS 3 & 4
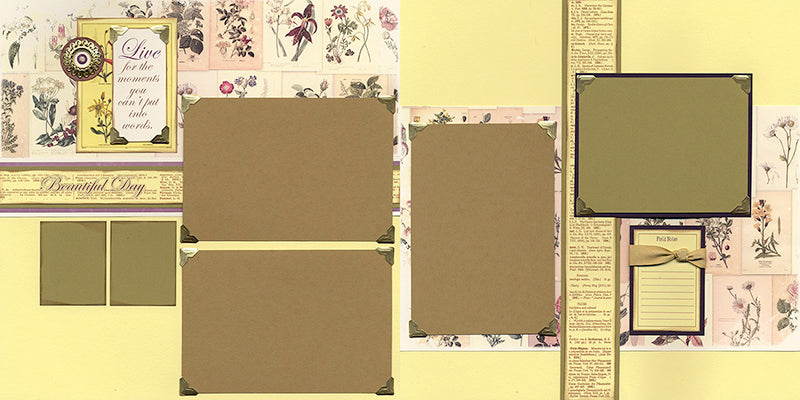
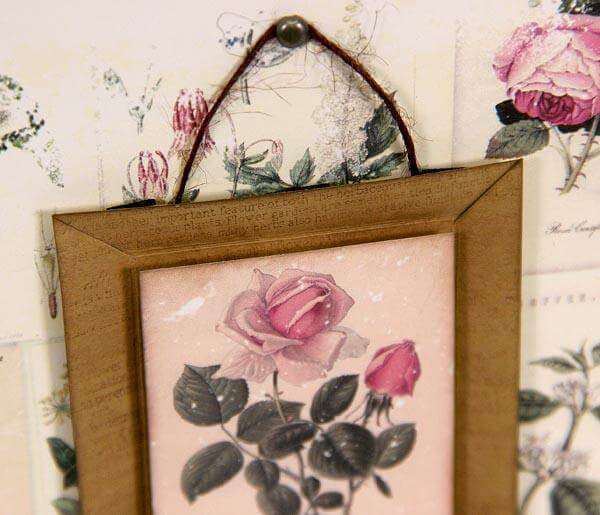
If you don't have a punch or die to cut the round cutapart into a circle, simply cut with a scissors and rub the edges with CS® Earth ink to disguise imperfections. Adhere the sentiment with gold photo mounting corners.

It's hard to describe the softness of the gold suede ribbon. You're going to love working with it! Add a knot to the ribbon and secure the ends on the back of the Purple panel.
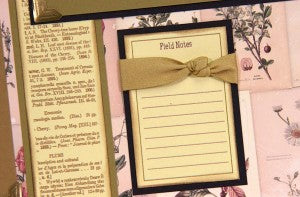
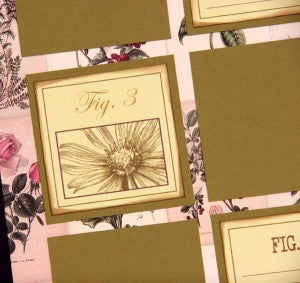
LAYOUTS 5 & 6
Round the corners of the small Ivory cutaparts, ink edges, and nest onto a vintage tag. Top the tag with purple chiffon ribbon.
Roughen the edges of the Lt. Green Print with a paper distressing tool and apply Earth ink to enhance the vintage look.
We've included a full package of 108 gold photo mounting corners. Use them generously to apply photo mats and cutaparts to your layouts.

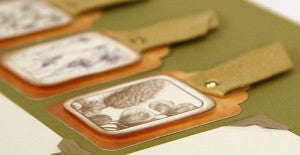
LAYOUTS 7 & 8
Round the corners and ink the edges of three Ivory cutaparts and nest onto the vintage tags with foam adhesive circles. Secure a folded piece of gold suede ribbon to the tags with a mini gold brad from your stash.
Nest four Yellow cutaparts onto four of the Dk. Green square panels, and alternate with photos on the remaining panels.
Join us, and we'll get your Vintage Botany collection its way!
Tricia