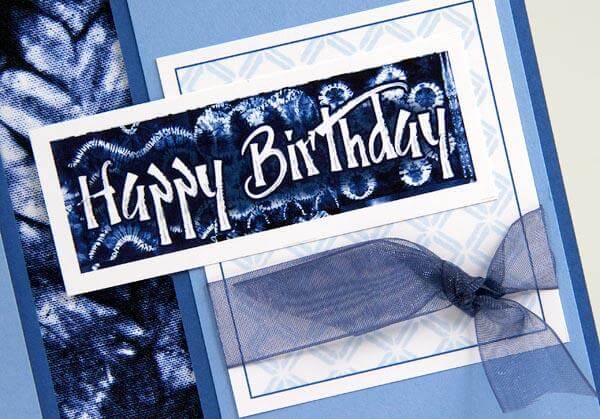
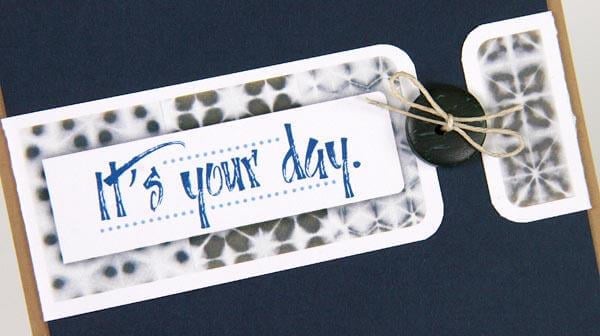
The Shibori cards feature four each of three different designs. This month's greetings are simple to assemble and even easier when you follow along with the video included with the kit! (Read to the end to view the bonus cards you can make.)

Shibori Cards
Set A

The decorative strip on the front panel of the card is recessed beneath a short flap on the left and a matching nesting panel on the right. Be sure to have foam adhesive on hand to create this unique effect.

The silver infinity charm is cleverly attached to the cutapart by looping each end with the soft, blue ribbon. Tape the ribbon ends on the back of the cutapart, and you're good to go!

Set B

Grab a Corner Chomper or corner rounding punch to prep the corners of the cutapart sentiment and wrap around the Dk. Blue panel. Sew a blue button into the gap between the two ends with thread from your stash and tie in a small bow.
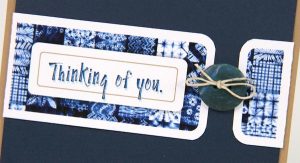
The Tan card base measures 4.25x11 and is scored at 5.5" to make a portrait style card.

Set C

I adore the sentiment on this stamp. If you can't read the entire thing, grab your reading glasses!

Shibori Bonus Cards
We did something a little different this month with the "leftover real estate" on the printed cutaparts. Jacqueline designed two patterned card panels, some decorative strips, and a few extra sentiments. Use them as you wish! Below is a sample of the cards created by adding two folded 5.5x8.5" White card bases, two 1.5x5.25" White strips, and ribbon from my stash. (I used our super smooth white cover stock for the cards and strips.)

I hope you like the added bonus elements. If you choose not to use them to make additional cards, try them with embossing folders, punches or die cut shapes!

Have a wonderful and creative month sending smiles to those you love with the Shibori Card Kit!
Tricia

