
Create fun and funky backgrounds with the Swirly Shaving Cream technique! Do you remember learning to "marble" paper when you were in grade school? Many of us have fond memories of this lesson from art class.
Lisa explored this technique once before with stencils. We thought it was time to revisit this fun method.

Shaving Cream Tutorial
Dispense shave cream onto a paper plate.

Smooth the surface of the foam with a spatula or other flat tool.

Squeeze drops of Hybrid Reinker (Lagoon and Fuchsia) onto the foam's surface.

Swirl the colors together with the handle of a paint brush or bamboo skewer.

Gently place a Lt. Blue panel face down onto the surface of the cream.

Carefully lift the panel off the foam.

Scrape off the excess cream with a spatula. Place the panel onto a fresh plate. Dab off any remaining foam with a paper towel, being careful not to smudge any of the still-wet ink.

Set the panel aside to dry completely before adding to a card, page or project.
Add more colors to the initial batch of foam.

Swirl the colors with the handle of the paint brush.

Place a Lt. Blue panel face down into the shave cream. Remove the panel and scrape off the excess as described in the previous steps.

The resulting panel will be a bit more pink with lighter-colored swirls.

Repeat the steps listed above to create a third panel. This time, select white paper for a different look.

Let's compare the three panels...

Now it's time to turn these panels into beautiful cards!
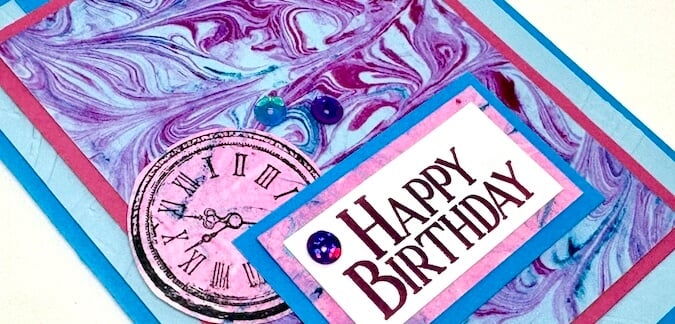
Take Flight Cards - Julie

Crop the first panel to create a nesting mat for the card. Stamp the clock image onto the third-generation panel. Die cut the circle or trim free-hand with scissors. Cut the remainder of the panel to use as a mat for the sentiment.

Pair the second panel with Lt Blue and Dk. Blue panels. Stamp the sentiment in Fuchsia ink. Die cut feathers from Lt. Pink and Dk. Pink. Tie a key charm with pink waxed cord. Add the feathers and charm to the front of the card.
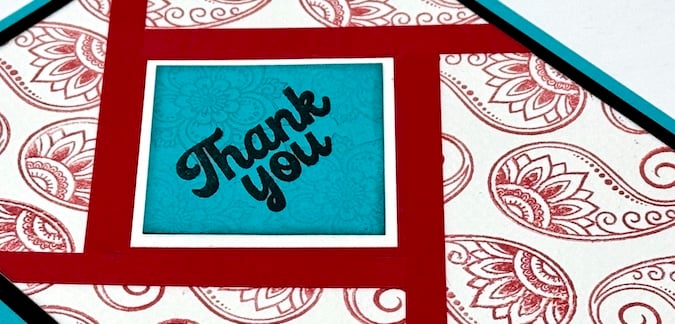
Bandana Cards - Lisa
Lisa followed the Swirly Shaving Cream steps above to create her gorgeous panels. She chose Ruby, Ocean, and Onyx Hybrid Reinkers.

We hope you enjoyed getting in touch with your inner child with this blast from the past. We encourage you to give this technique a try and invite you to share your results on the Club Scrap Chat Group on Facebook. Not a member of the group yet? Simply answer three questions and we will get your request accepted in no time!

CS Hybrid Re-Inkers
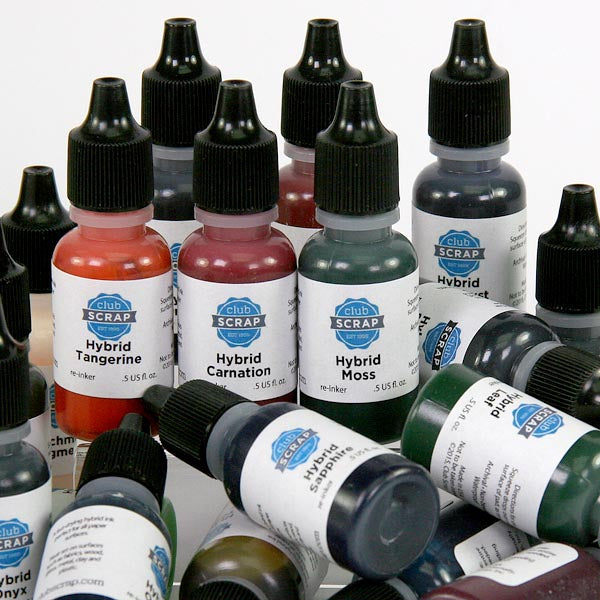
$4.40
Rejuvenate your ink pads with our re-inkers! Exclusively Club Scrap®, this hybrid craft ink combines the most exceptional ingredients of both pigments and dyes for a fine, crisp, fast-drying images. .5 US fl. oz. Use alone or with our ink… Read More