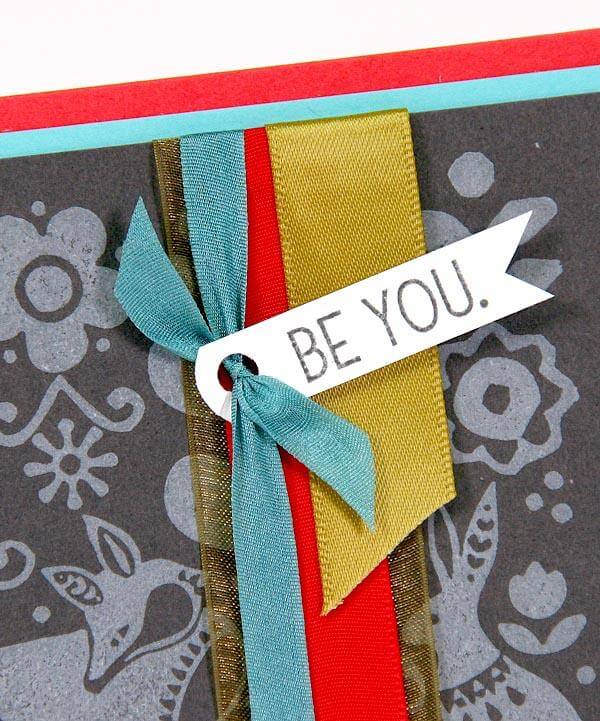
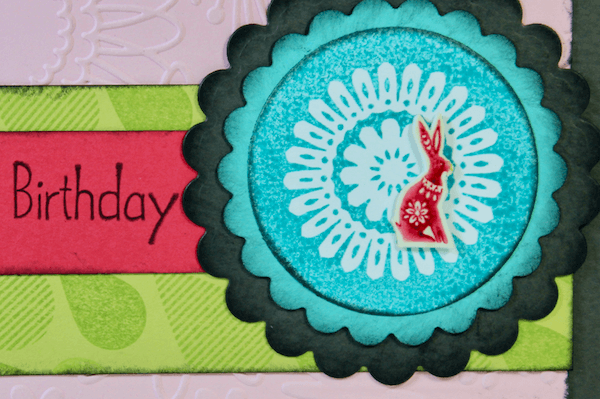
It's time to talk Scandinavia details! Read on to learn more about how to assemble and embellish your Deluxe layouts and Greetings to Go cards . . .

Scandinavia Details: Deluxe Layouts
LAYOUTS 1 & 2

Cut one of the adorable felt flowers in half. Adhere one above and below the border strip with CS® Bookbinding Glue in your new needle-tipped applicator.

We love our needle-tipped glue applicators so much that we decided to include a pair of them in your kit! We selected a red and black tip to help differentiate the contents of the bottle if you decide to fill one with paint or something besides glue.
LAYOUTS 3 & 4

After the printed cutaparts have been trimmed, there will be several narrow 12-inch "scraps" remaining in areas where a color bleeds to the edge of the artwork. Flip the strip over to the plain side and add Pine Washi Tape to create a fun page border.

Cut a white felt flower into fourths and glue onto one of the 2x2" Gray squares on the right side of the layout.

LAYOUTS 5 & 6

Use a craft knife and cutting mat to cut along the round medallion in the upper left corner of the 8.5x11 White Print. Slide the corner of the Green panel behind the medallion.

LAYOUTS 7 & 8

I had a small scrap of Gray and was able to trim it to mat the White cutapart designed to house this sweet fox charm. The charm will stay put with our awesome Bookbinding Glue.

LAYOUTS 9 & 10

Glue additional portions of the white felt flowers to the squares on the printed border strip. Trim to a smaller size, if needed.

Hey, look . . . it's another adorable fox charm. Add a strip of washi tape to the left and right edges of the vertical border.

LAYOUTS 11 & 12
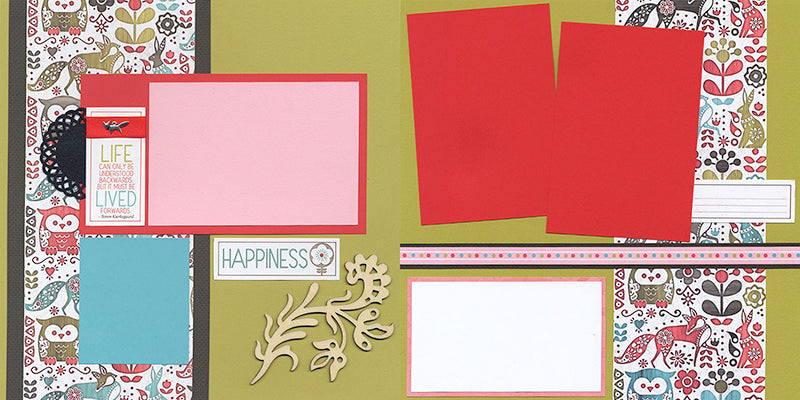
Wrap the top of the White cutapart with red taffeta-edged satin ribbon and top with a silver fox charm. Cut a black felt flower in half and glue the cut edge to the left side of the cutapart.

Adorn the lower right corner of page 11 with this eye-catching flower woodcut.

LAYOUTS 13 & 14

The elegant metallic silver ribbon makes a fabulous three-part bow along the top edge of the left layout.

Balance the ribbon on the left side with a smaller bow on the right, and add a felt flower to the top edge of the narrow border strip.

Scandinavia Details: Greetings to Go
SET A

Each 4.25x5.5" card contains a pop-up strip with four little pieces of matted artwork. Be sure to adhere the squares only to the 1" strip so they are able to move freely when the card is opened.
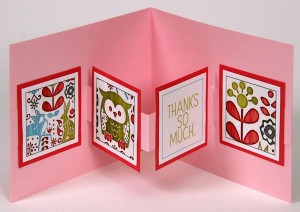
Two of the cards are horizontal, and two are vertical. Adjust the application of adhesive to reflect the orientation of the pop-up. (Don't ask me how I know this.)

SET B
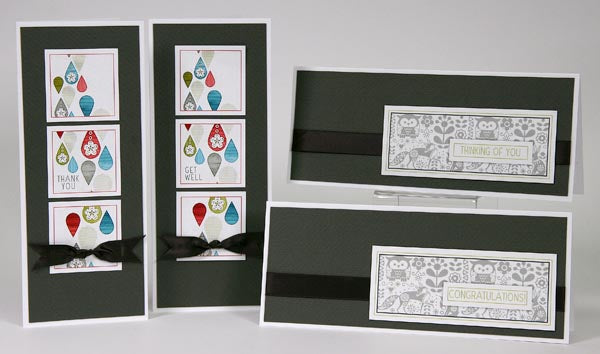
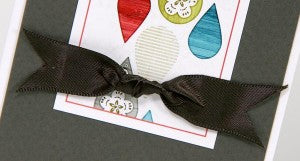
I'm highly attracted to the simplicity of these "tall" cards. Tie a knot into the matching satin ribbon, trim a "v" into each cut edge, and adhere to the card for a lovely finishing touch.
SET C

Cutest striped brads ever. The colors couldn't be more perfect! Add three of them to the upper left corner of the green printed cutapart.

I always look forward to sharing these little "finishing touches" with you. So much love has been poured into creating this collection, and we hope you enjoy it all month long!
Tricia

